
How to Install a Power Stop Z26 Street Warrior Brake Rotor & Pad Kit on your 1999-2004 Mustang
Installation Time
3 hours
Tools Required
- 12mm wrench/socket
- 15mm wrench
- 16mm wrench
- 13/16 socket or lug wrench
- Arc joint pliers (wide opening pliers)
- Rear caliper piston tool
- 20 - 100 ft/lb capable torque wrench(es)
- Wheel chocks
- Jack
- Jack stand
- Anti-seize compound
- Brake cleaner
- Microfiber rag
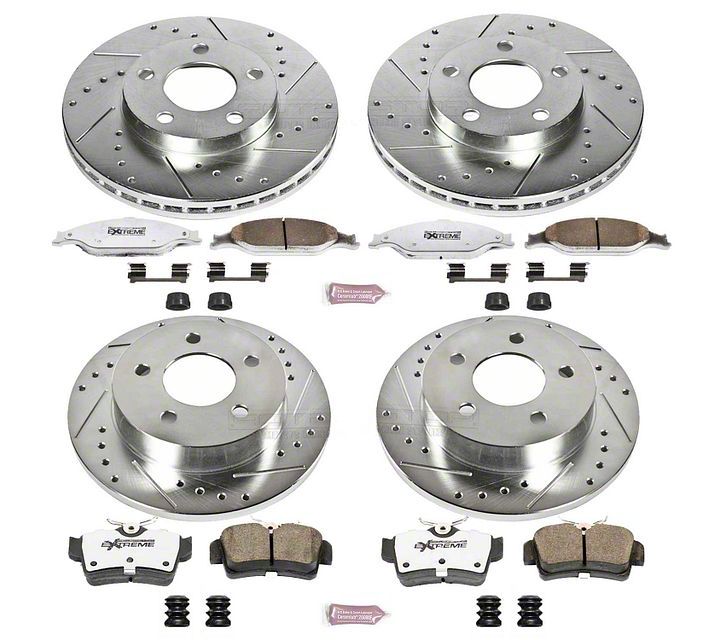
Shop Parts in this Guide
Difficulty: Moderate.
Removal Procedure:
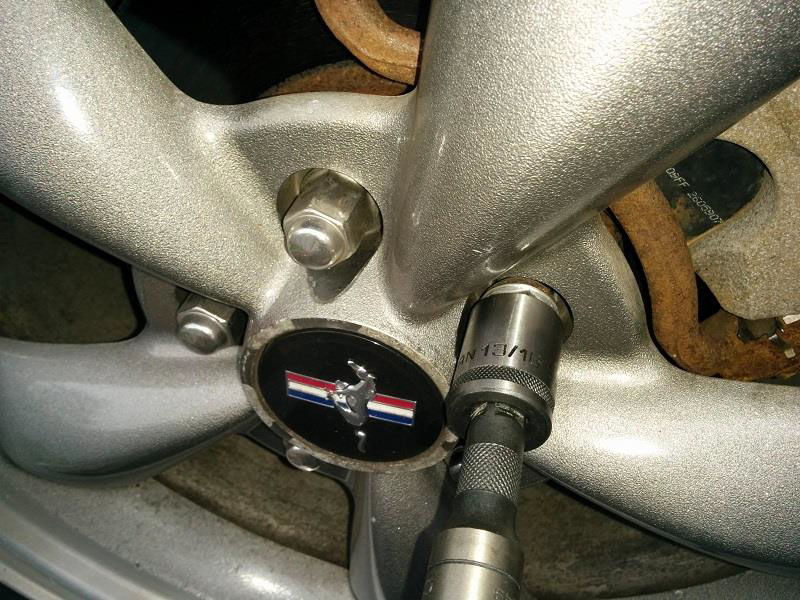
Put the car in gear (or in Parking if automatic). Loosen up the lug nuts with a 13/16 socket or your lug wrench.
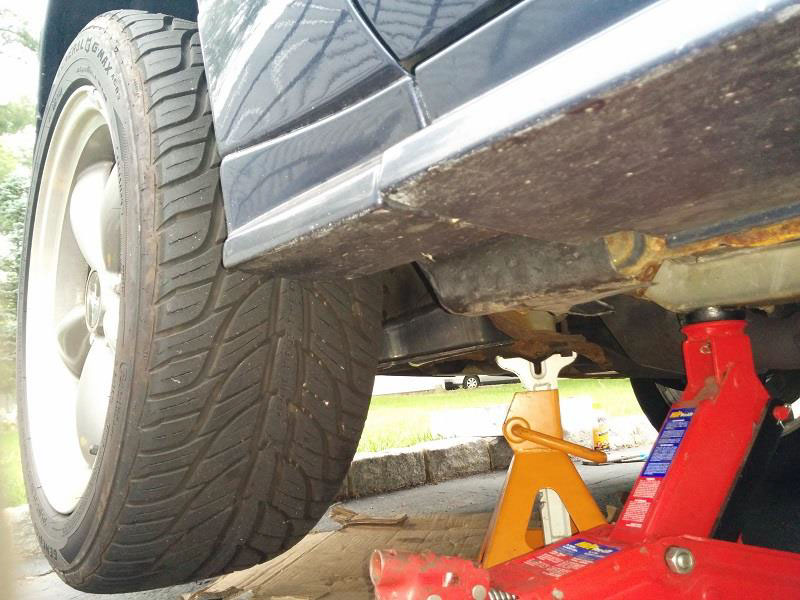
Secure the opposite wheel(s) you are working on with the wheel chock(s). Jack up the car and support it with a jack stand.
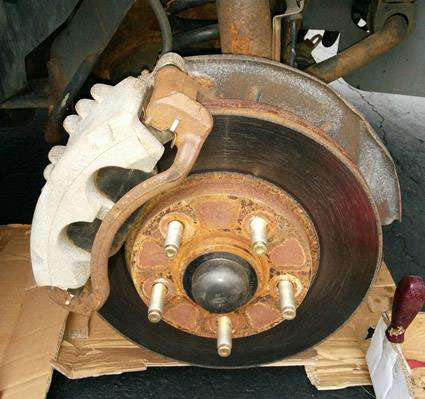
Remove the wheel and place it under the car.
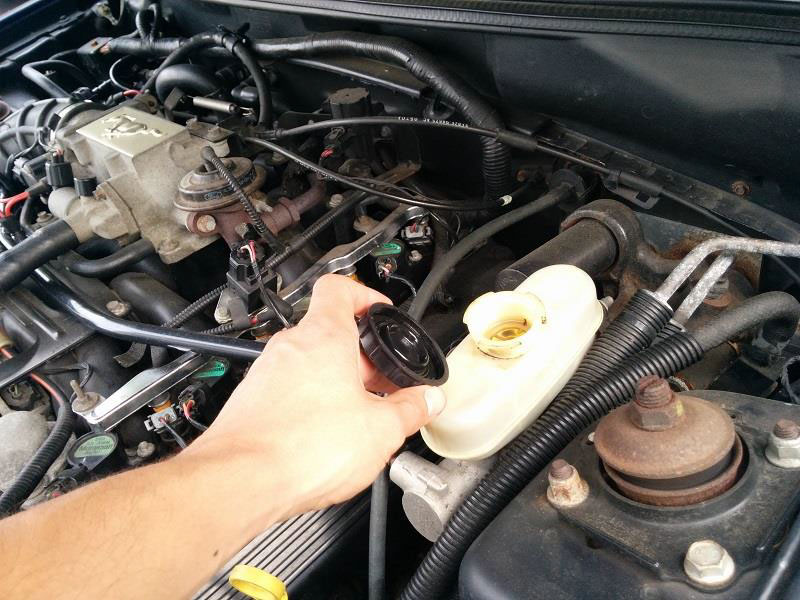
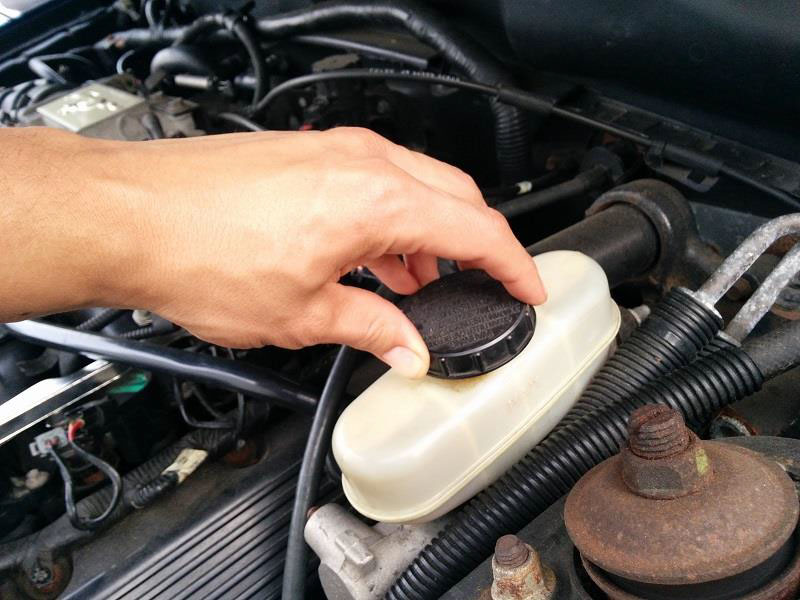
Remove the master cylinder fluid cap.
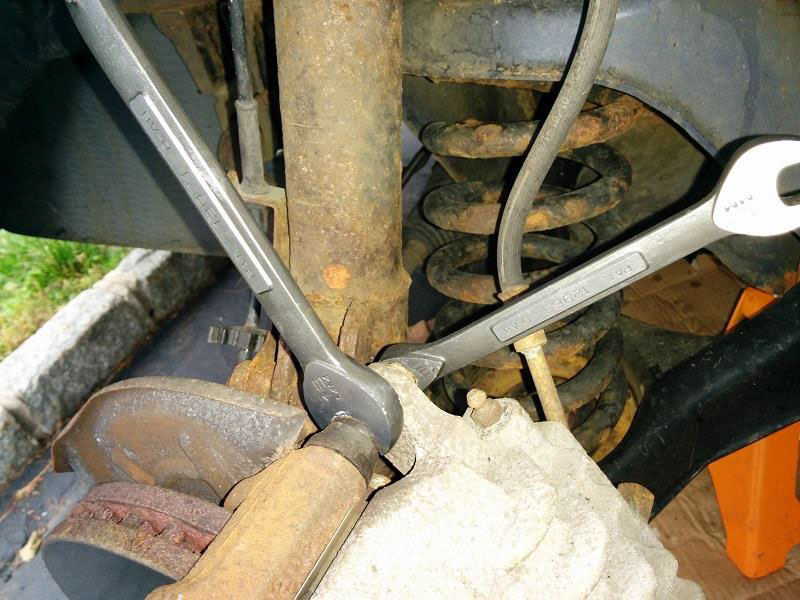
Remove the two 12 mm bolts on the back of the caliper. Prevent the guide pin from spinning with a 16 mm wrench. Inspect guide pins and boots.
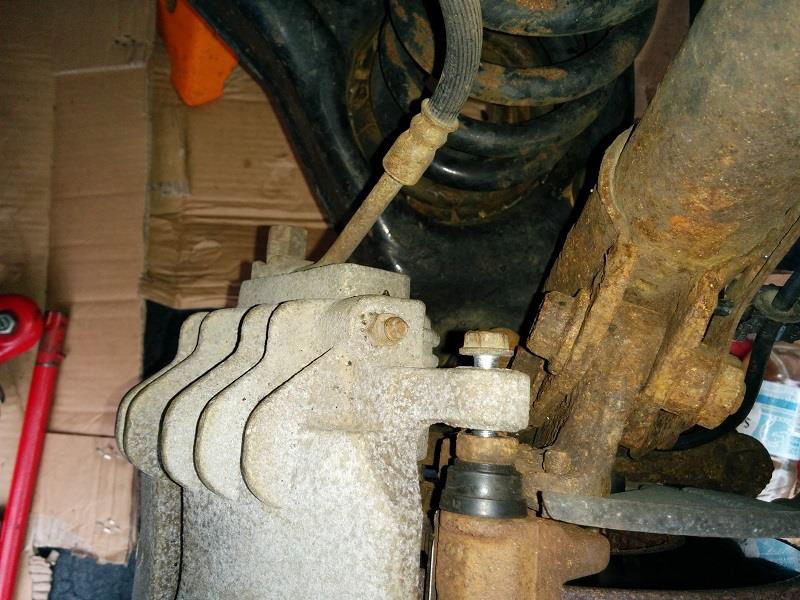
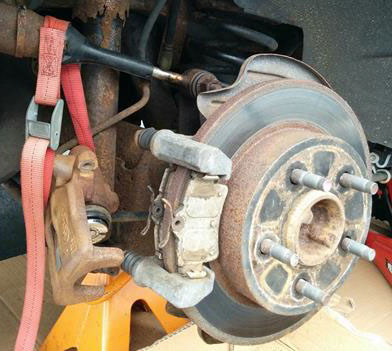
Hang the caliper with a strap or a wire hanger to avoid stressing the brake line.
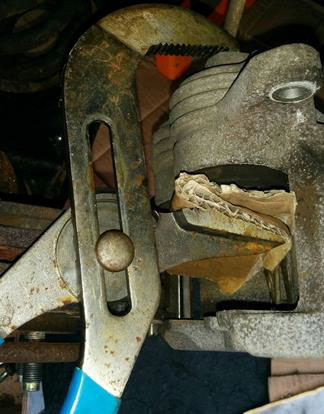
Use some pliers to press the caliper pistons in. Place a piece of wood or carton between the pliers and the pistons to protect them. Remove any exceeding brake fluid from the reservoir with a syringe.
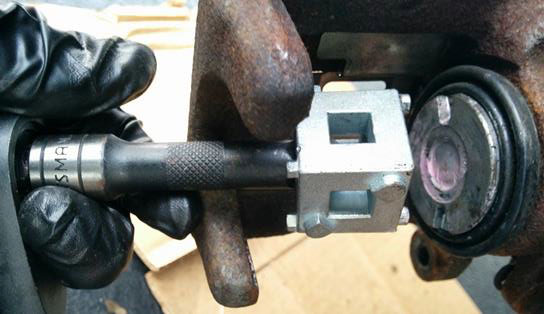
NOTE: For the back calipers’ pistons, use the Universal caliper tool and a 1/4 inch drive to screw in the caliper.
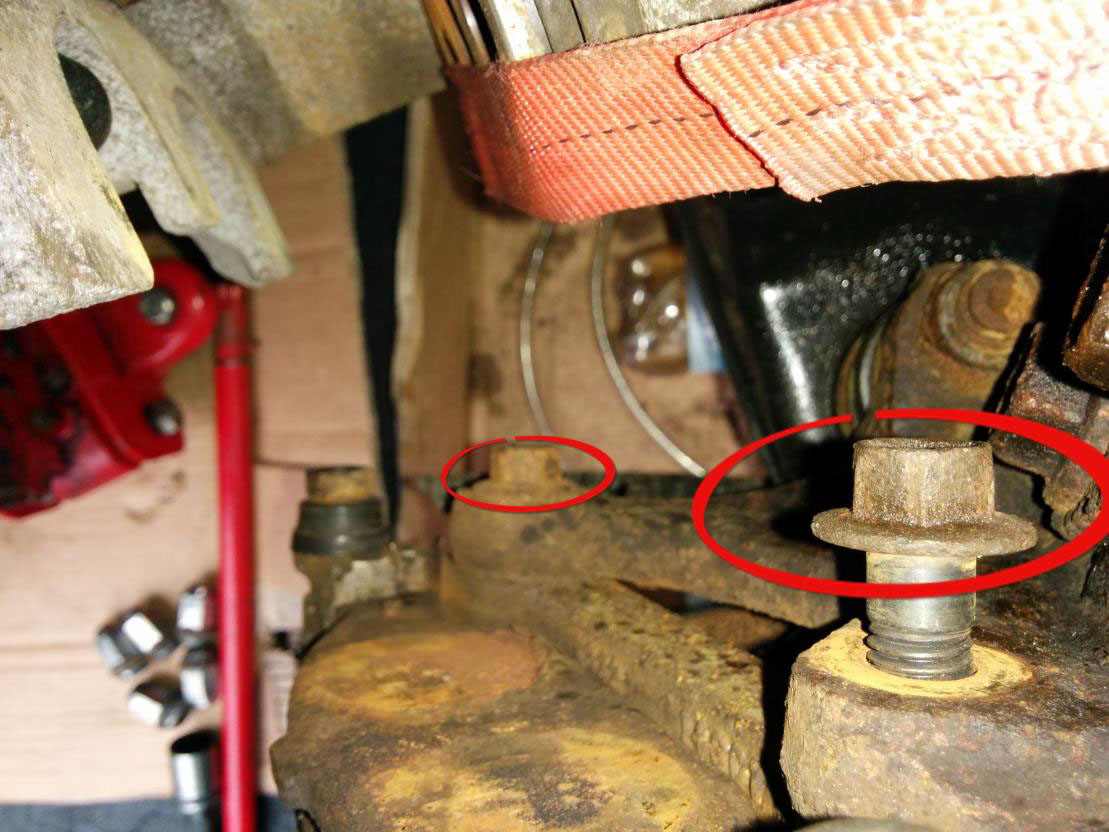
Take the old brake pads off .Remove the caliper housing plate unbolting the 15 mm on the back. Use a wrench for the limited space around the top bolt.
Preparation Procedure
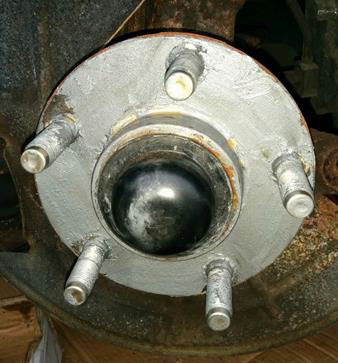
Clean the wheel hub and lugs and apply a thin coat of anti-seize. Inspect and clean the ABS sensor with brake cleaner.
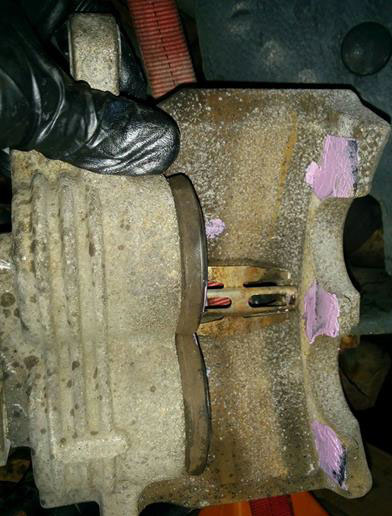
Apply a thin layer of lubricant (provided on the kit) where the pads will seat.
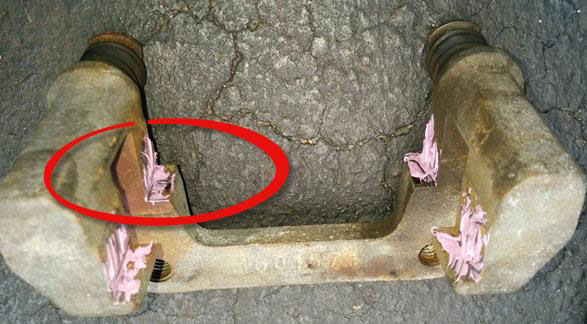
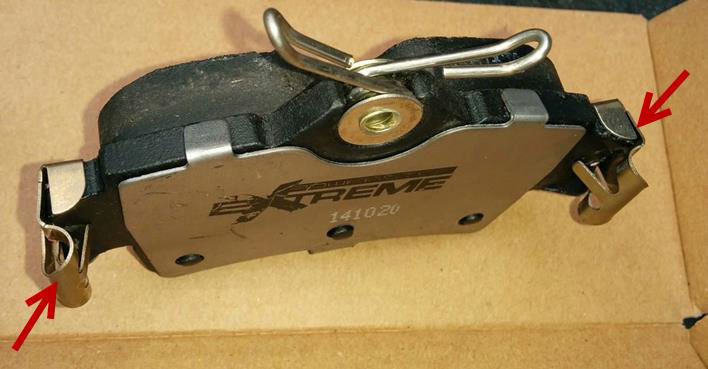
Prepare the new pads with the hardware fitments (provided on the kit)
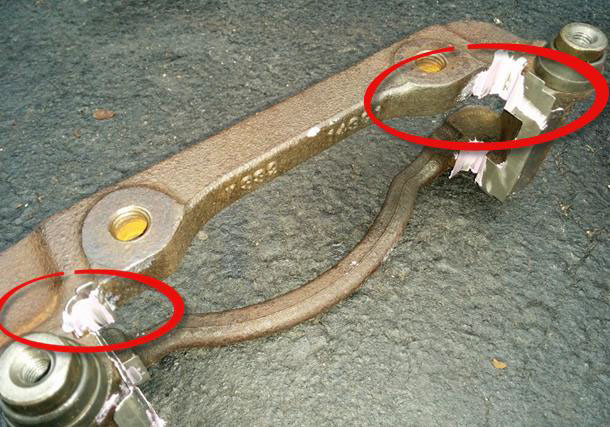
Install the provided hardware on the caliper housing plate and apply lubricant (provided on the kit)
Place the new pads on the on the caliper housing plate.
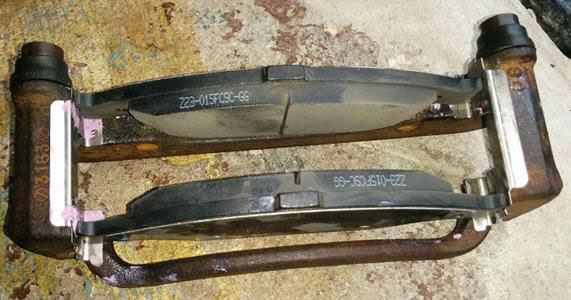
Add pad lubricant on the caliper assembly where the pads might contact.
Installation Procedure
Clean the new rotor with brake cleaner and a microfiber rag. Install the new and clean rotor.
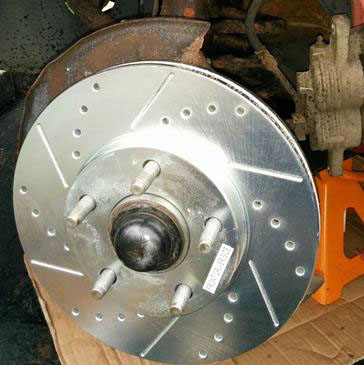
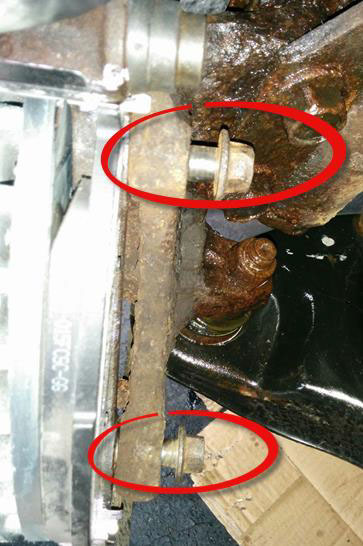
Place the new pads on the caliper housing and this one over the rotor. Install the two 15mm bolts with a socket. Torque down to 85 lb/ft
Apply anti-seize on the rotor where the wheel makes contact.
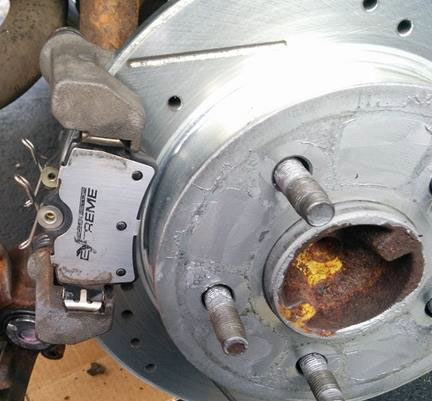
Install the caliper assembly. Tight the two 12mm bolts down to 23 lb/ft. Prevent the guiding bolt from spinning with a 16mm wrench as on the removal procedure.
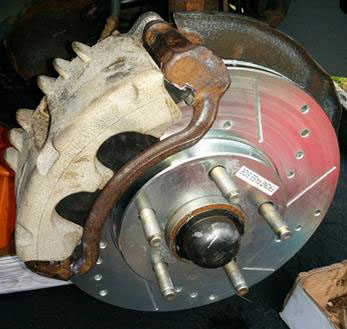
Install back the wheel and tight the lug nuts by hand. Jack up the car to remove the jack stand and lower the car half way until the tire barely makes contact with the ground.
On a star pattern Torque the 13/16 wheel lug nuts to 60 lb/ft
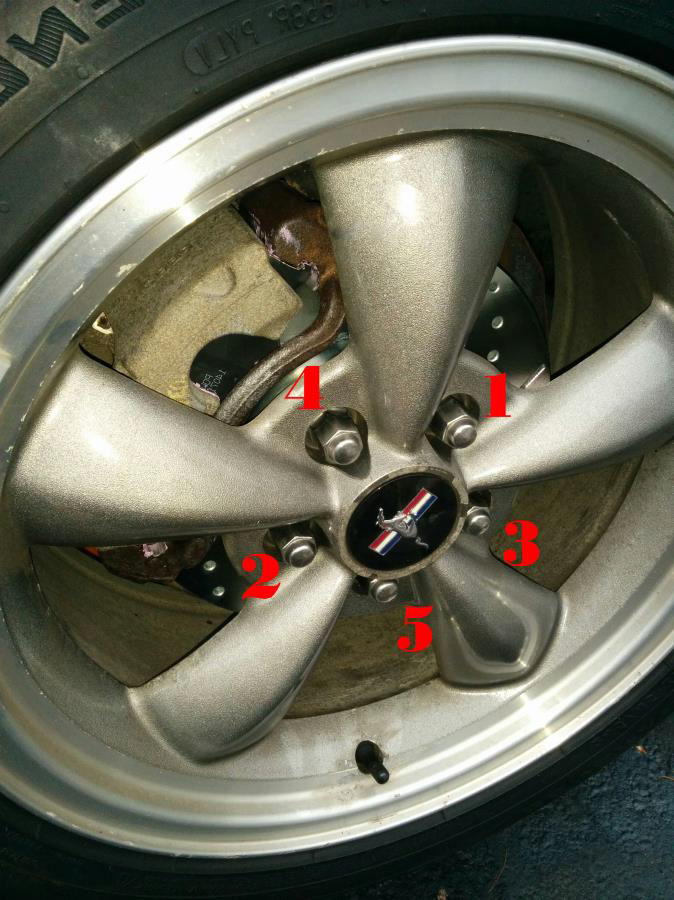
Lower the car all the way down and final torque the wheel lug nuts to 100 lb/ft on star pattern.
Adjust the master cylinder fluid to level and install the filler cap. Check brakes are functioning.
Installation Instructions written by AmericanMuscle customer Jaime Flores 7.17.2015

