Top Sellers in Mustang
How to Install Power Stop Z26 Extreme Performance Ceramic Brake Pads - Front Pair (94-04 Cobra, Bullitt, Mach 1) on your Ford Mustang
Installation Time
2 hours
Tools Required
- Jack
- Jack Stand(s)
- Breaker Bar
- C-Clamp
- Needle Nose Pliers
- Hammer
- Torque Wrench
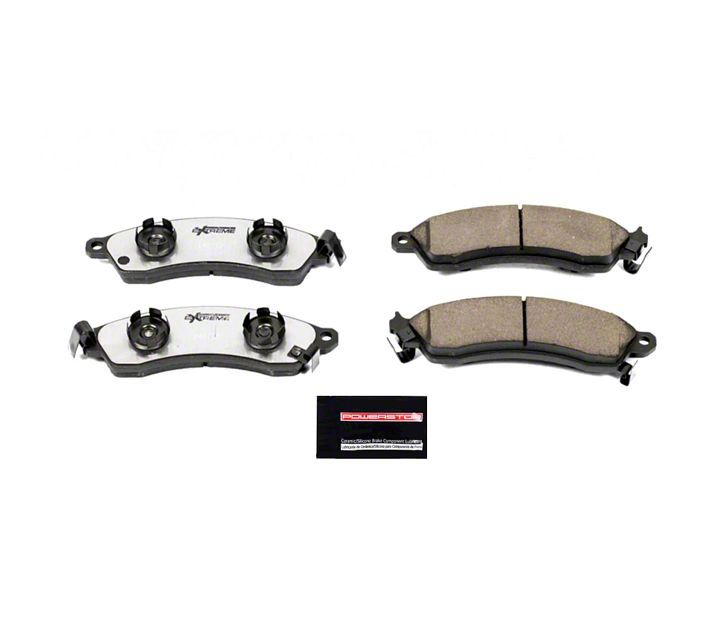
Shop Parts in this Guide
Note: I also replaced my rotors at the same time. This isn’t necessary unless your rotors are warped or damaged from low brake pads.
Step 1: Pop your hood and remove the brake fluid reservoir lid.
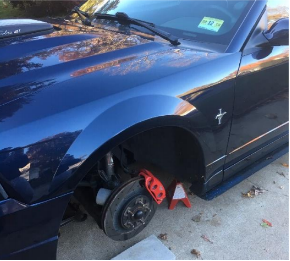
Step 2: Loosen your lug nuts, and safely jack the front end of the car up into the air. Place the car on jack stands and remove your front wheels.
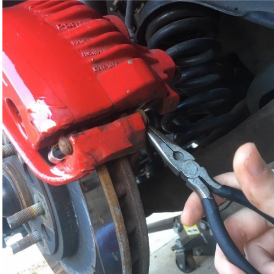
Step 3: Begin by removing the C-clip that holds the caliper bolt in place. Some needle nose pliers will come in handy to pull it off.
Step 4: With the clip removed, lightly tap the back of the pin with your hammer until you are able to pull the pin out.
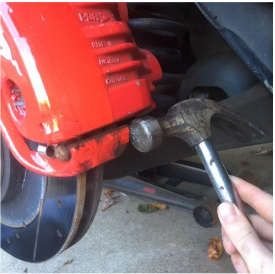
Step 5: Tilt your caliper up into the air until it is completely separated from the caliper bracket.
Step 6: Remove the old brake pad from the front-facing side of the caliper. Using your c-clamp, tighten the clamp onto the old back-facing brake pad to slowly push the caliper piston back into the caliper. Once you have fully compressed the piston, you can remove the old brake pad.
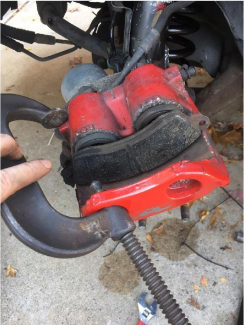
Step 7: (Optional) lightly spread some caliper grease on the back of the brake pads to reduce any metal-to-metal contact noises and squeaks.
Step 8: Press your new brake pads into place, being sure to remember which one is the rear and which one is the front pad. Note: You may need to transfer the retaining clips from your old pads, they just pop into place without any tools needed.
Step 9: With the pads inside the caliper, push the caliper down over the rotor, and re-install your caliper pin and c-clip (The pin may need to be LIGHLTY tapped in with a hammer). Spray all of the parts with brake cleaner to remove any grease.
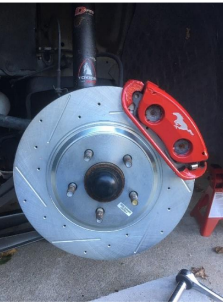
Step 10: Re-install your wheel, and repeat this process on the other side.
Step 11: Start your car and slowly depress the brake pedal 8-10 times until it stops sinking to the floor.
Step 12: Complete the manufacturer recommended “Bedding” process to make sure that your pads will correctly bed into the rotors.
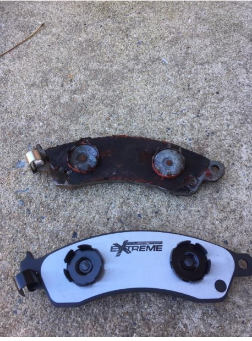
Enjoy your improved braking performance!
Installation Instructions provided by AmericanMuscle Customer


