
How To Install Akebono ProAct Ultra Premium Ceramic Front Brake Pads on a 1999-2004 GT, V6 Mustang
Installation Time
1.5 hours
Tools Required
- Jack
- Jack stands
- Torque wrench
- Ratchet
- Lug wrench
- 15mm socket
- 12mm socket
- Large C-clamp
- Syringe or something able to draw fluid from the brake fluid reservoir
- Brake parts cleaner
- Brake parts lubricant (should be included in every brake pad kit)
- Shop rag
- Wheel chalks
- Small rope or wire
Removal Procedure:
1. Engage the emergency brake and put the transmission into gear or park.
2. Place wheel chalks around the front and back of the rear wheels, and loosen all of the lugs holding the front wheels on.
3. Raise the front of the vehicle onto jack stands. Once correctly supported, finish removing the front wheels.
4. It is suggested that at every brake pad change, the brake rotors are either turned or replaced. Turning rotors resurfaces them to new condition and can be done at your local machine shop for $30-40.
5. To remove the rotors, loosen and remove the (2) 15mm bolts holding the brake caliper assembly to the spindle. Use rope or wire to hang the brake caliper assemblies out of the way, and so that no stress is put on the brake lines.
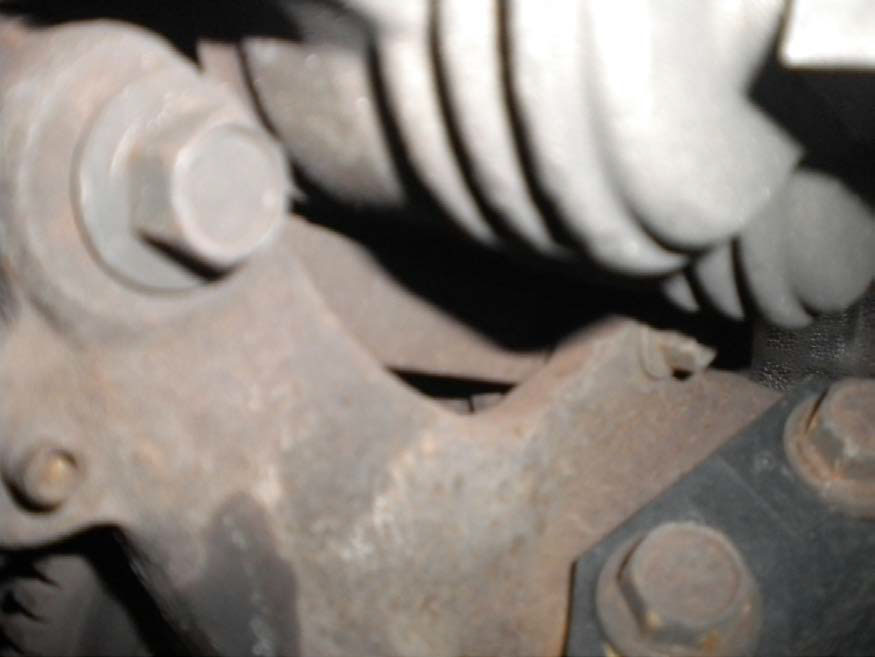
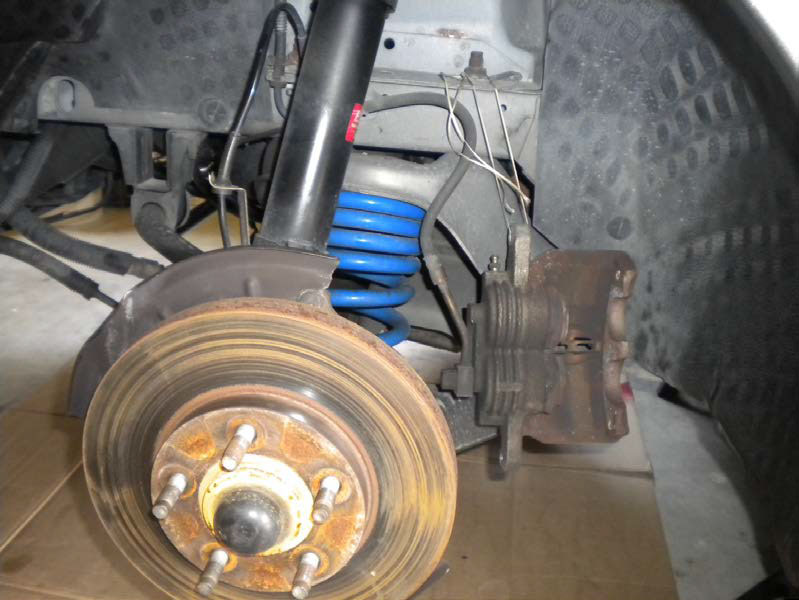
Two 15mm bolts holding the caliper assembly to the spindle.
Picture taken from under car.
6. With the caliper off, remove the brake rotor.
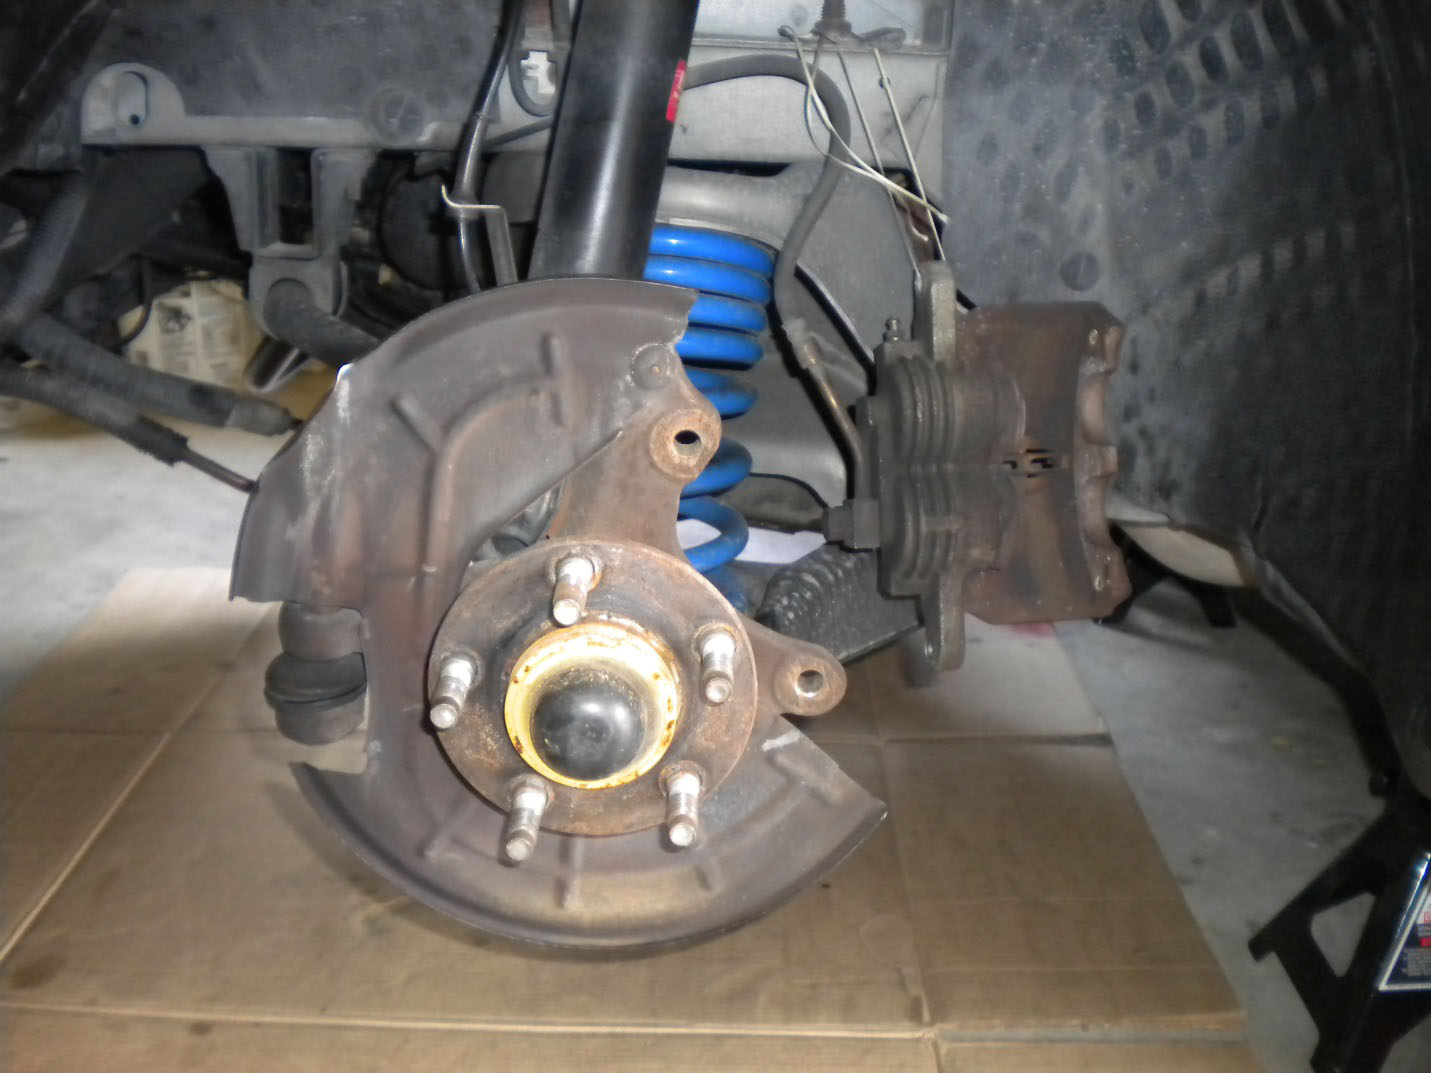
Installation Procedure:
1. After the rotor has been turned or with your new rotor ready, slide it onto the wheel hub. Use a shop rag and some brake cleaner to thoroughly clean the contact surfaces of the rotor. Thread one or two lug nuts down to the rotor to keep it correctly aligned while installing the brake pads.
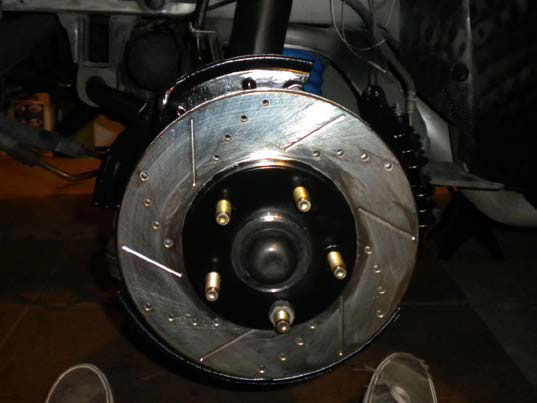
2. Working on one side of the car at the time, remove the old brake pads from the caliper by sliding them out.
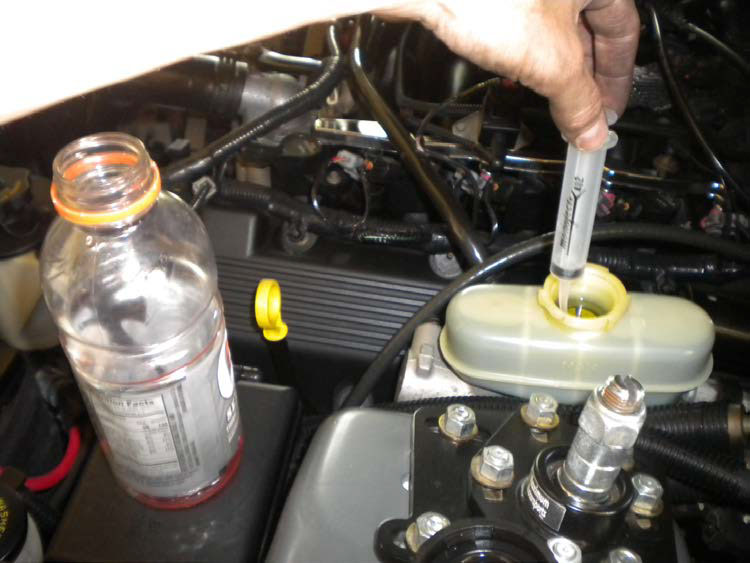
3. Remove the top from the brake fluid reservoir. Using the C-clamp and one of the old brake pads, push the pistons back into the caliper. Go slow during this process, and periodically check the reservoir to make sure that brake fluid does not over flow as the pistons are pressed into the caliper. If the fluid is close to spilling, use a syringe to draw some of the brake fluid out of the reservoir. When finished, replace the cap to the reservoir to prevent any debris from getting in the brake fluid.
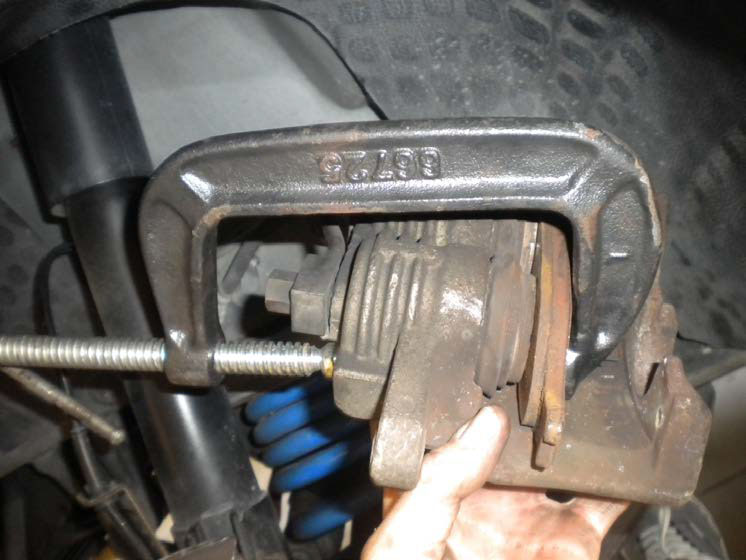
4. With the old pads removed and the pistons completely pressed into the caliper, bolt the caliper assembly back to the spindle using the 15mm socket and the torque wrench. Torque the bolts to 85 lb-ft.
5. Locate the (2) 12mm bolts that hold the caliper to the caliper bracket. Remove the two bolts and tie the caliper out of the way.
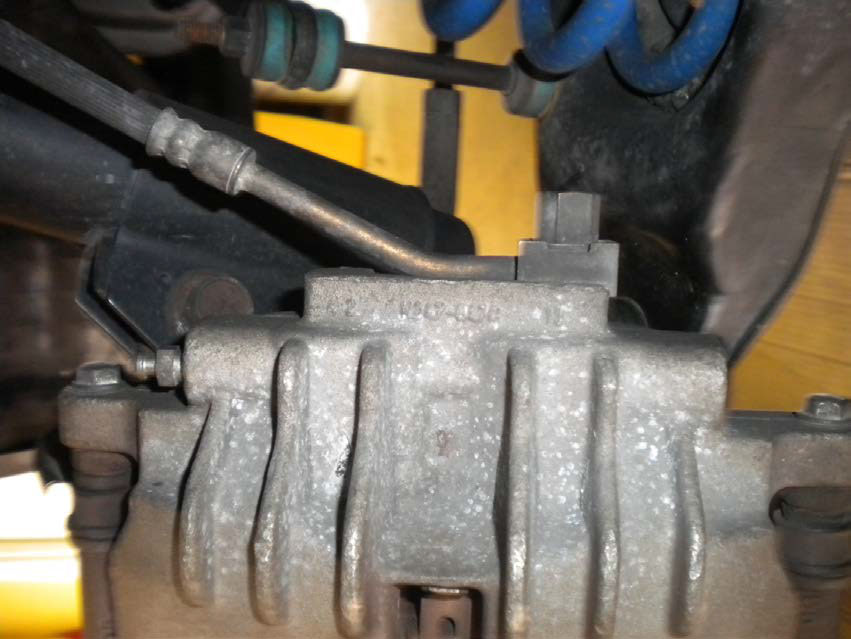
6. Remove the old brake pad clips from the caliper bracket. Also remove the two studs from the caliper bracket by pulling them straight out.
Pop the old brake clips straight out.
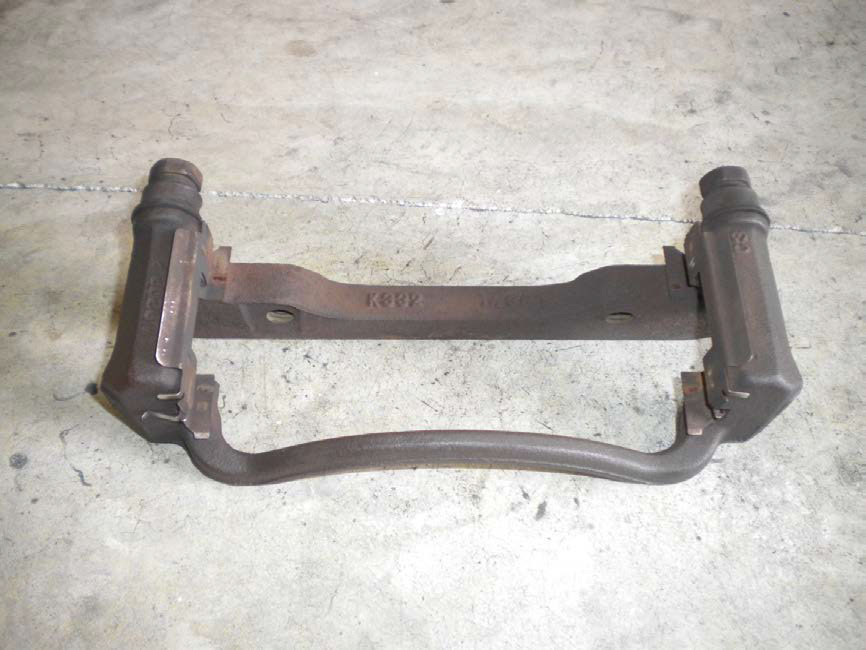
Clean the studs and re-lubricate them using the grease supplied with the brake pads.
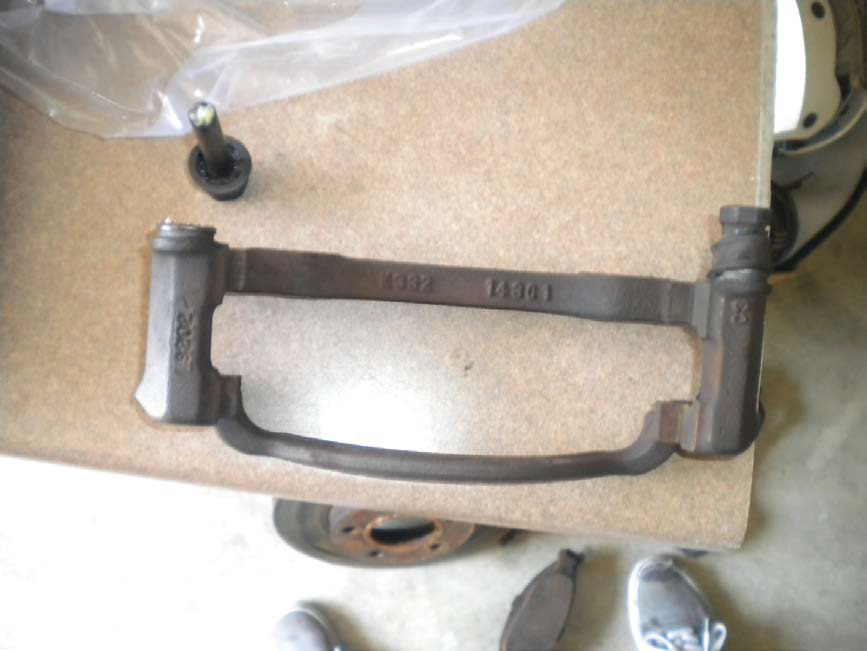
7. Press the new clips into the caliper bracket, also press new clip into the caliper.
Picture taken from top.
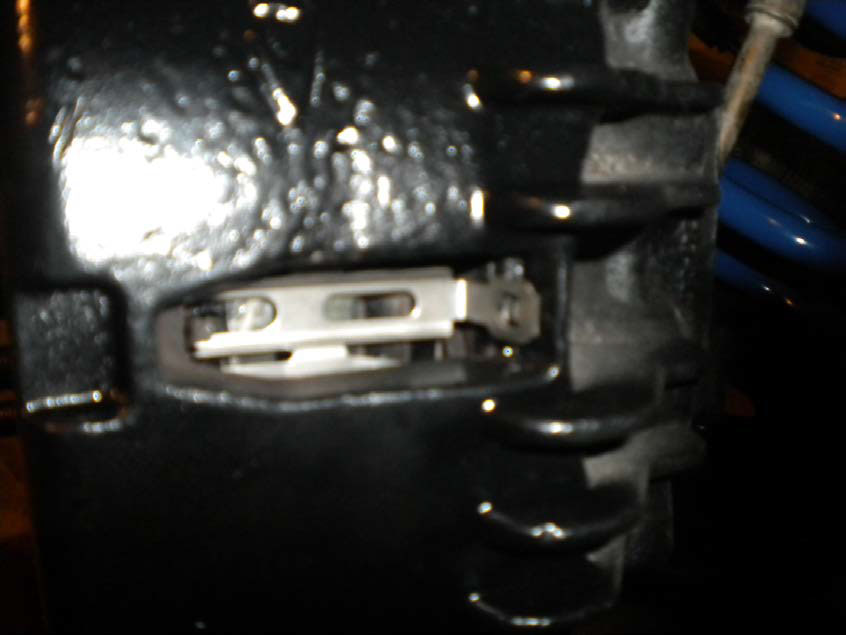
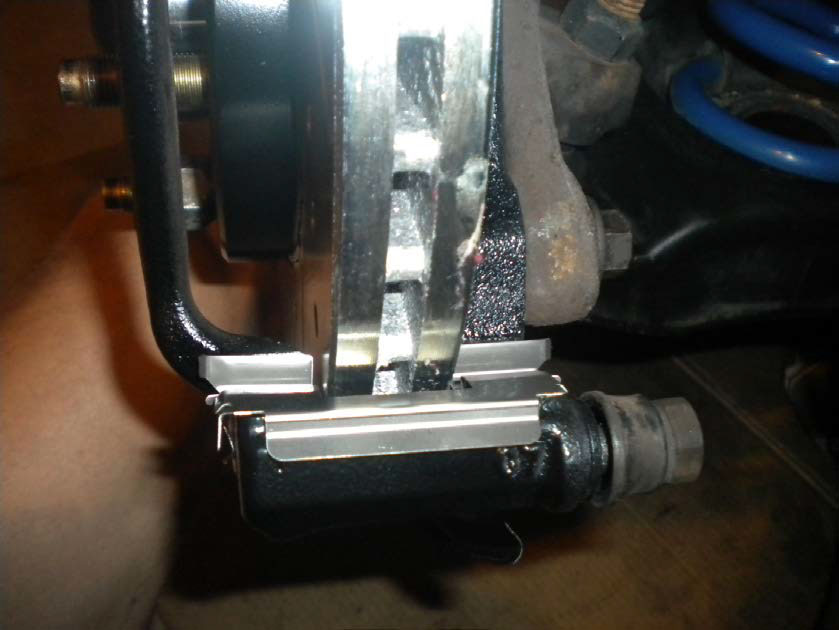
8. Using the supplied grease lubricant, grease all contact points on the brake pads and the new brake pad clips. Also, clean all of the old grease off of the studs and re-grease them with new lubricant.
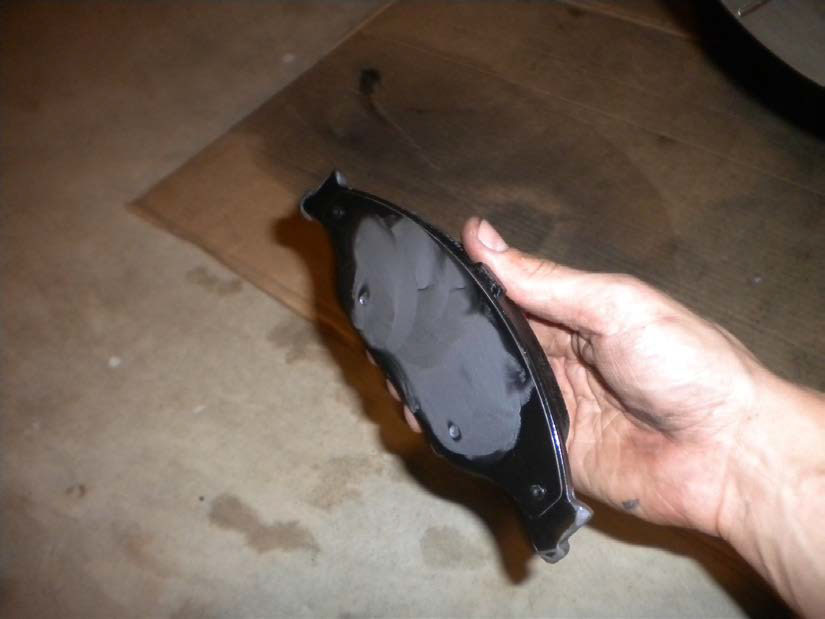
Properly lubricated brake pad that will come in contact with the calipers’ pistons (the brake pad closet to the engine).
The other brake pad just requires lubrication on the ends.
9. Install the new brake pads into the brake pad clips by sliding them in. All of the brake pads are not the same; one is made to go to the inside and outside of the caliper.
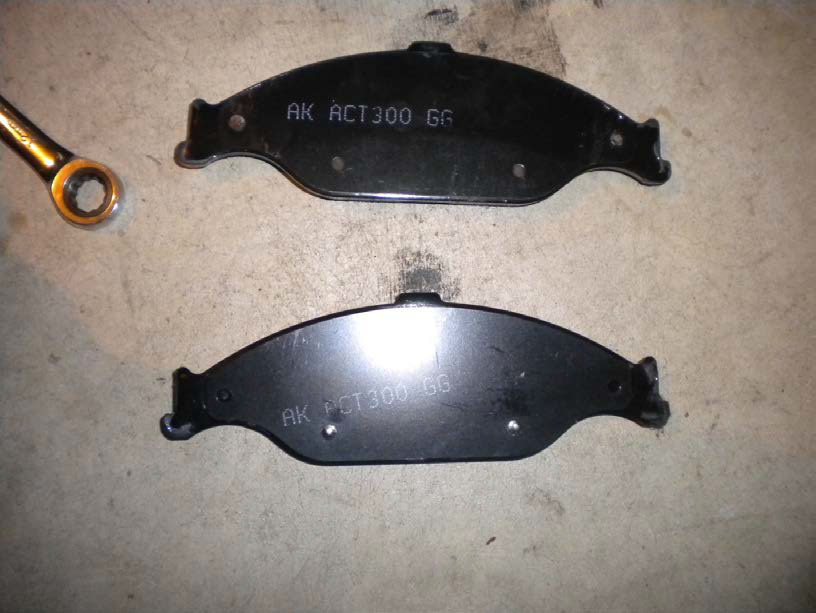
Note the location of the small raised metal tabs on the brake pads. Each pad has two. The brake pad that’s back touches the pistons of the brake caliper is on top. The one that may be seen from the outside is below. Also note that the brake pads will not correctly fit if installed incorrectly.
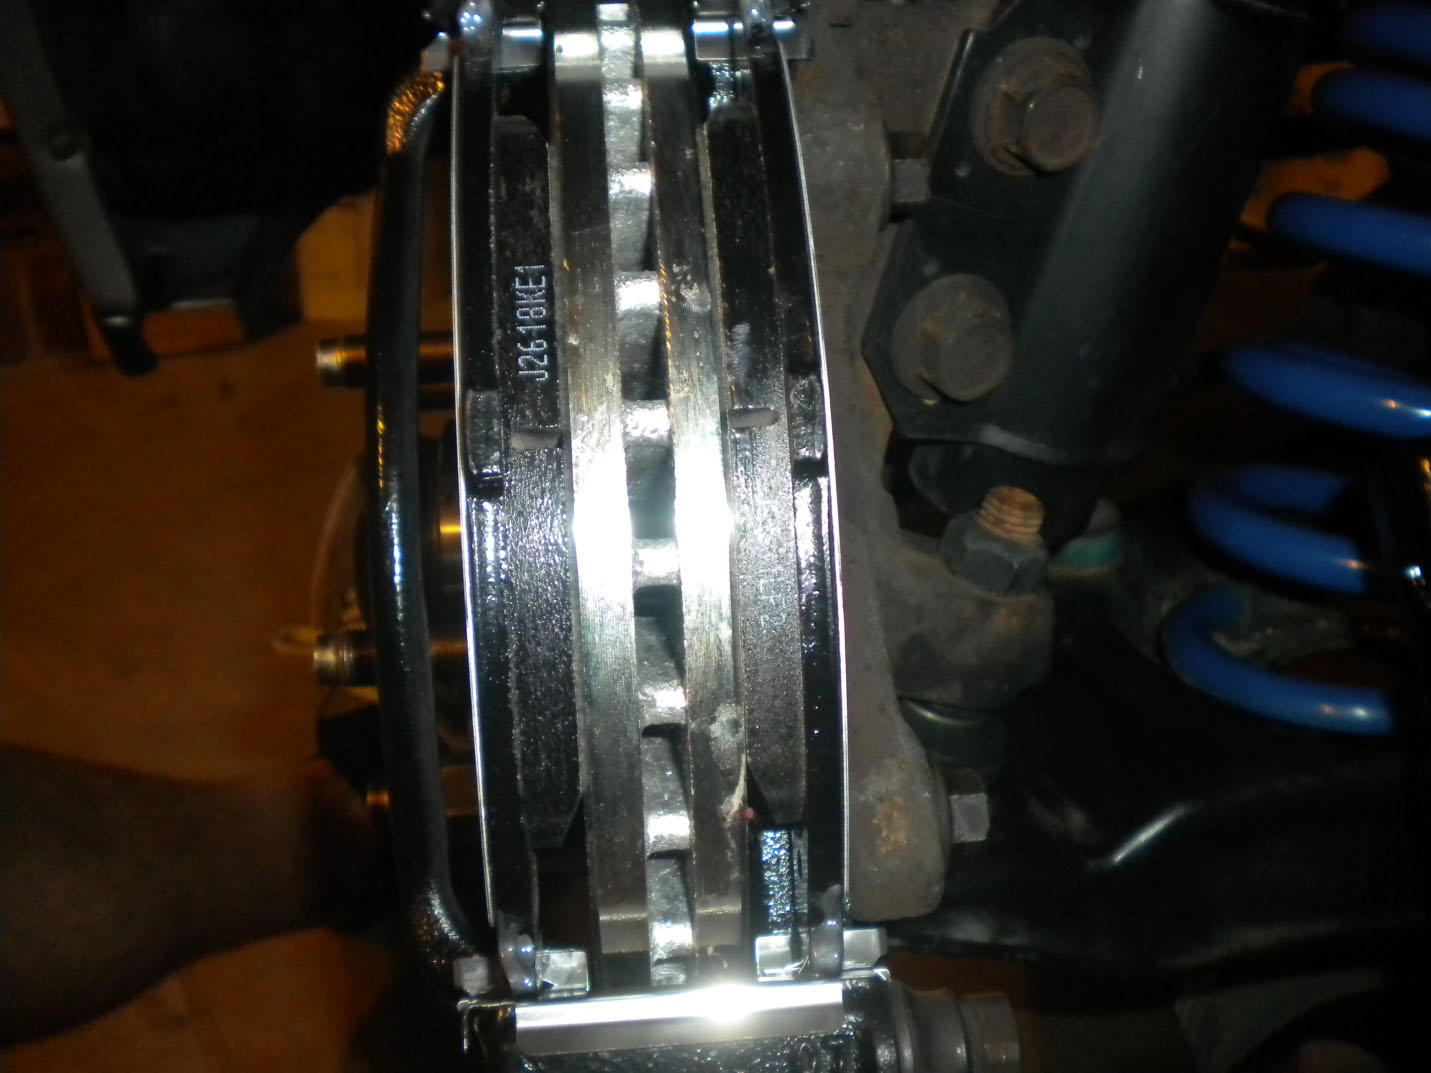
10. Replace the studs into the caliper bracket, and position the caliper over the brake pads. There should be no issue putting the caliper on as the pistons have already been pressed in and as long as the brake pads are correctly oriented.
11. Bolt the caliper to the caliper bracket using the 12mm socket and the torque wrench. Torque the bolts to 25 lb-ft.
12. Re-mount the wheels and tighten them as much as possible with the wheels off the ground. Lower the vehicle to where the tires just barely contact the ground, and then put the final torque on the lugs (90 lb-ft).
13. Different brake pad manufactures call for different “break in” periods for their pads. These Akebono ProAct brake pads actually require no real break in period according to the manufacturer’s website. To confirm this, (as I had my doubts about a brake pad that has no required break in period) I called Akebono customer service and they assured me that after the pads are installed, they are ready to go. Despite the Akebono representatives’ reassurance, and since I also replaced my rotors, I decided to follow the brake bedding procedure according to the brake rotor manufacturer (Baer). This included 5 moderate to aggressive stops from 40-5 mph without letting the brakes cool, followed by 5 moderate stops from 25 to 5 mph letting the brakes cool after each application.
14. Note that after driving the car for a day or so, the brake fluid level will most likely have dropped slightly. If so, add brake fluid to the reservoir until the fluid level is even or slightly below the max fill line located on the side of the reservoir.
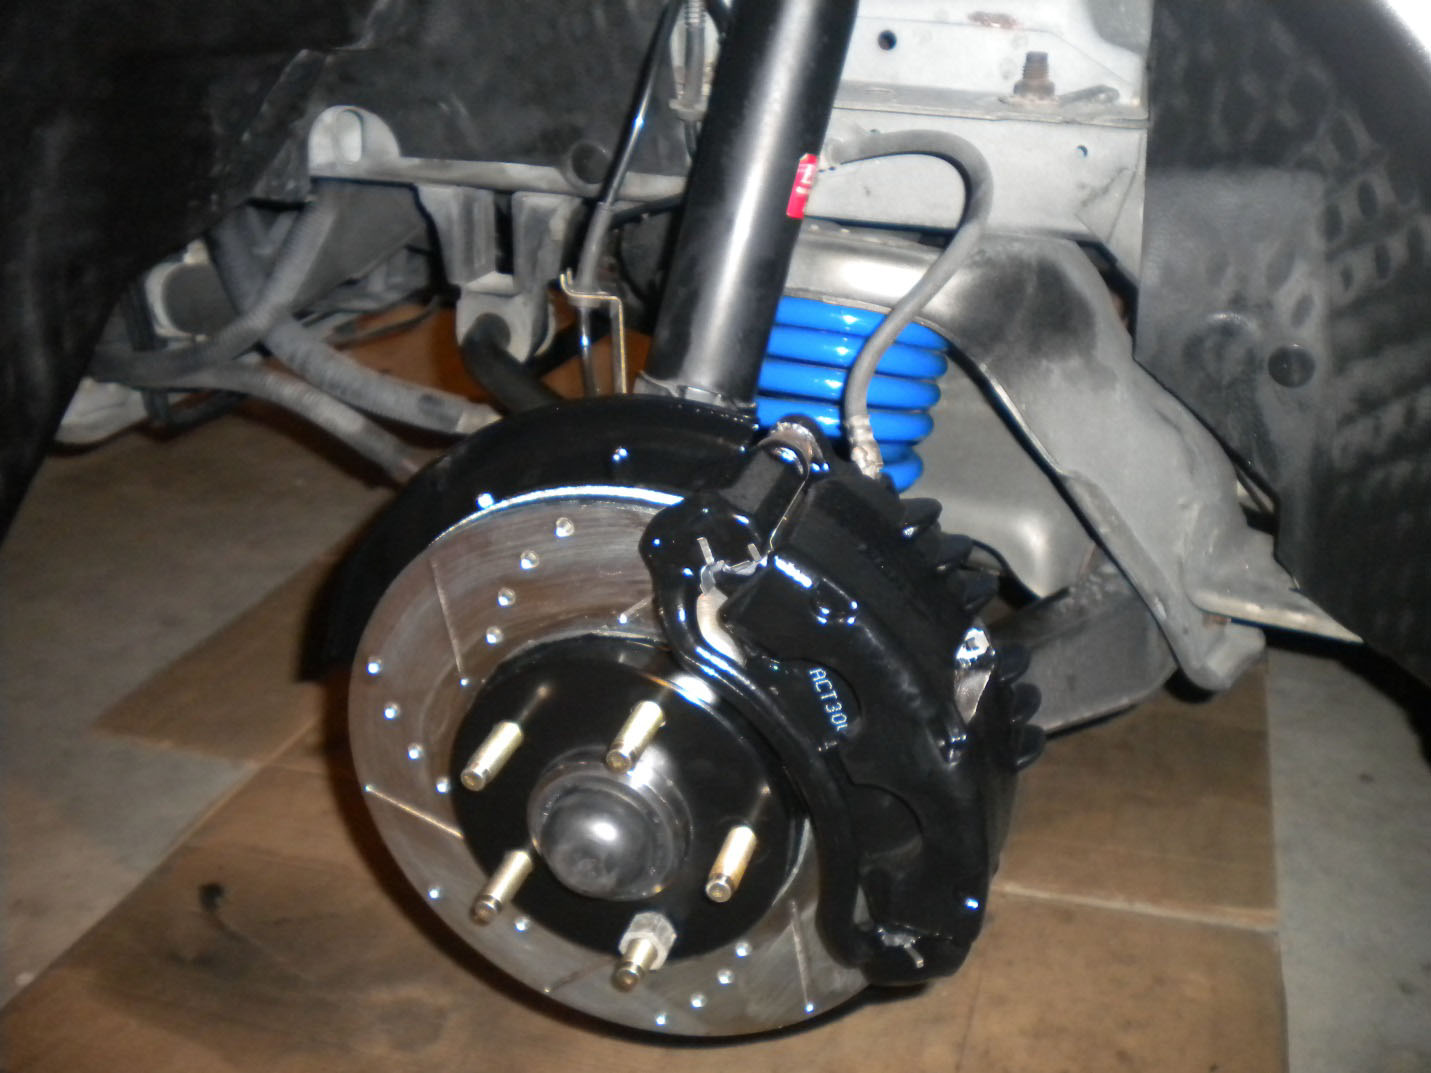
Installation Instructions written by AmericanMuscle Customer John Collmann 5/1/2013

