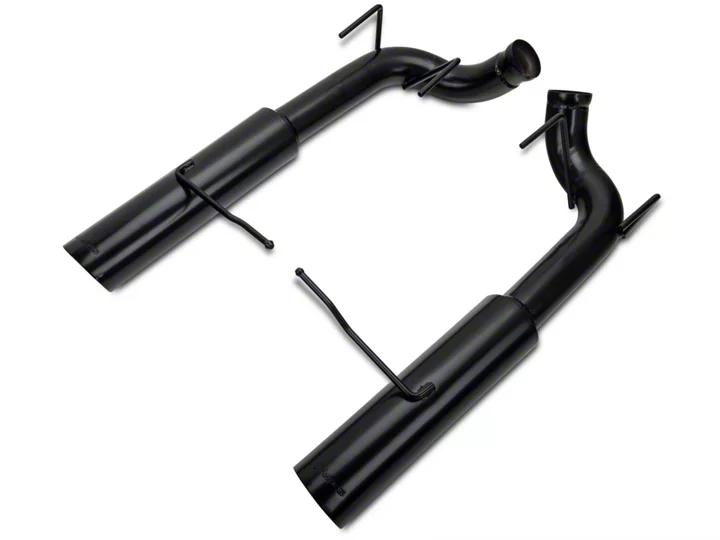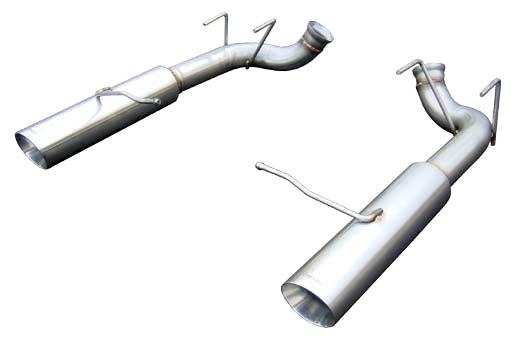
How To Install a Pypes Black Pype-Bomb Axle-Back Exhaust on your 2011-2014 V6 Mustang
Installation Time
1 hours
Tools Required
- 1 Pair of Jack Stands
- 13mm socket or wrench
- 15mm socket or wrench
- Cut off Wheel or hacksaw
- Penetrating Oil

Shop Parts in this Guide
Pypes Performance Exhaust
2705 Clemens Road Suite B-103 Hatfield, PA 19440
800-421-3890 (voice) 267-638-3507 (fax)
www.pypesexhaust.com
SFM76MS / SFM79MS
SFM76MS: 2011-13 5.0 304 Stainless Pype Bomb, 4” tip.
SFM79MS: 2011-13 V6 304 Stainless Pype Bomb, 4” tip.
Thanks again for purchasing your new stainless steel Pypes Performance Exhaust 2011 Ford Mustang Axle-back system. Please be sure to confirm all the components in the kit were received in your shipment before beginning installation. If you find any components missing, please contact our office at 800-421-3890 for replacement. . For a quicker and tighter installation, air tools are recommended. Technical assistance is available both online at www.pypesexhaust.com or 800-421-3890.
1. Begin by placing the vehicle on a lift or four jack stands at maximum height. This will aid in an easier installation.
2. Unbolt the factory band clamps (13mm wrench) connecting your factory axle-back to your mid-pipes also loosen the two butt clamps (15mm socket) that connect your midpipes to the H of X-pipe. Soaking your factory rubber mounting points with penetrating oil to allow for easier removal. Next, remove both factory mufflers from under the car.
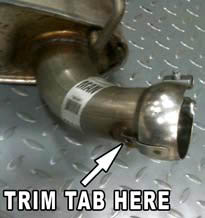
3. In this kit it’s is necessary to reuse the factory clamps that are attached to the axle back. Remove them by cutting the tab that connects the clamp to the factory muffler. Trim the tabs as close to the clamp as possible. Make sure to remove all burs from the clamps.

4. To aid in the installation of your new Pype Bomb Axleback remove the factory exhaust hanging brackets closest to the front of the car from the framerail (13mm wrench or socket). Preinstall them on the axleback wire forms keeping the same orientation as they where on the framrail. Now you can install you axleback starting with the 13mm bolts that hold the hanger bracket to the frame making sure that the locating pin is in it proper hole. Next install rear most rubber hanger to the wire form.
5. At this point you can attach the Axle Back to the factory mid-pipe using the recycled clamps. Just get the clamps snug at this point so proper alignment can be performed. Remember this is a ball socket style connection that allows for some misalignment without compromising seal.
6. Once you are happy with the alignment of the Axleback you can finish tightening the clamps. We recommend the use of air tools for this step.
Note: If you find the new tips are not aligned properly in the bumper cutouts, you may need to adjust your factory midpipes by loosening the two band clamps located where your factory h-pipe meets the mid-pipes. A slight rotation of the mid pipes will allow for the best fit.
7. Be sure to check all the connection points periodically, as they may come loose. Now it’s time to fire up that muscle car and enjoy your new Pypes Performance Exhaust.


