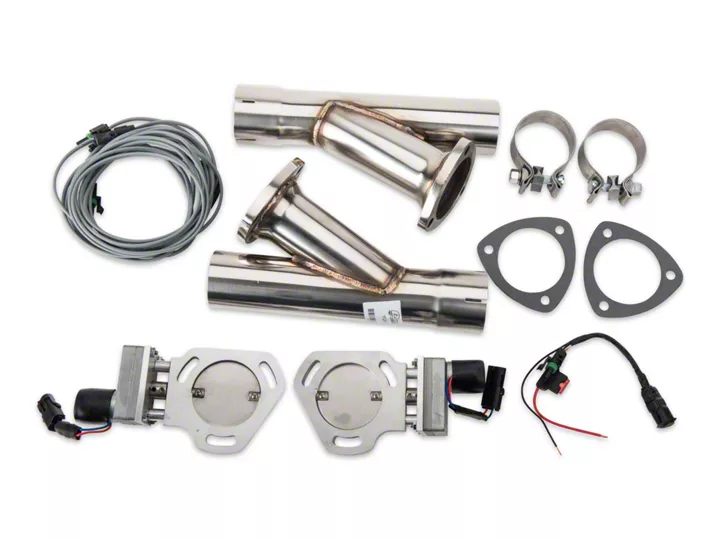
Pypes Electric Exhaust Cutout Kit - Installation Instructions

Shop Parts in this Guide
Installation
1. Begin to determine where you are going to place your new kit. The valve opening should point towards the rear of the vehicle and at a slight angle to the ground and away from anything that may be melted. If you are utilizing one of our Pypes X-Changex-pipes, bolt the cutouts directly to the flanges.
2. Determine wire harness routing, and your body pass through hole location to connect the harness to the switch. Make sure to keep the wiring away from the actual exhaust system and moving parts; drive shaft, steering shaft, shift linkage and brake pedal shaft.
3. Find a location to mount the switch. Connect the switch to the female weather-pak connector on the wiring harness. Once 12 volts is added you will able to decide you want open to be. The 10 amp fused 12 volt ( ) wire (Red or White) should be connected to a 12volt ( ) circuit only. The 12 volt (-) wire (Black or Brown) should be grounded to the body or frame. Some may choose to extend the wire and go directly to the (-) battery terminal. Failure to properly power the cutouts will void the warranty.
4. Before starting the engine, make sure the cutouts are opening and closing properly without binding up.
5. Fire the engine and let them scream! Open cutouts have the most power and gain the most attention. Close them to become the street sleeper.
Installation instructions provided by Pypes Performance Exhausts.

