Guaranteed 12/24 Delivery Still Available see item page for details! available on most items - Details
How to Install a Raxiom Reverse Light LED Conversion Kit on your 2010-2012 Mustang

Shop Parts in this Guide
Tools Required: 11 MM Deep well socket
Approximate Time: 10 Minutes
Installation Instructions:
1. Remove the clip so that the back panel of the trunk can be gently pulled forward. It can be blocked to allow better access.
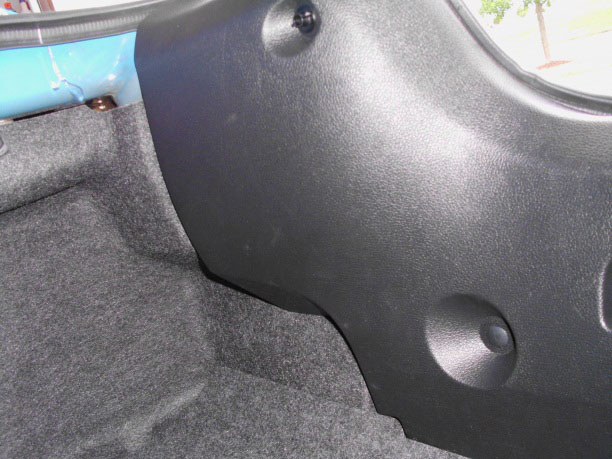
2. Remove the (3) 11mm nuts holding the light fixture in place. You will need to pull the trunk carpet forward slightly to access the outboard nut.
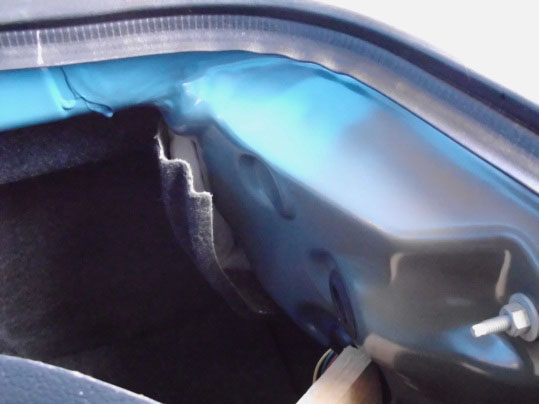
3. Once nuts are removed, slide the entire light fixture out a few inches.
4. Remove the existing light bulbs by turning the (2) gray sockets 1/8 turn CCW.
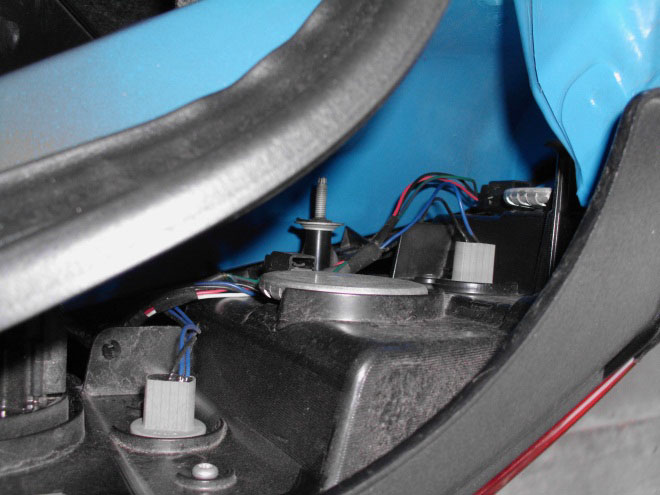
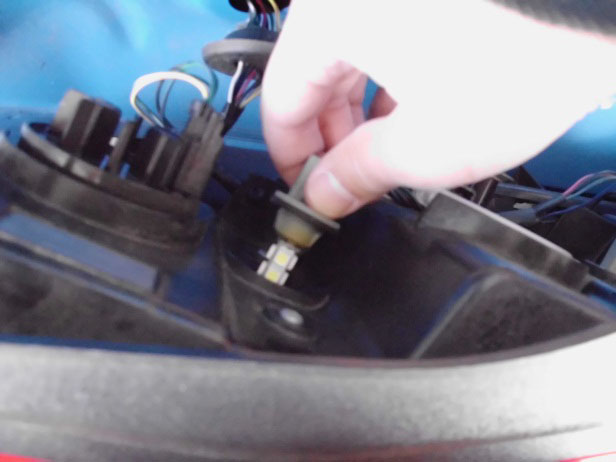
5. Replace the bulbs
6. Return the holder with the new bulb back into the fixture. Turn the socket 1/8 turn CW to re- secure it.
7. Slide the tail light fixture back in to place. Reattach the fixture with the (3) 11mm nuts and secure the trunk panel.
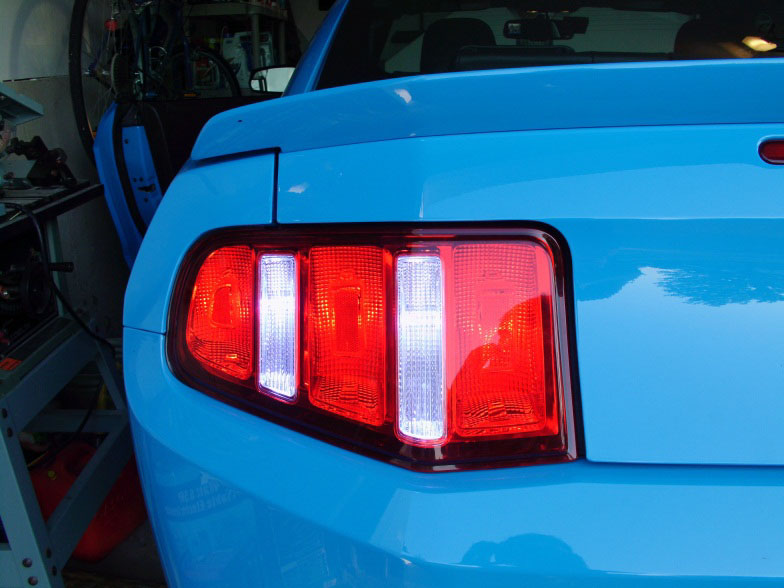
Installation Instructions written by AmericanMuscle customer Eric Jogun 6.13.2012
