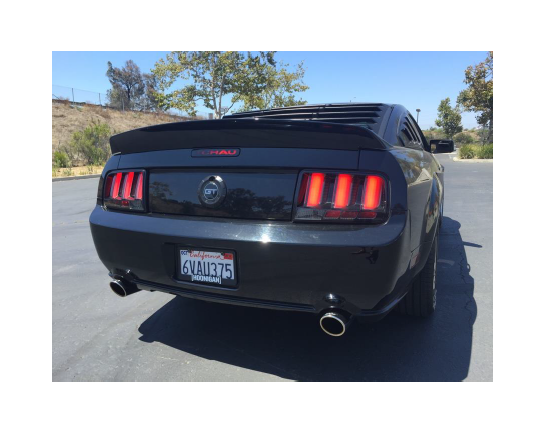
How to Install Raxiom Smoked Vector Tail Lights - White Diffusers on your Mustang
Installation Time
2 hours
Tools Required
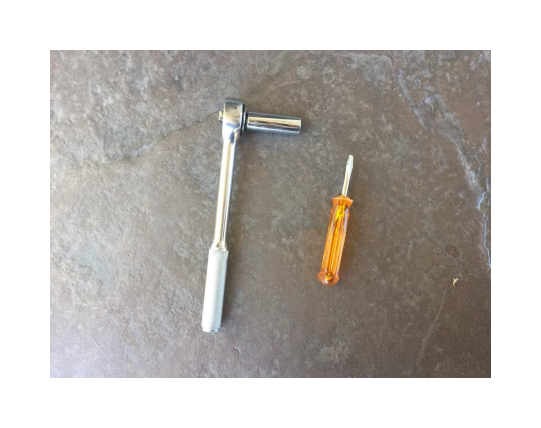
- 11mm Deep Socket & Ratchet
- Slotted Screw Driver

Shop Parts in this Guide

Installation Procedures
1. Once you have your new lights unboxed and ready to go, gather an 11mm socket and slotted screw driver and open the trunk.
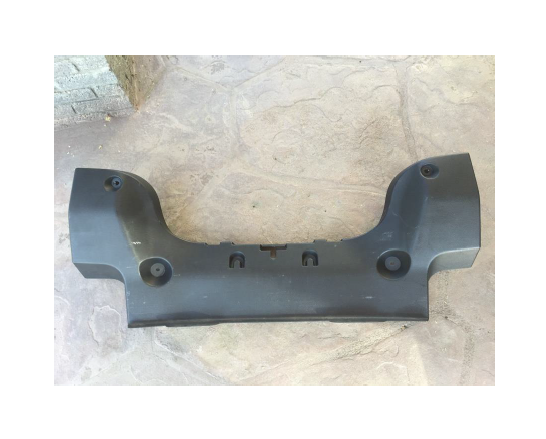
2. The plastic trunk panel is held on by FOUR small black clips (Blue Arrows) and TWO hand twisted screws (Green Arrows) on both sides at the top and bottom. Unfasten all SIX retainers (Step 3 &4)
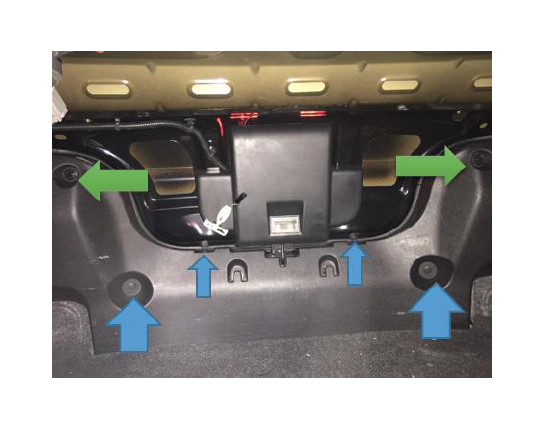
3. Take the slotted screw driver and pry out the FOUR plastic clips.
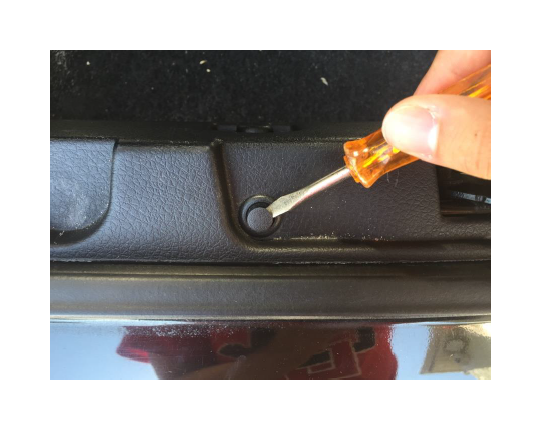
4. With your hand, unscrew the top TWO screws on both sides.
5. Once all of the clips are out, the panel should slip out easily. Set aside, as this will give you more working space to access to the nuts holding the tail lights on.
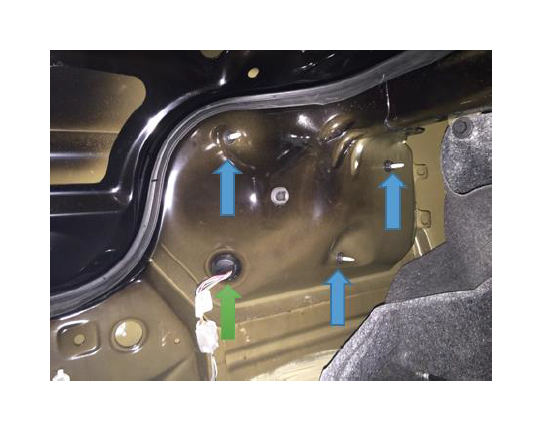
6. There are THREE nuts (Blue Arrows) on each side holding the tail lights on. The wiring harness also passes through the body panel in a rubber grommet (Green Arrow).
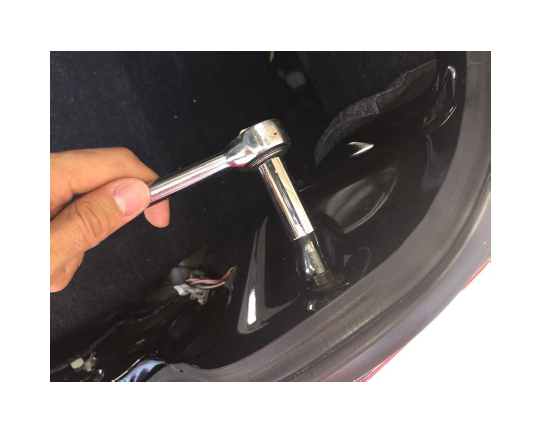
7. Take an 11mm deep socket and remove the nuts on all three bolts
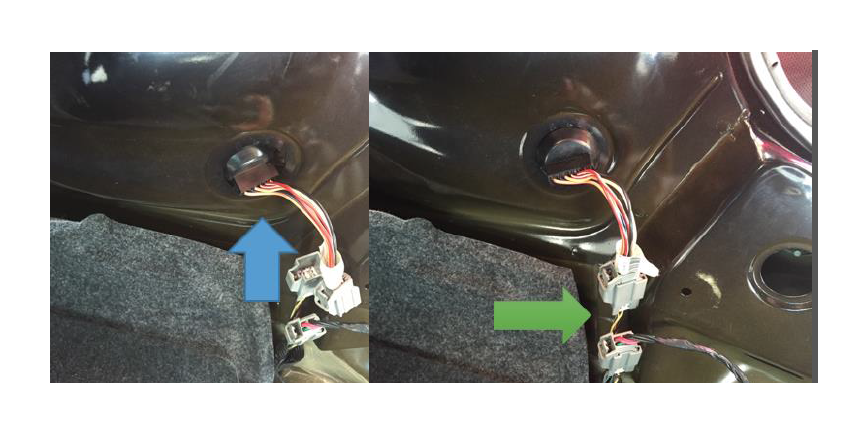
8. Push in rubber Grommet (Blue Arrow) and disconnect the tail light wiring (Green Arrow) out from the socket to release tail lights from harness.
9. Once tail lights are out, install new reverse light bulb (sold seperately) or transfer from previous tail lights. To transfer, twist reverse light bulb harness until release. Hand pull bulb out from socket. Install in new Vector tail lights.
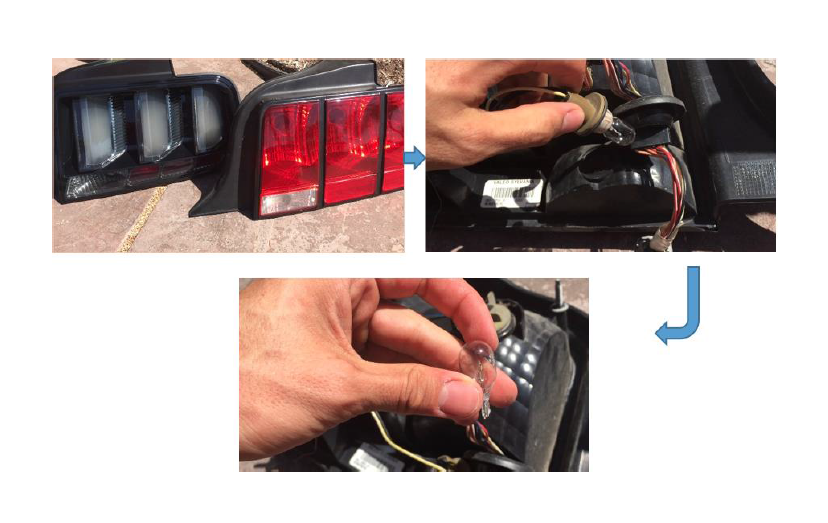
10. Slide the previously installed tail lights out and put the new Vector tail lights in. Organize the wires so that they will not be in the way of any of the three bolts, as this will prevent squishing of the wires, causing the lights not to work.
11. Feed the new wires through the hole and push grommet in until the rubber overlays the hole, making for a watertight seal. Plug the wires from the Vector Tail lights back in.
12. Put the THREE nuts back on and snug them in. DO NOT FASTEN TOO TIGHTLY, as this will crack the bolts.
13. Now you’ve completed one side!
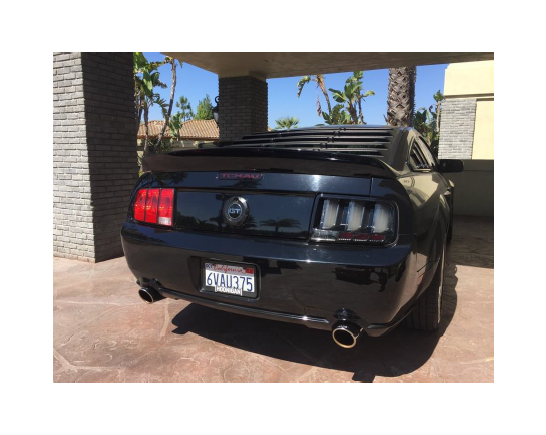
14. Complete the same process on the other side and then you are done!
