FREE 1 to 3-Day Delivery on Orders $119+ Details
Talk to a Mustang Sales Tech
1-877-887-1105
M-F 8:30A-11P, Sat-Sun 8:30A-9P
Best Sellers


How to install Raxiom Tail Light Conversion Trim on your 2010-2012 Mustang
Shop Parts in this Guide
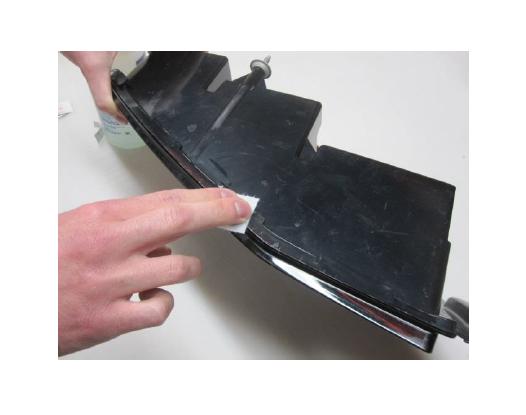
Step 1:
Using the supplied alcohol pads, thoroughly wipe down the area underneath the tail light where the trim will be attached.
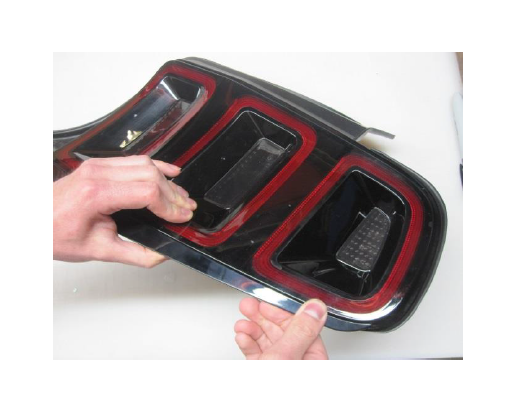
Step 2:
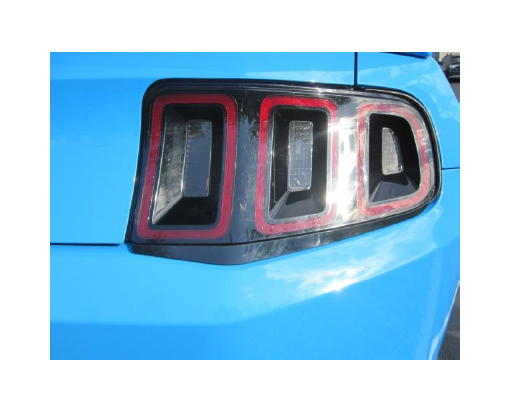
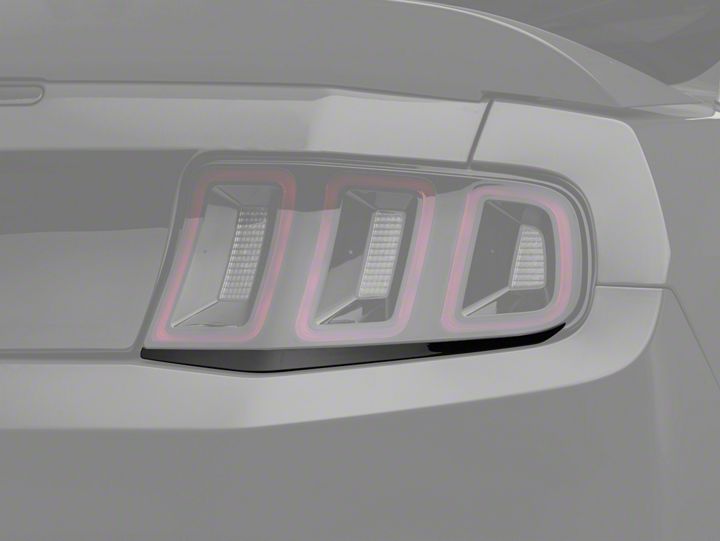
Peel the backing from the adhesive on the trim panel and attach to the underside of tail light as shown. Start with the inside edge of the light and work your way to the outer edge as shown.

Step 3:
Install the tail light onto your vehicle using the factory mounting hardware. Be sure to plug in the electrical connection as well. Repeat Steps 1-3 for opposite side tail light to complete the installation.