
How to Install Roush Cold Air Kit on your Mustang
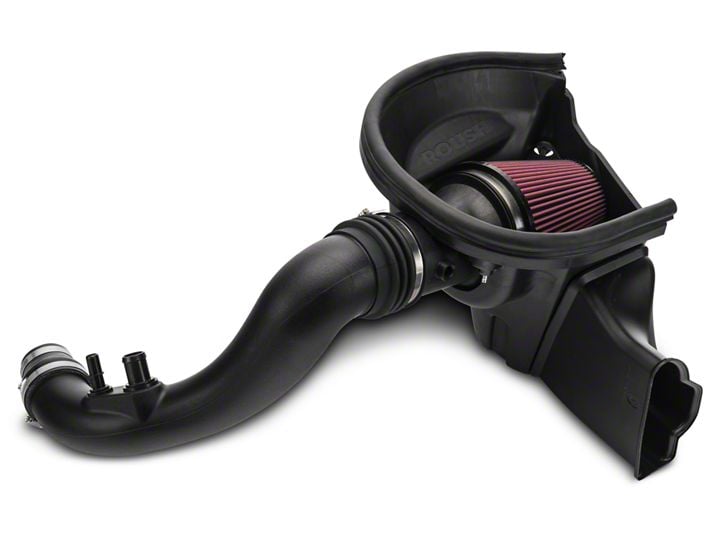
Shop Parts in this Guide
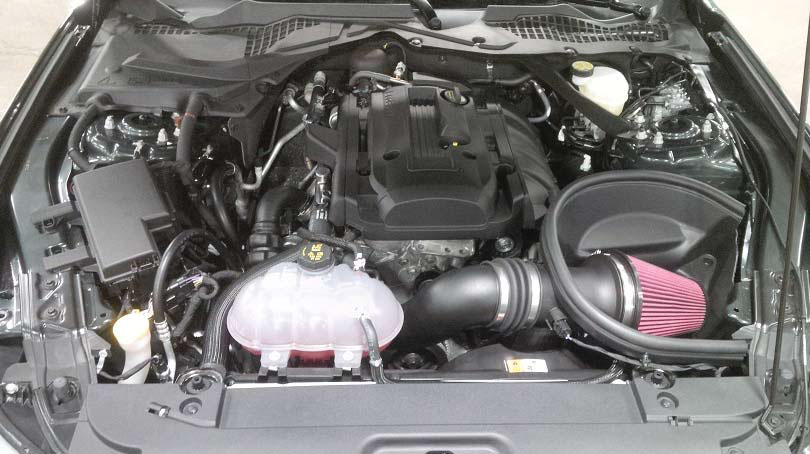
SECTION A – REMOVAL The following section will guide you through the removal of the stock components. Special care should be taken to label fasteners and parts that are taken off during this procedure since many will be reused.
1. Cover both fenders with fender covers to protect the vehicle finish.
2. Disconnect the battery ground cable.
3. Disconnect the air temp sensor connector as shown.
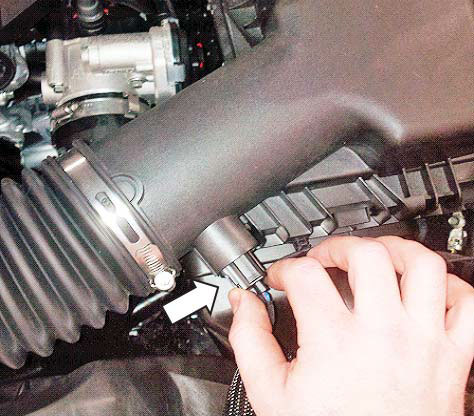
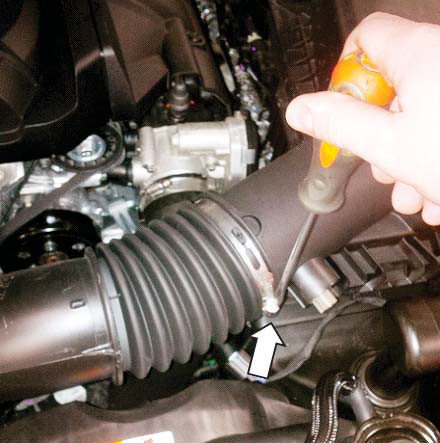
4. Loosen the clamp at the air box from the intake tube.
5. Release the two (2) latches holding the box lid to the lower box.
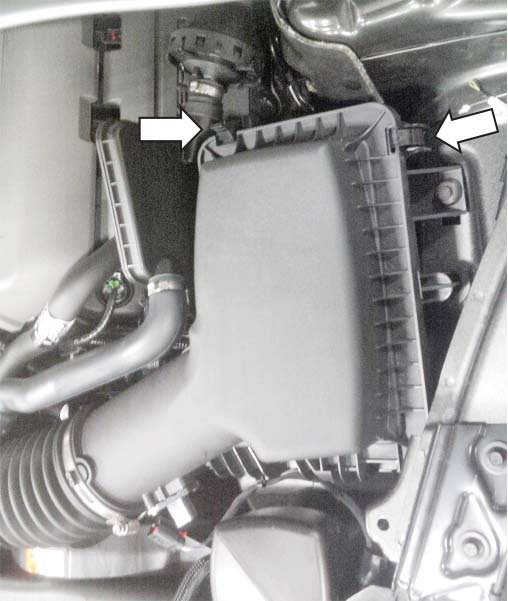
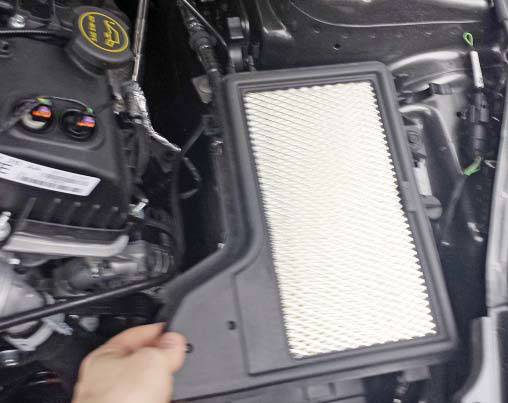
6. Remove the air box lid and fi lter. Retain the lid for use during installation.
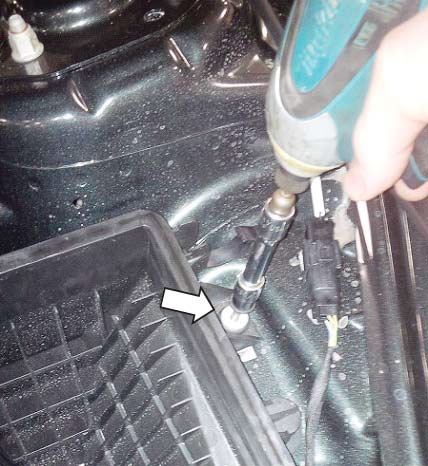
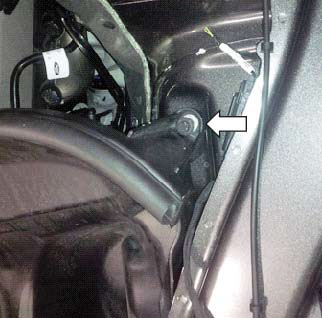
7. Using the 10 mm socket, remove the bolt holding the air box to the inner fender. Retain the bolt as it will be used during installation.
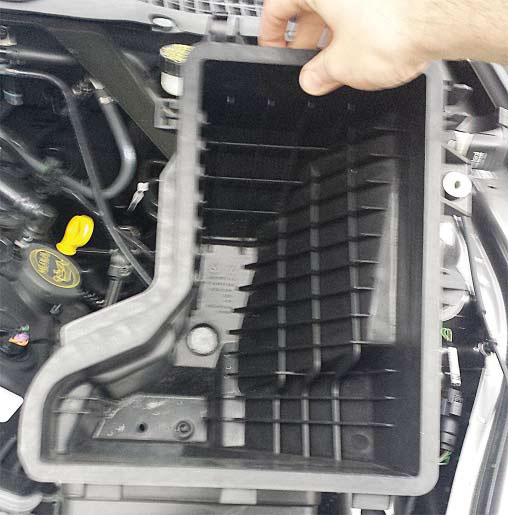
8. Remove the air box tray and dirty air inlet from the vehicle.
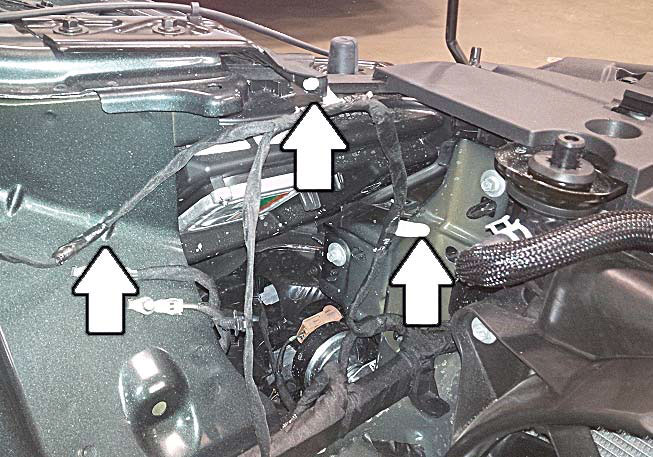
9. Remove the three (3) clips shown on the inner fender to give the slack needed in the wiring harness.
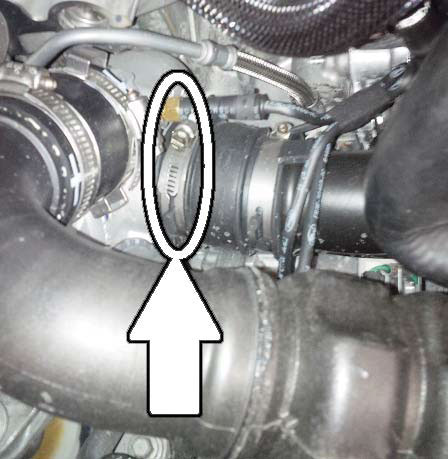
10. Remove the clamp holding the air bypass valve hose.

11. Remove the PCV quick connect fi tting from the stock clean air tube.
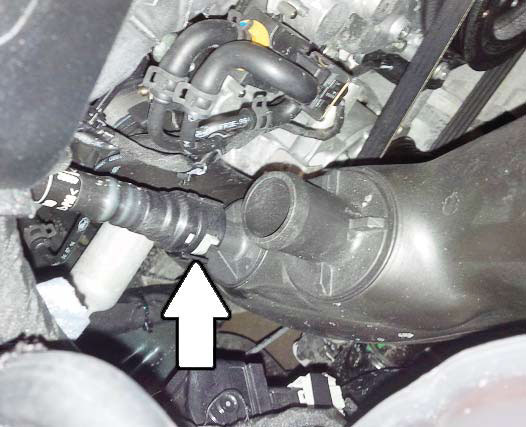
12. Remove the clamp on the turbo inlet end of the clean air tube. Once the clamp is off, you can remove the clean air tube and air box from the vehicle.
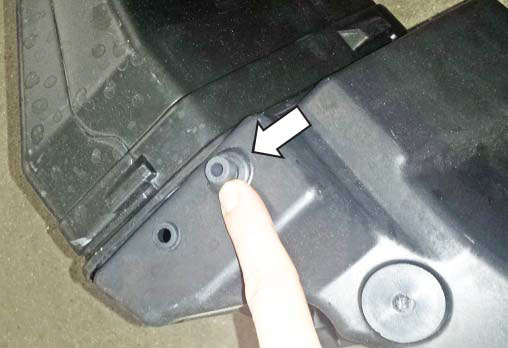
13. Remove the steel bushing and two (2) rubber grommets from the stock air box. Retain these for use during installation.
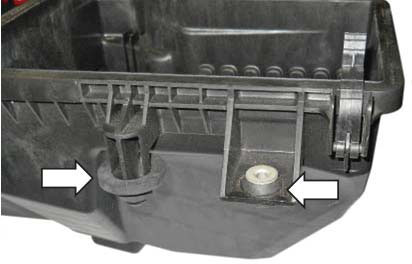
14. Remove the rubber isolator from the bottom of the stock air box tray and retain for use during installation.
Section B Installation
1. Install the rubber grommet that was removed from the stock air box into the ROUSH air box (P/N: 131550-9A612), then insert the steel bushing.
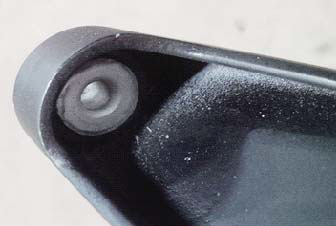
2. Install the second grommet onto the air box (P/N: 131550-9A612).
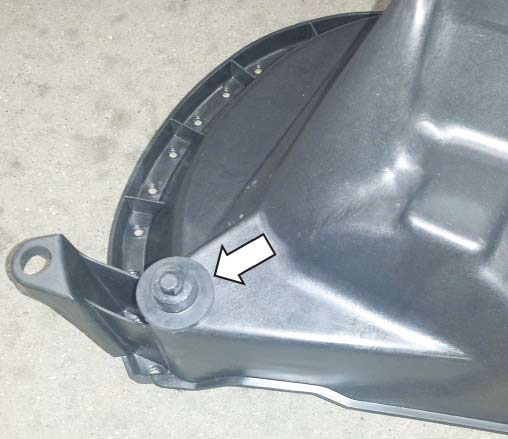
3. Install the rubber isolator into the bottom of the air box (P/N: 131550-9A612).
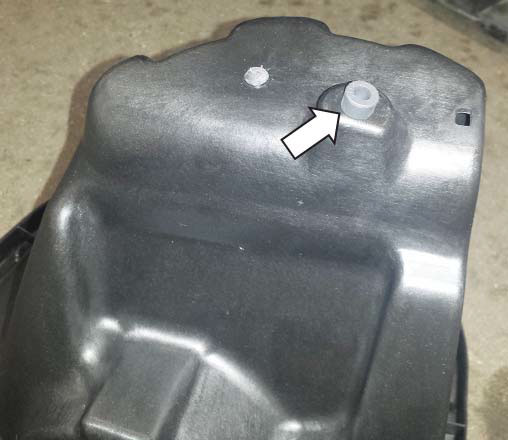
4. Insert the dirty air inlet (P/N: 1315-9F763) into the air box (P/N: 131550-9A612).
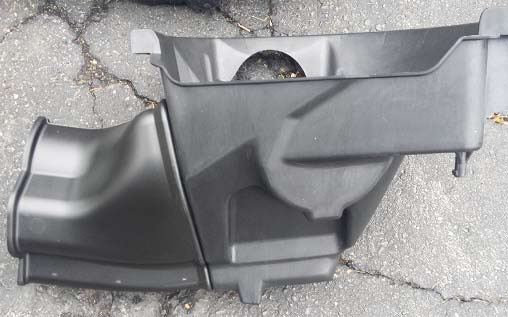
5. Place the bulb seal (P/N: 131550-9C664) onto the top of the air box (P/N: 131550-9A612)
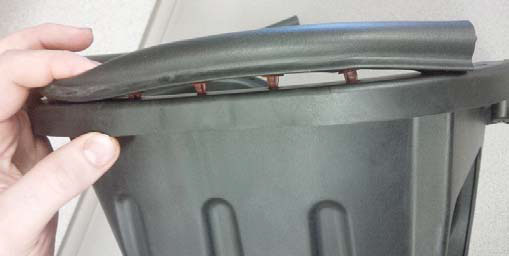
6. Insert the air box assembly into the vehicle
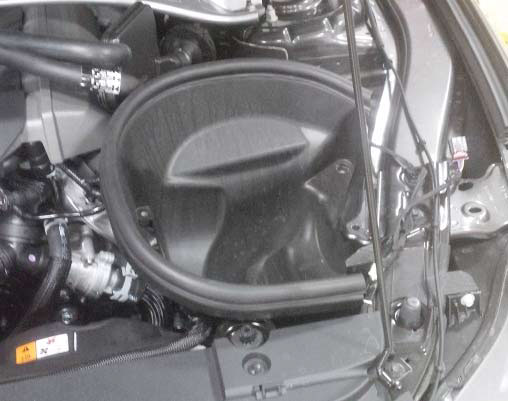
7. Using a 10 mm socket and the bolt removed from the stock air box, attach the air box to the vehicle. Torque to 8 Nm.
8. Loosely attach the air fi lter (P/N: 131550-9601R) to the fi lter tube, leave the clamp loose so you can hide it once installed on the vehicle. Make sure the arrow on the fi lter is 90 degrees to the temperature sensor boss as shown.
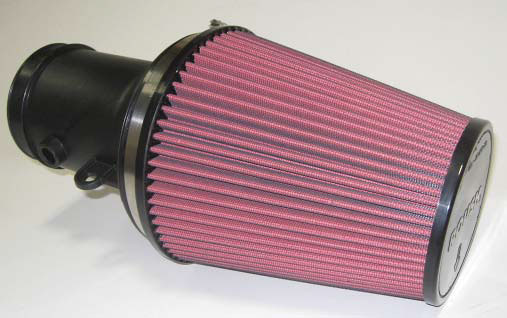
9. Slide the fi lter tube assembly into the air box (P/N: 131550-9A612), making sure the sensor boss is pointed toward the front of the vehicle. Using a 10 mm socket, install the two (2) supplied bolts (P/N: W500224). Torque to 10 Nm. Rotate the air fi lter clamp to a suitable location and torque to 3 Nm.

10. Install the clean air tube coupler (P/N: 131523-SILCP) onto the clean air tube (P/N: 131523-9B659) using hose clamps (P/N: 5340, 5348). Tighten the inner hose clamp to 3 Nm.
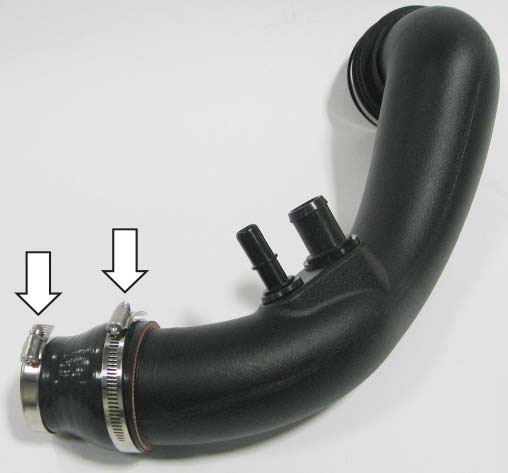
11. Insert clean air tube assembly between the turbo charger and the fi lter tube, tighten hose clamps to 3 Nm.
12. Install the PCV tube with the quick connect (make sure it’s fully seated), followed by the recirculation valve hose with the constant tension clamp.
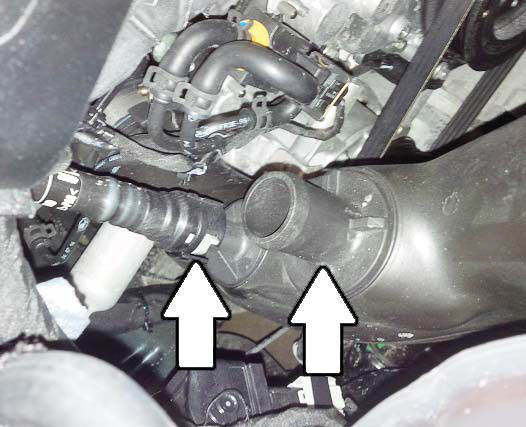
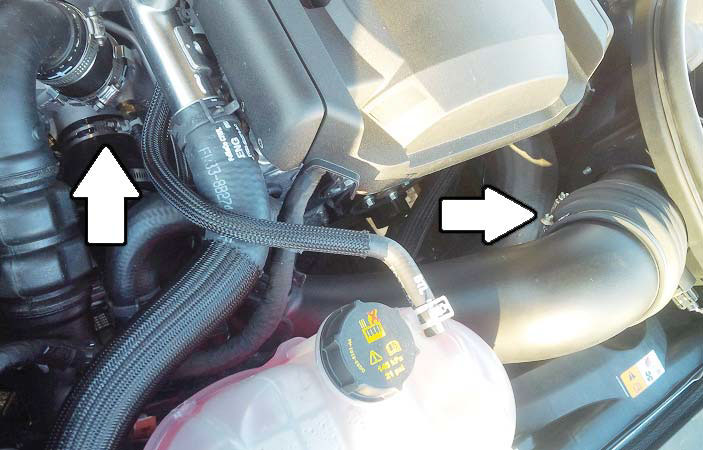
13. Remove the air temp sensor from the factory air box by twisting counterclockwise and re-install into the ROUSH fi lter tube (P/N: 131523-12B579) by twisting clockwise.
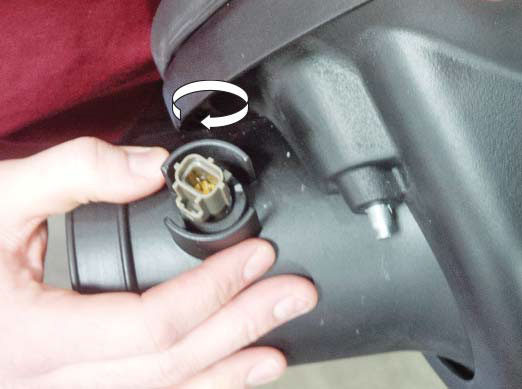
14. Connect the temperature sensor connector


