FREE 1 to 3-Day Delivery on Orders $149+ Details
How To Install a RTR Tactical Performance Competition Spec Axle Back Exhaust on your 2015-2016 GT
Installation Time
1 hours
Tools Required
- Lift, Ramp, or Jack and Stands
- 15mm Socket Wrench
- Sawzall or similar cutting tool
- Tape Measure
- Sharpie Marker
- Eye Protection
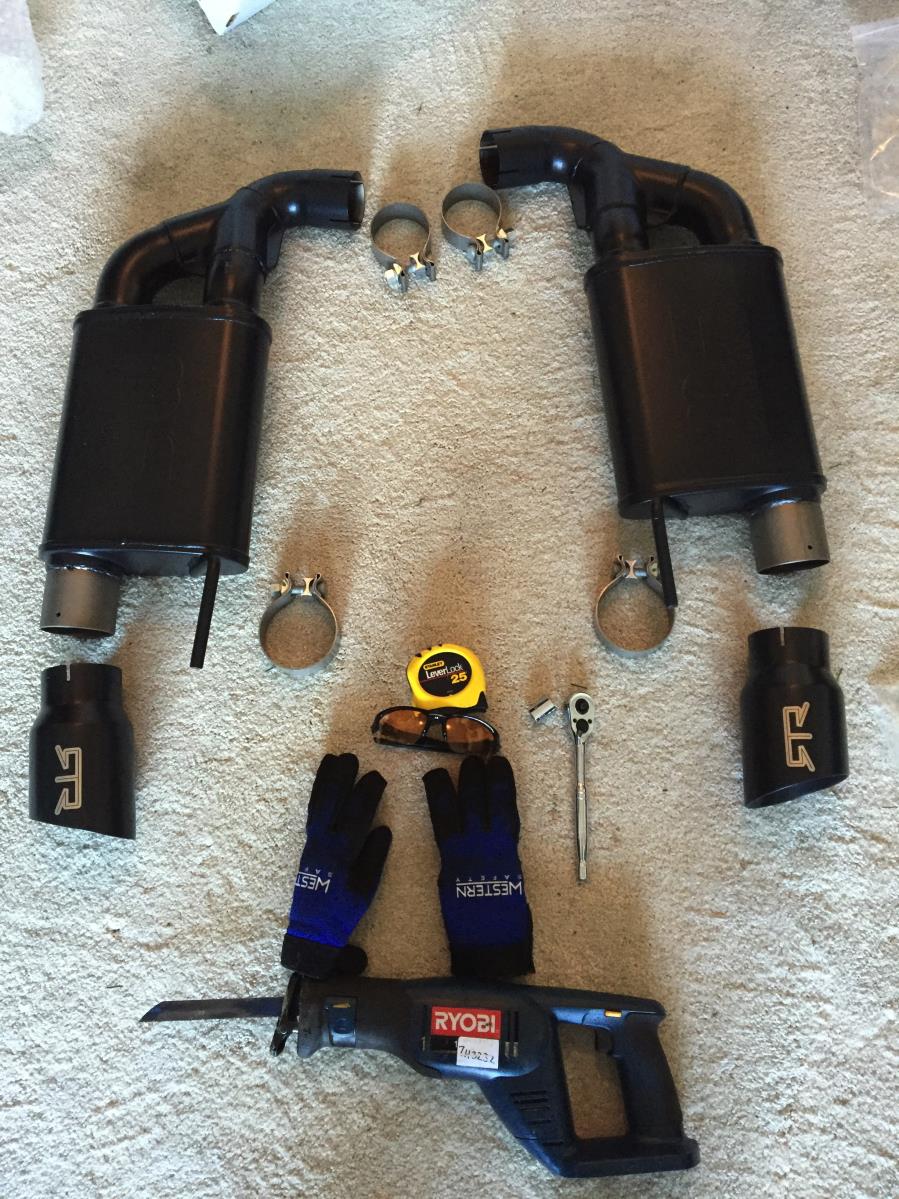
Included in Package
2x mufflers
2x 2.50” clamps
2x exhaust tips
2x 3.00” clamps
Disclaimer:
This instillation requires you to work underneath the vehicle. Please consult your vehicle’s manufacturer manual for correct lifting specifications. Exhaust components may be extremely HOT and can lead to severe burns. Please allow sufficient time for all exhaust components to cool prior to beginning installation. Always use proper safety equipment including gloves, and eye protection.
Exhaust Removal
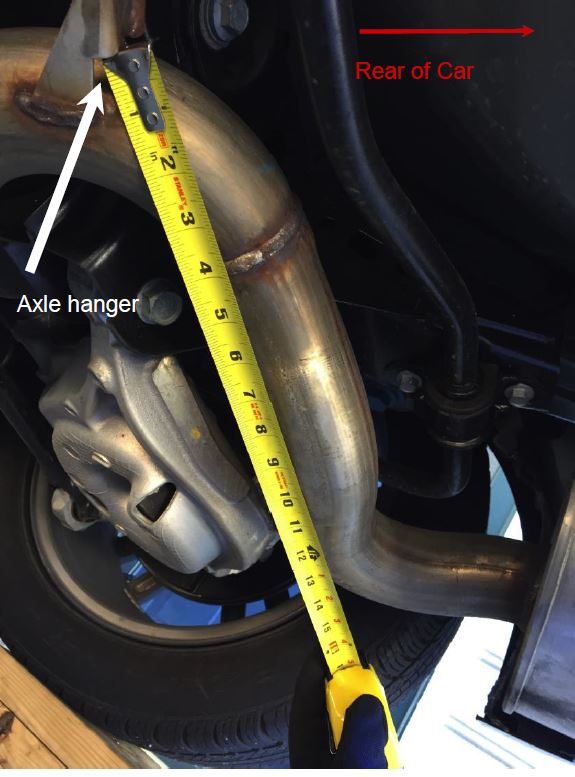
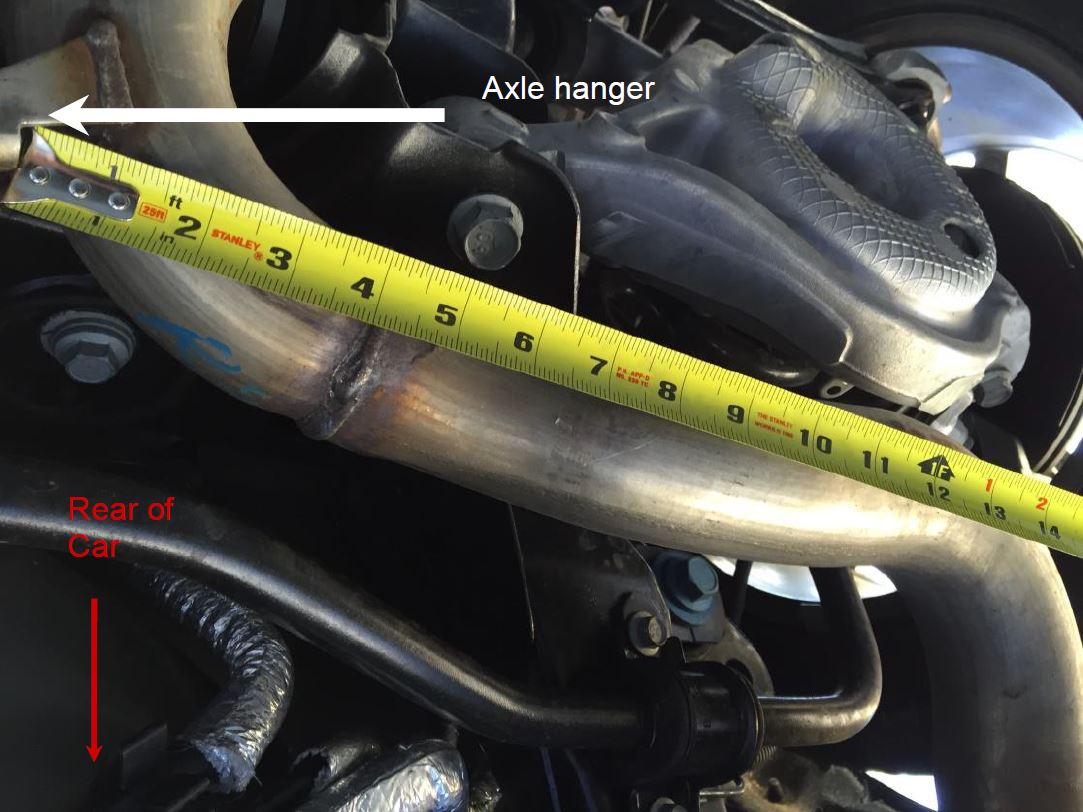
1.) Begin removal by measuring 12.25” from the exhaust hanger by the rear axle. Mark vertically with a sharpie and cut using a sawzall. USE EYE PROTECTION!!!! Repeat for both sides.
HINT: Place tape measure against angled section of hangar near rear axle and measure straight across to the car’s forward edge of the exhaust pipe.
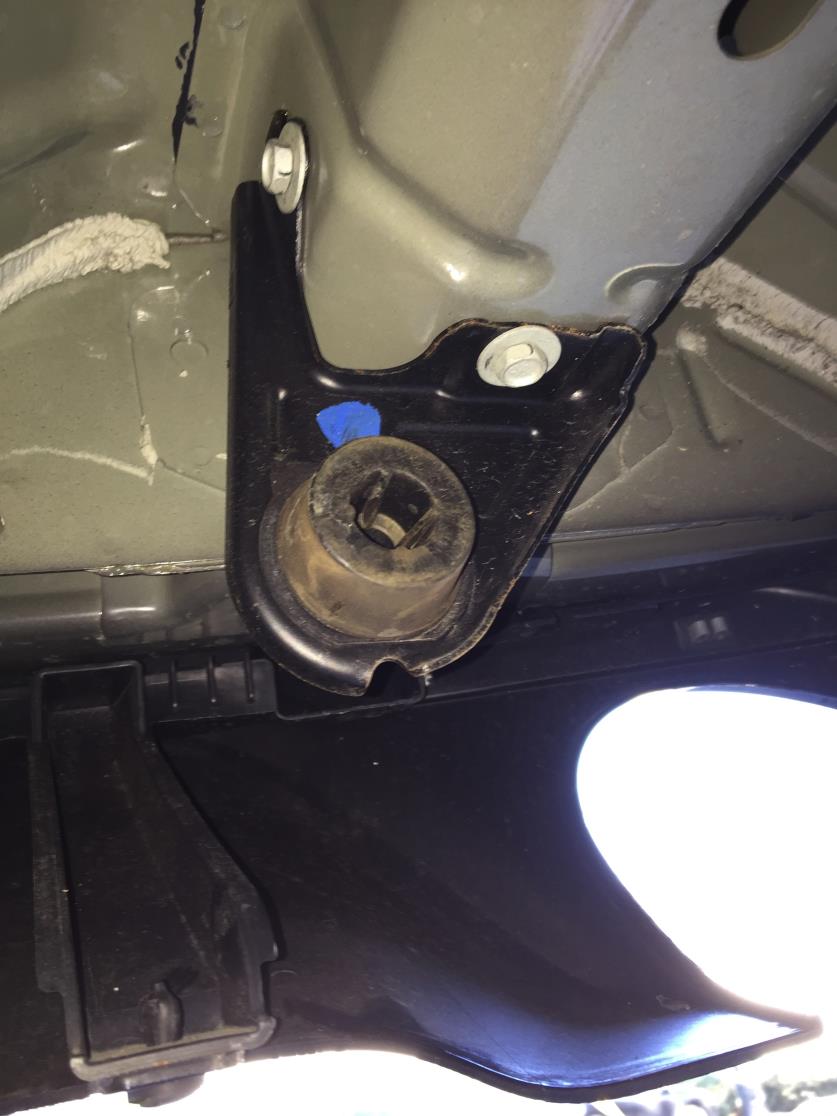
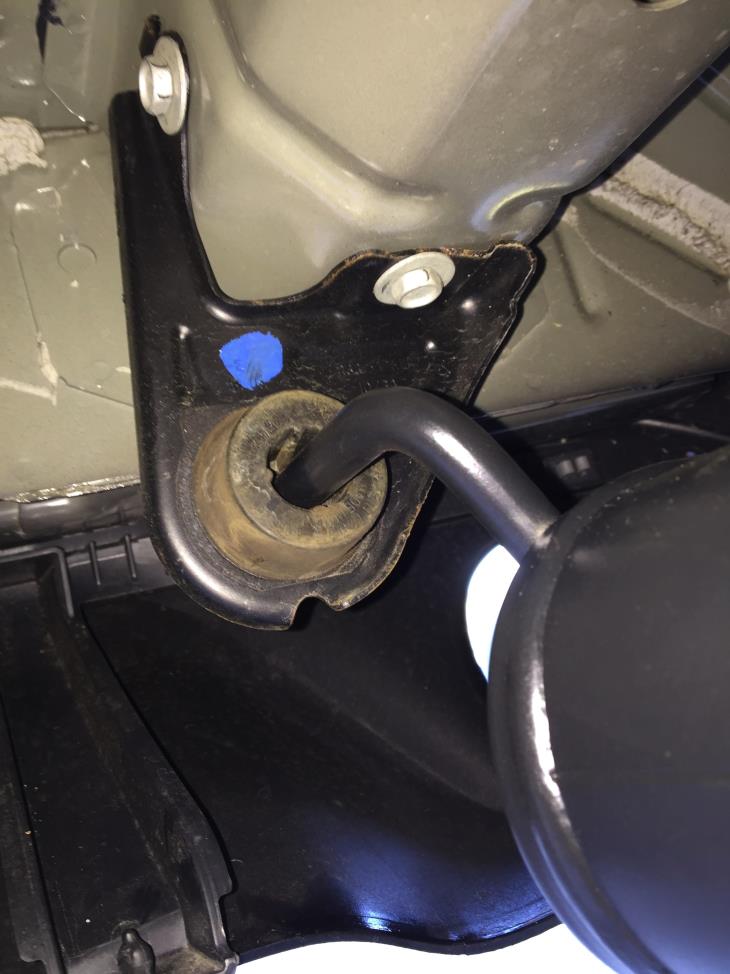
2.) Remove OEM exhaust by supporting the muffler and firmly pulling towards the front of the car. The rear hangar should slide from the rubber grommet securing it. Retain the rubber grommet as it will be used for the new exhaust system. Repeat for both sides
Installation
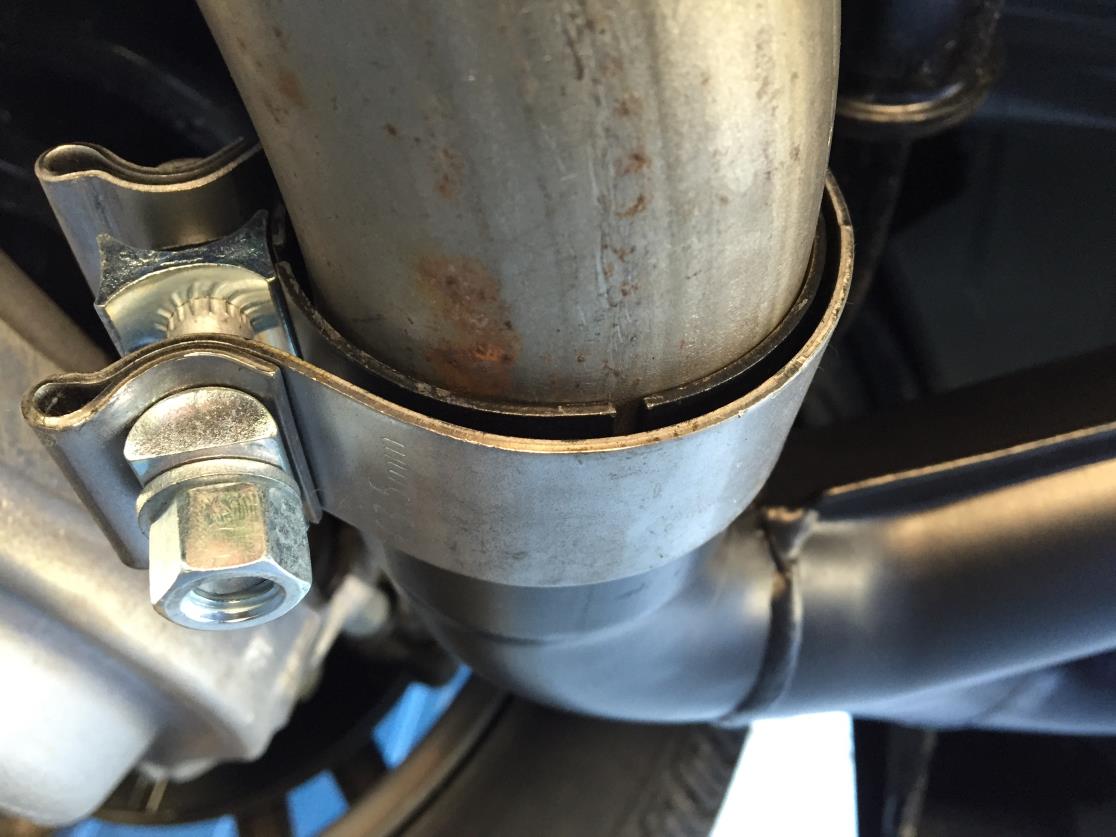
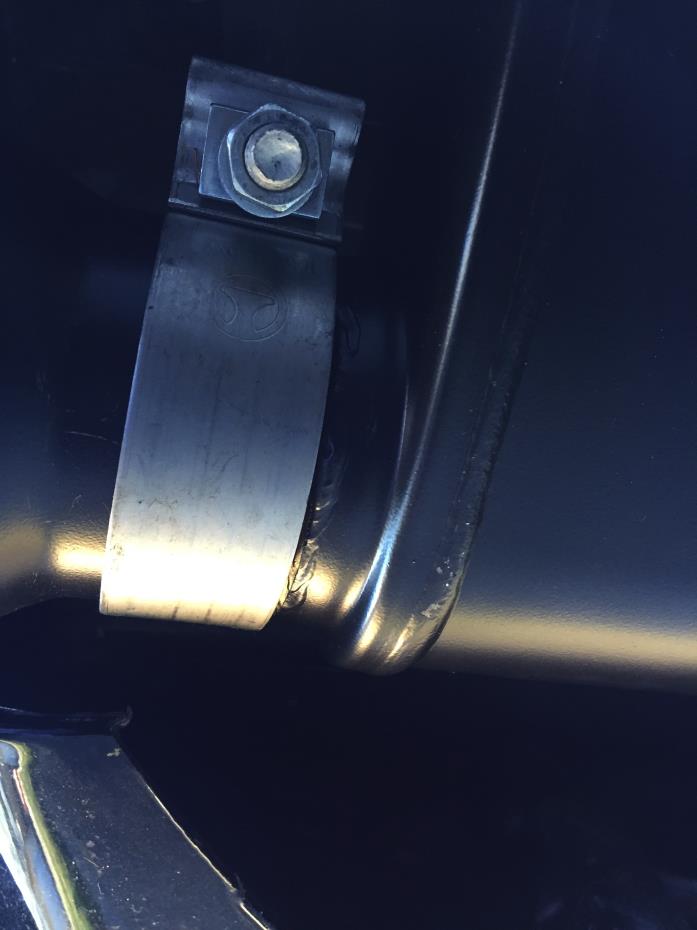
1.) Put 2.50” clamps on muffler section of new exhaust.
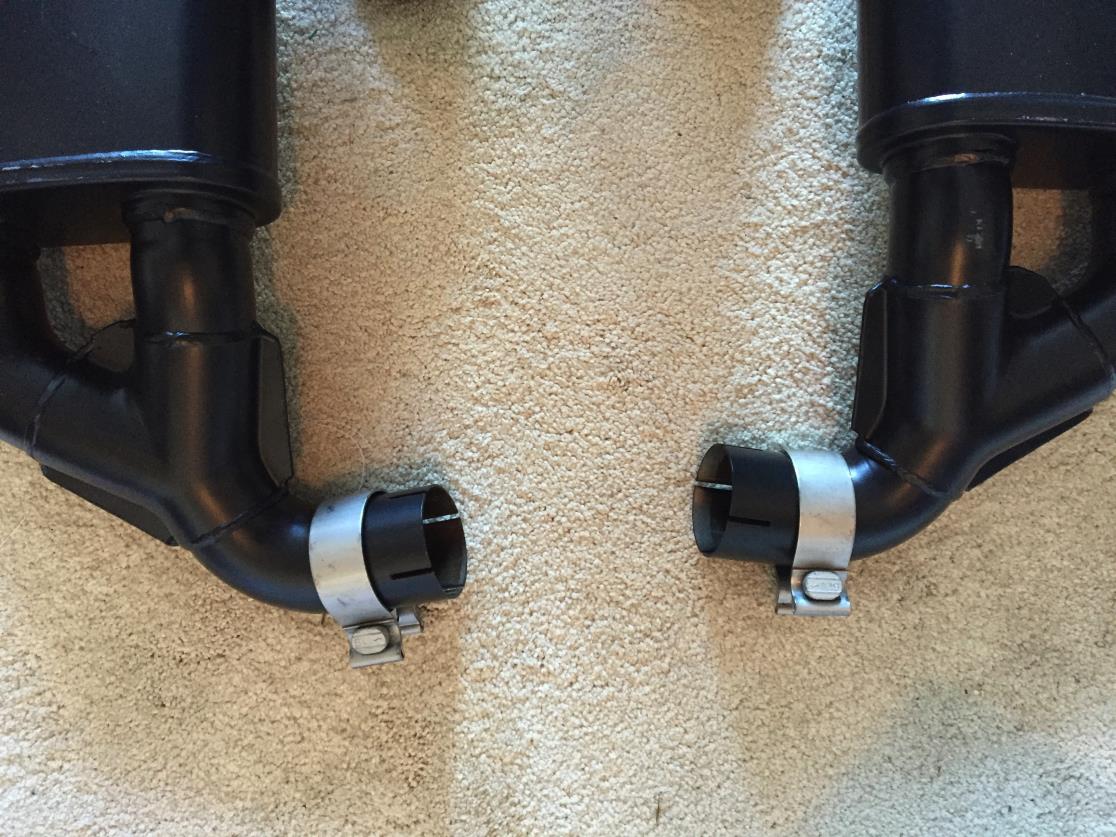
2.) Slide hanger bracket on the new muffler into the OEM rubber grommet. Then slide the cut ends of OEM exhaust into the openings of new exhaust system.
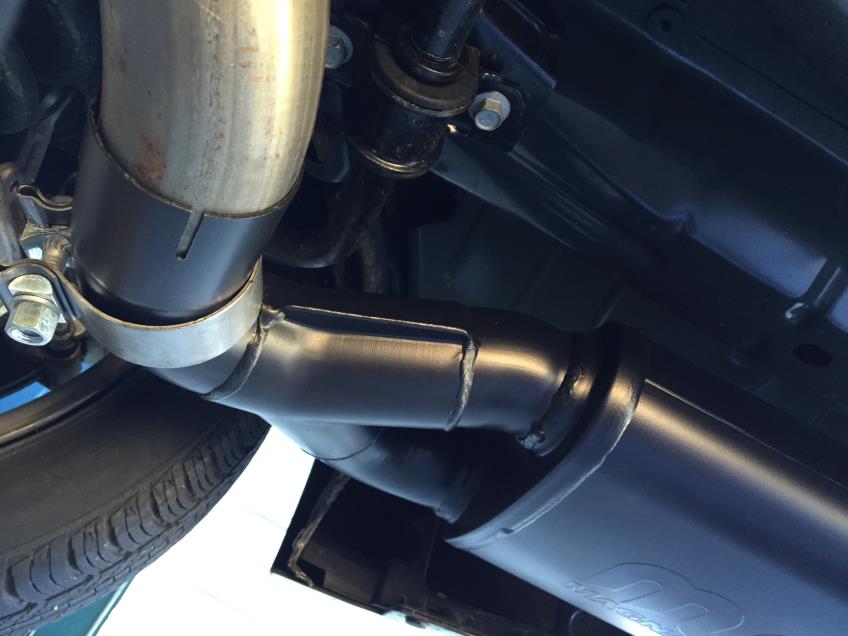
3.) Check notches in new exhaust system and verify there are no gaps between the new and OEM exhaust.
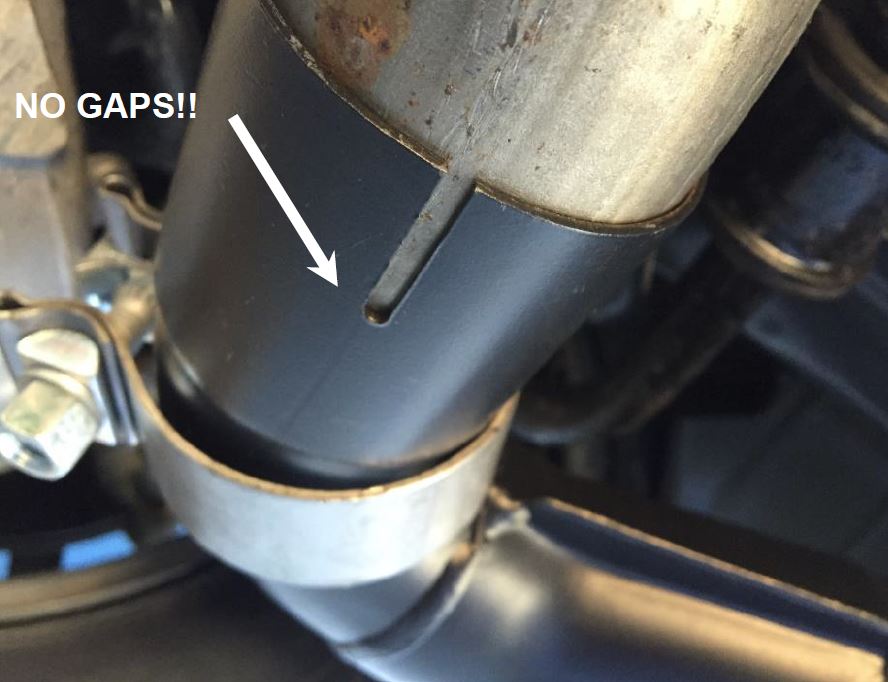
4.) Once everything is in place and no gaps exist, move clamp flush with end of new exhaust and tighten. (40-45 ft/lbs torque).
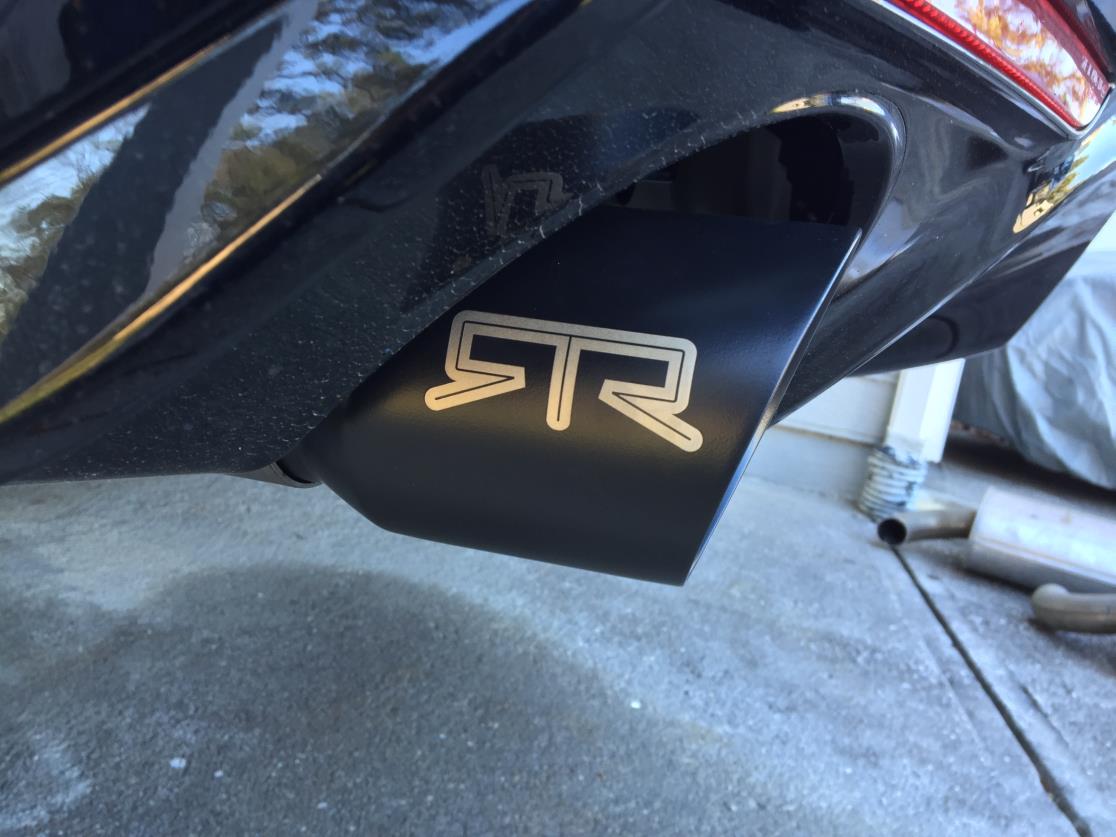
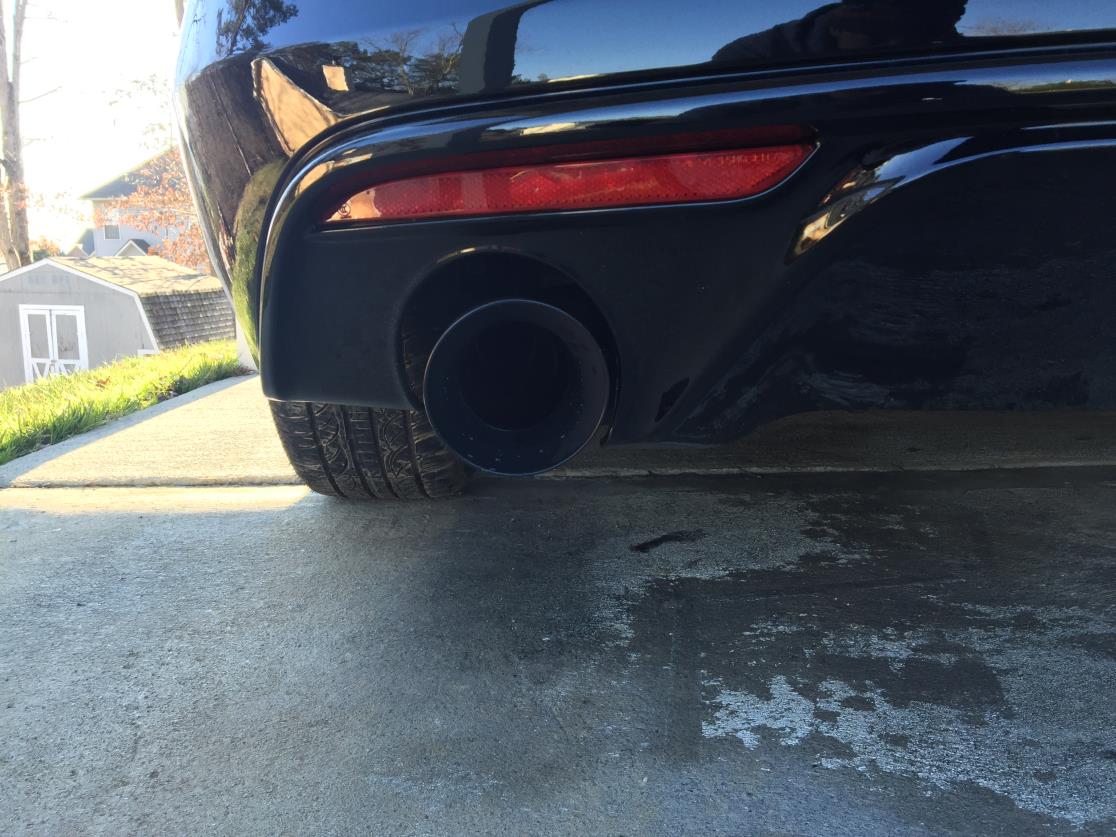
5.) Insert 3.00” clamp on exhaust tips, slide tips on the end of new mufflers, and tighten (40-45 ft/lbs torque).
6.) Start vehicle and inspect all clamped areas for exhaust leaks. If none exist shut down vehicle, lower off lift or stands, and enjoy
Final Note:
After 25-50 miles re-tighten any loose brackets if necessary.