
How To Install an AVS Smoked Hood Deflector on your 2010-2012 V6, GT, BOSS Mustang
Installation Time
2 hours
Tools Required
- Trim removal tool and/or flat head screwdriver
- Air saw with metal blade or Zizz wheel cutter
- Phillips head screwdriver
- Towels and cleaner solution
- RTR Decklid Panel with included installation parts
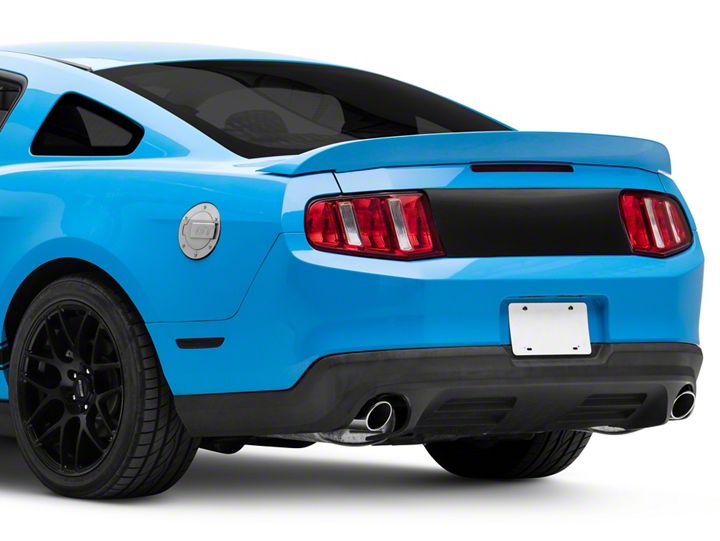
Shop Parts in this Guide
The installation of this part is not for the weak of heart! It requires you to make permanent modification to your trunk by cutting a portion out. If you aren’t comfortable cutting part out of your trunk then stop now!
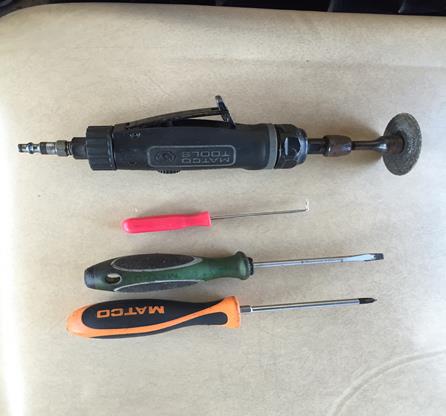
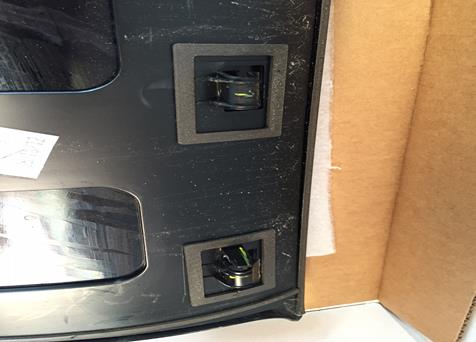
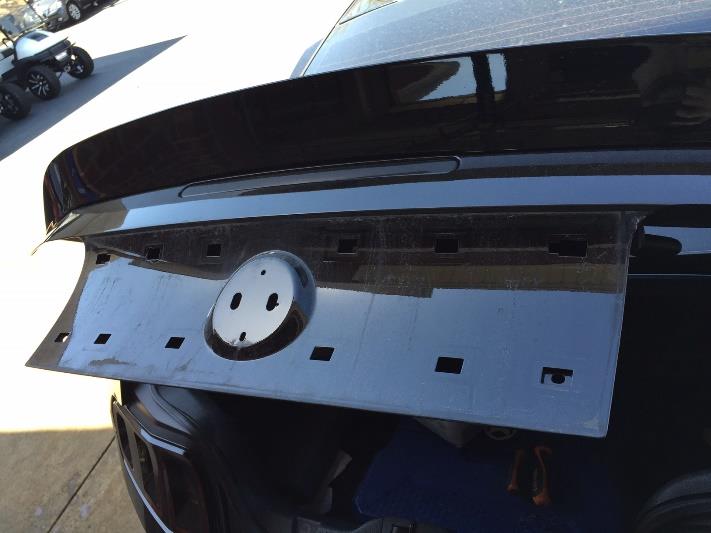
Start by removing the factory decklid panel from your car. I had previously removed mine and modified it before RTR released this panel and thus it was easier for me to do and required less effort and few pictures. The removal of the factory panel is time consuming and aggravating. There are 10 clips and two small screws holding it on. The two screws are inside along the lower edge. (the two screws may be torx bits) They are very small and will not be reused. The clips require a great deal of careful effort and you will need at least two small tools to get them started. I used a long wooden dowel and a hook shaped pick to slowly release each one. Those who are brave enough can use a long flat head and pick or two screwdrivers. The clips are U shaped with one side being molded to the part and the other having an edge that fits in the holes pictured. You can also see the clips pictured.
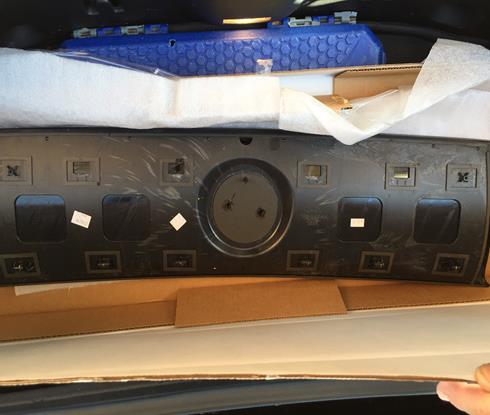
Once you have removed the factory trim panel the decklid will look like this (perhaps less dirty)
At this point you have to cut out the large circular part in the center in order for the RTR panel to sit flush on the trunk lid. RTR’s included instructions call for an airsaw with metal blade, however the motion of the blade could lead to constant banging against the inner wall of the trunk so I opted for using a Zizz Wheel instead. (pictured in the tools above) You then need to cut around the center in order to leave a flat mounting surface.
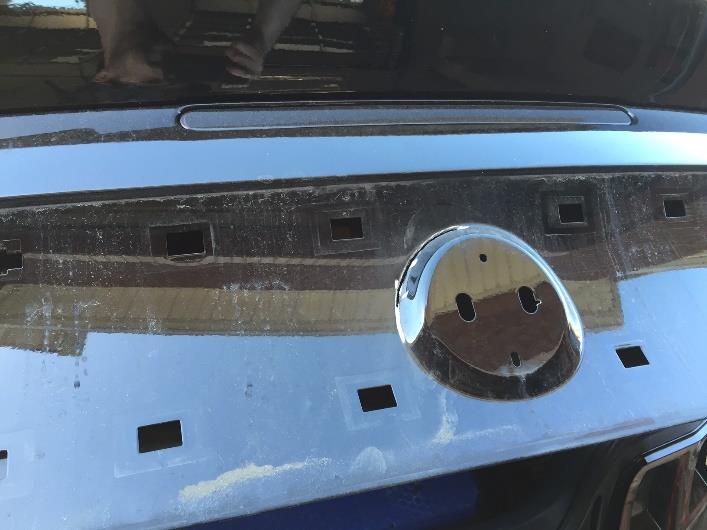
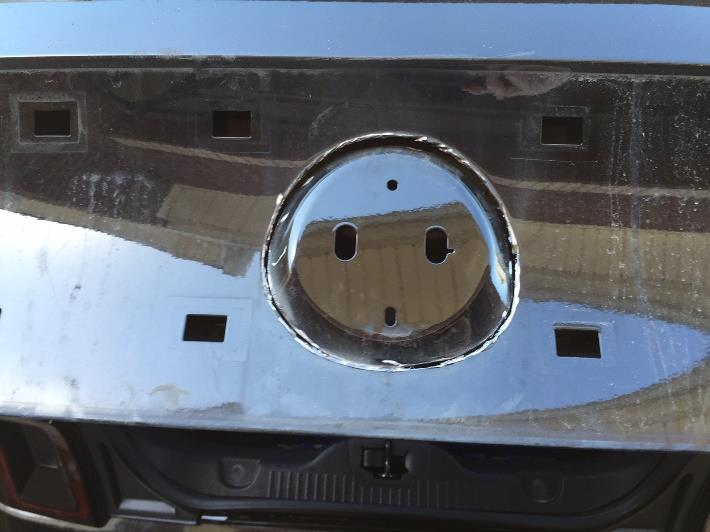
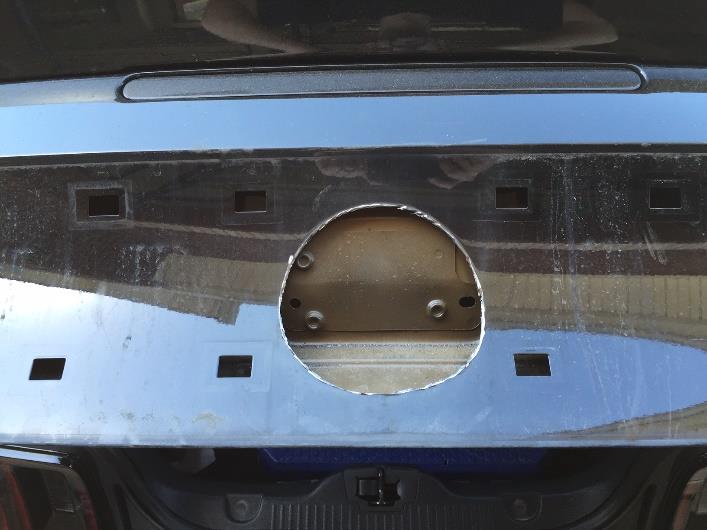
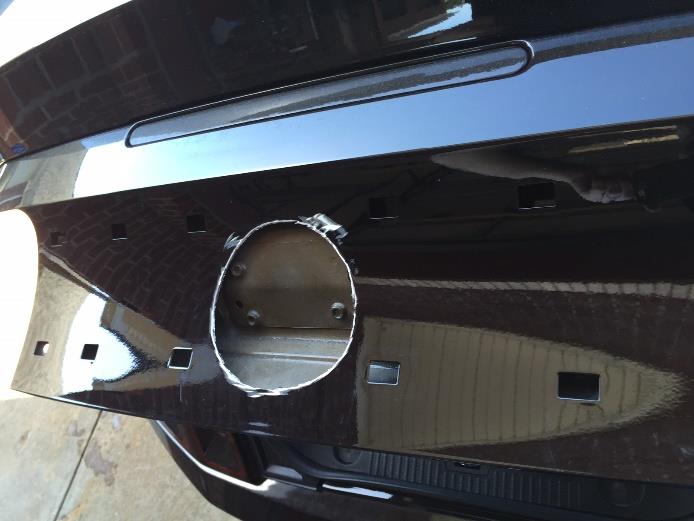
Once you have finished the cut and smoothed the edges, there is an anti-rust agent packet in the box with the new panel. I opted to paint the cut metal black as it will not be seen.
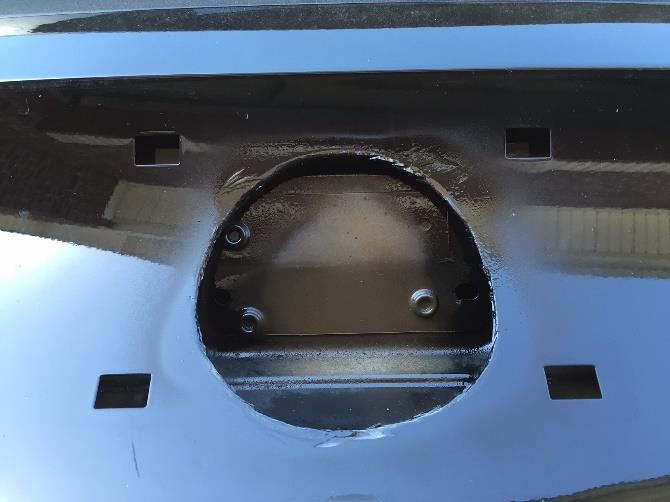
After cleaning off the panel there are alcohol wipes included that you can sterilize the painted area where the double sided tape will contact the panel. After using the alcohol pad and allowing the area to dry, apply the adhesion promoter to the panel where the tape will contact. Now apply the panel being extremely cautious to get it right the first time, as with the adhesion promoter the panel will stick instantly and can’t be moved.
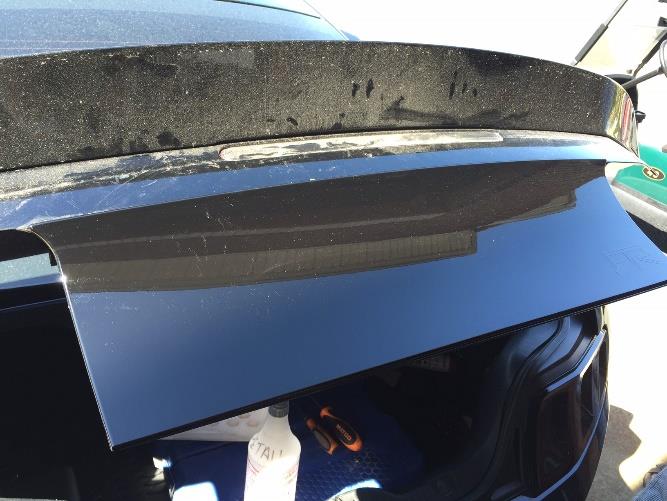
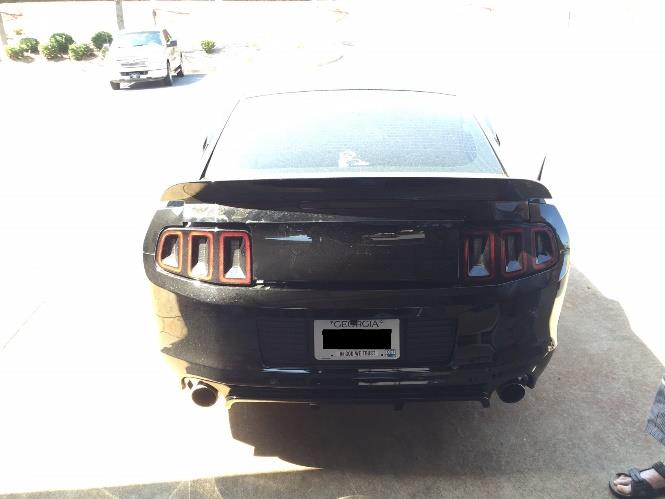
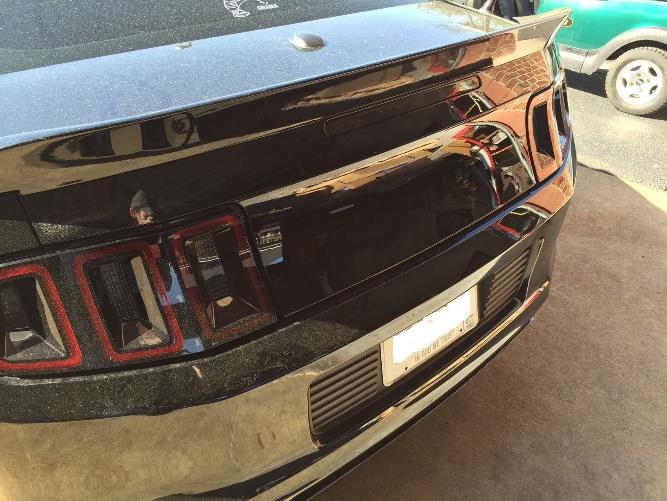
Stand back and enjoy the fruits of your labor!

