Top Sellers in Mustang
How To Install a RTR Tactical Performance Panhard Bar Support Brace on your 2005-2014 Mustang
Installation Time
1 hours
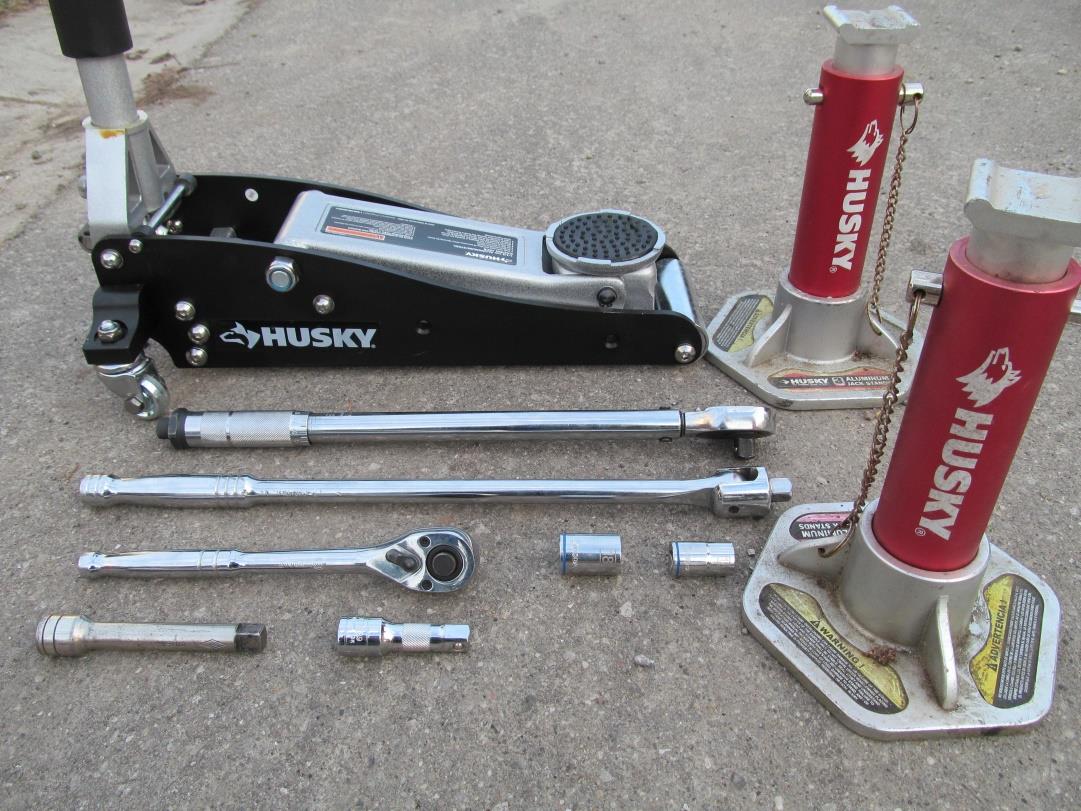
Tools Required
- 1 Jack
- 2 Jack Stands
- (1/2” Drive) Ratchet
- (1/2” Drive) Breaker Bar
- (1/2” Drive) Torque Wrench
- (1/2” Drive) 15mm Socket
- (1/2” Drive) 18mm Socket
- (1/2” Drive) 3” & 5” Extension
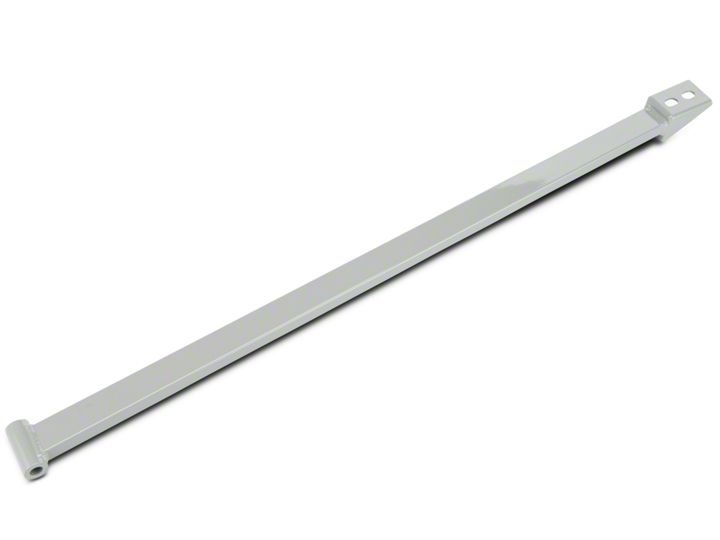
Shop Parts in this Guide
Item #383779, MPN#T5-SB729-RTR
Note:
This Installation guide is for RTR Tactical Performance Panhard Bar Support Brace (05-14 All) but can be referenced for any 05-14 Mustang Panhard Bar Support Installation.
Stock Panhard Bar Support Brace Removal Procedure:
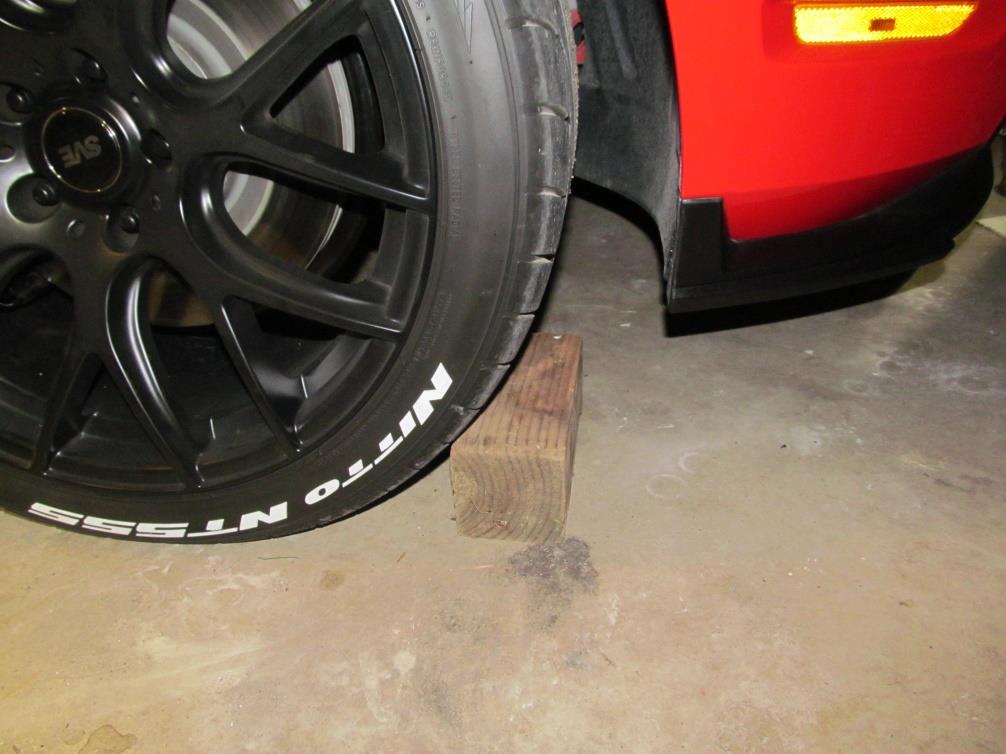
1. Place stops in front of the front wheels for added safety. Scrap 4x4 wood works great.
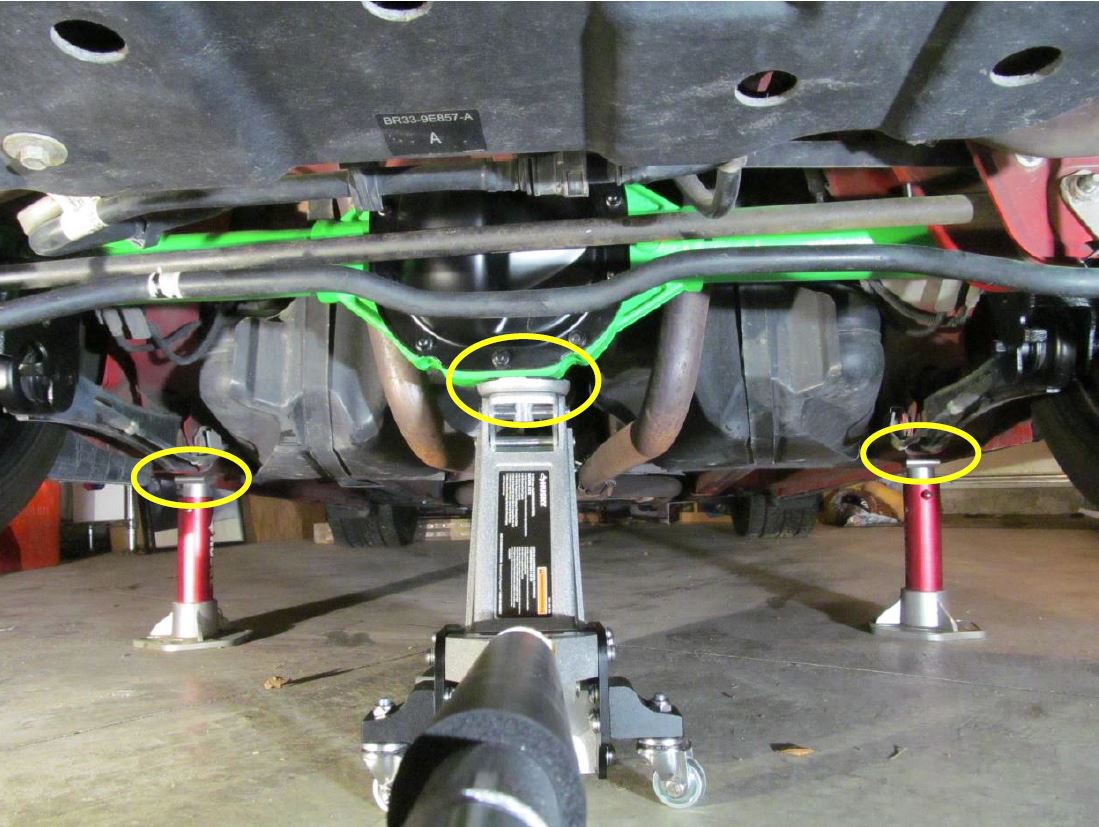
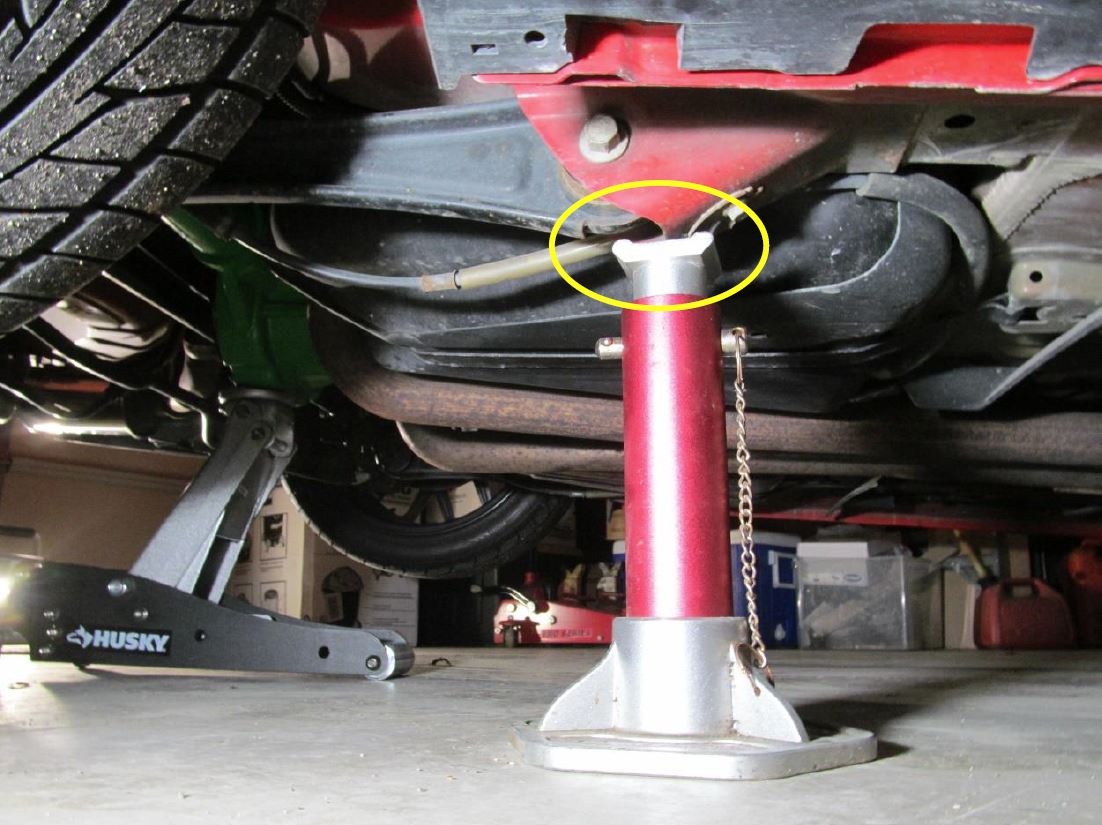
2. Next, jack up the car in the proper location lifting from the rear differential housing in the middle. Place jack stands to suspend the rear of the car where each rear control arm connects to the body. The rear of the car is being lifted to easily access bolts on the rear sway bar brackets and end links.
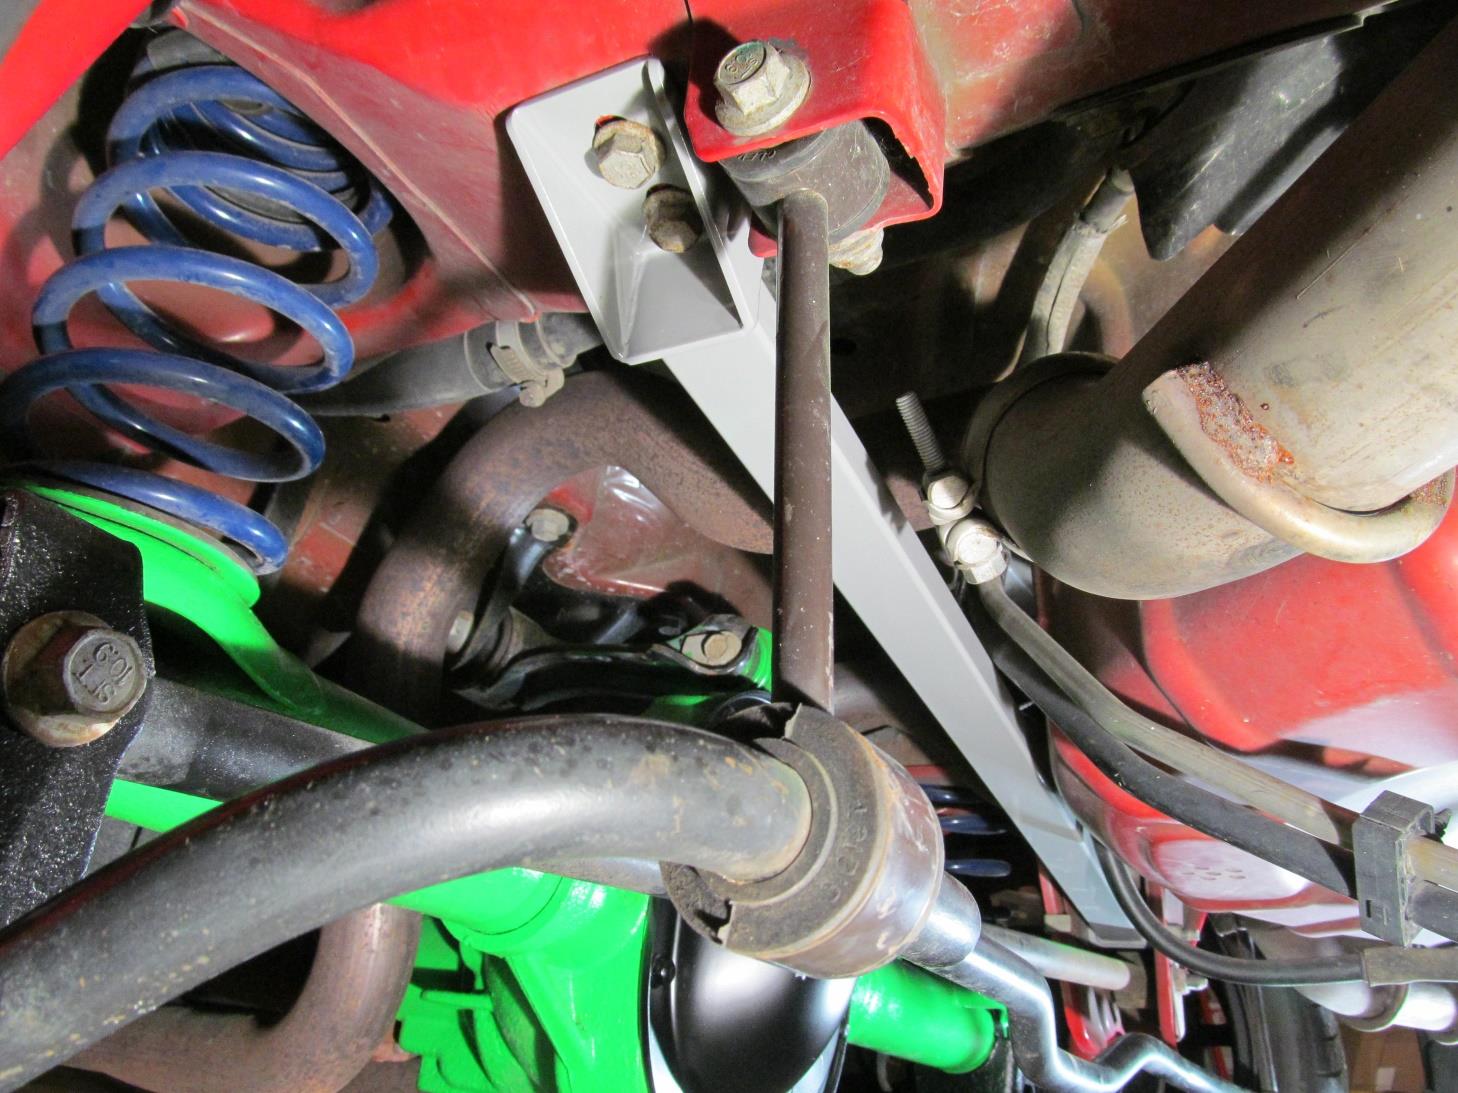
First, you will need the breaker bar and 18mm socket to loosen the nut holding on the factory Panhard Bar Support to the passenger side of the vehicle. (You do not need a wrench to hold the other side of the bolt because it has a locating feature that holds itself from turning.) The RTR Tactical Panhard Bar Support Brace reuses the stock hardware so be sure to save all nuts and bolts.
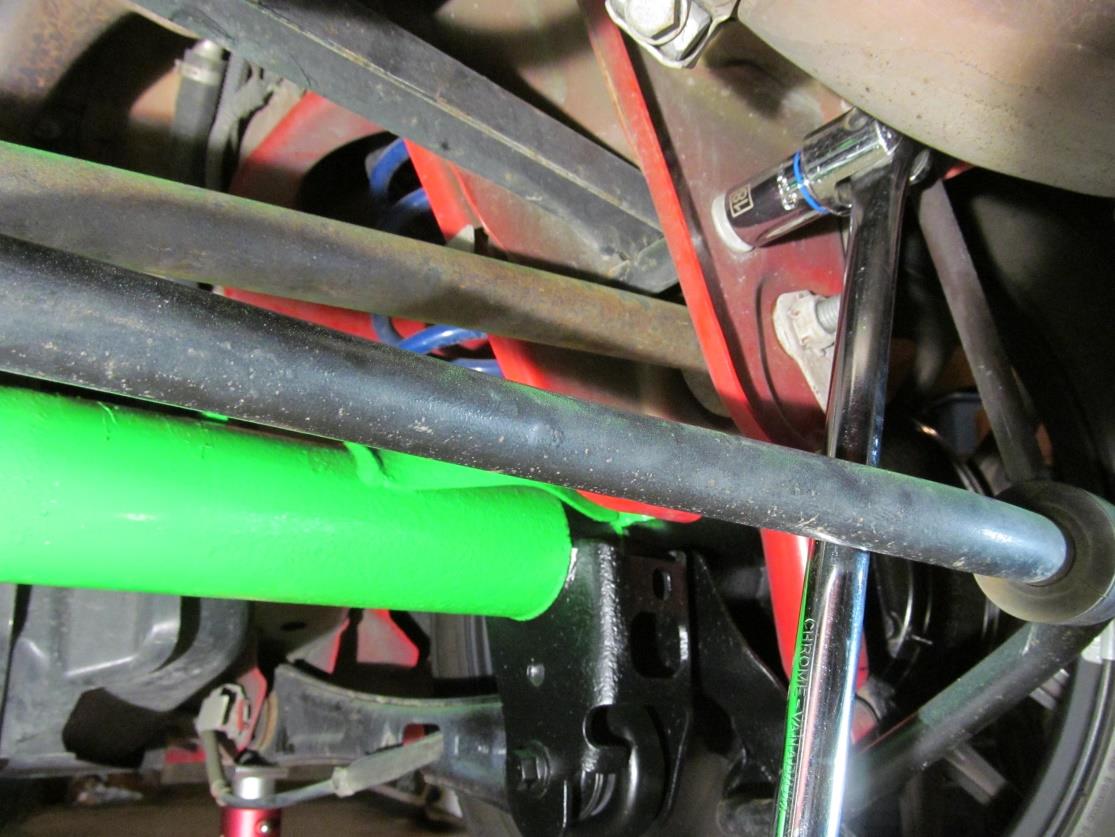
4. With the nut broken loose you can now use the Ratchet with the same 18mm socket to take it the rest of the way off.
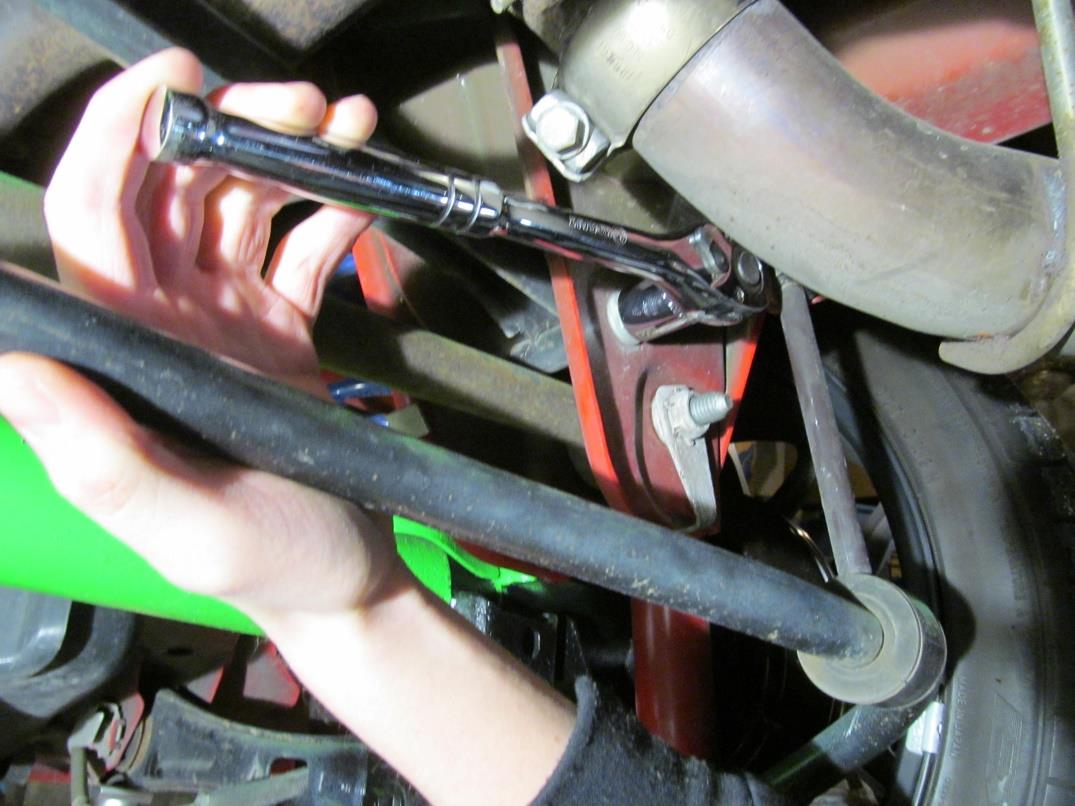
Moving to the drivers side of the Support Bar you will need the two extensions, 5” & 3”, the breaker bar, and the 15mm socket. Loosen both bolts holding the support bar to the vehicle. These are the last two bolts holding the Support Bar to the vehicle so hold the bar up while taking out the bolts.
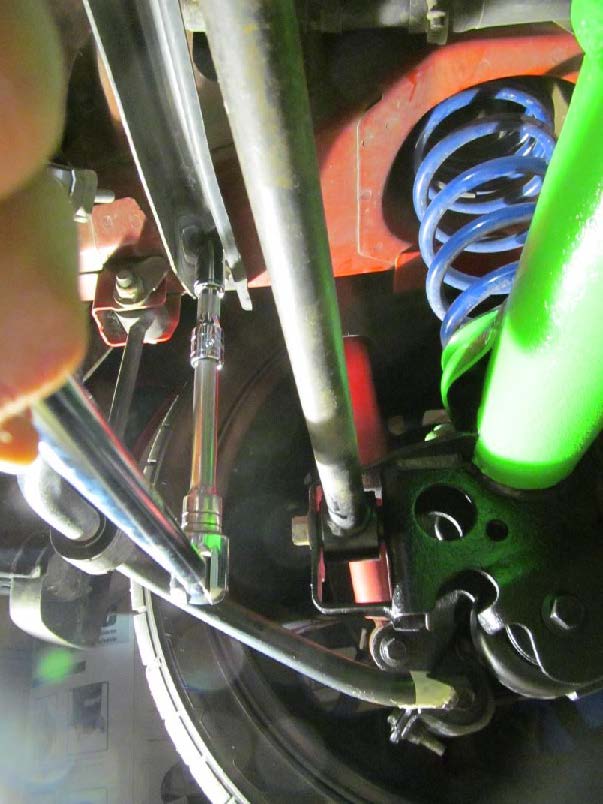
6. Your stock Panhard Supprt Bar is now removed!
RTR Tactical Performance Panhard Bar Support Brace Installation Procedure:
To begin installation of your new RTR Tactical Panhard Bar Support Brace, start by installing the bolt and nut on the passenger side of the vehicle allowing the bar to pivot up and down. Make sure you install the bolt and nut in the same orientation when removing. For this step the nut is at the rear of the vehicle. (Do not tighten the nut all the way so the bar can still pivot from this bolt, the nuts and bolts will all be torqued once the Support Bar is in its final position.)
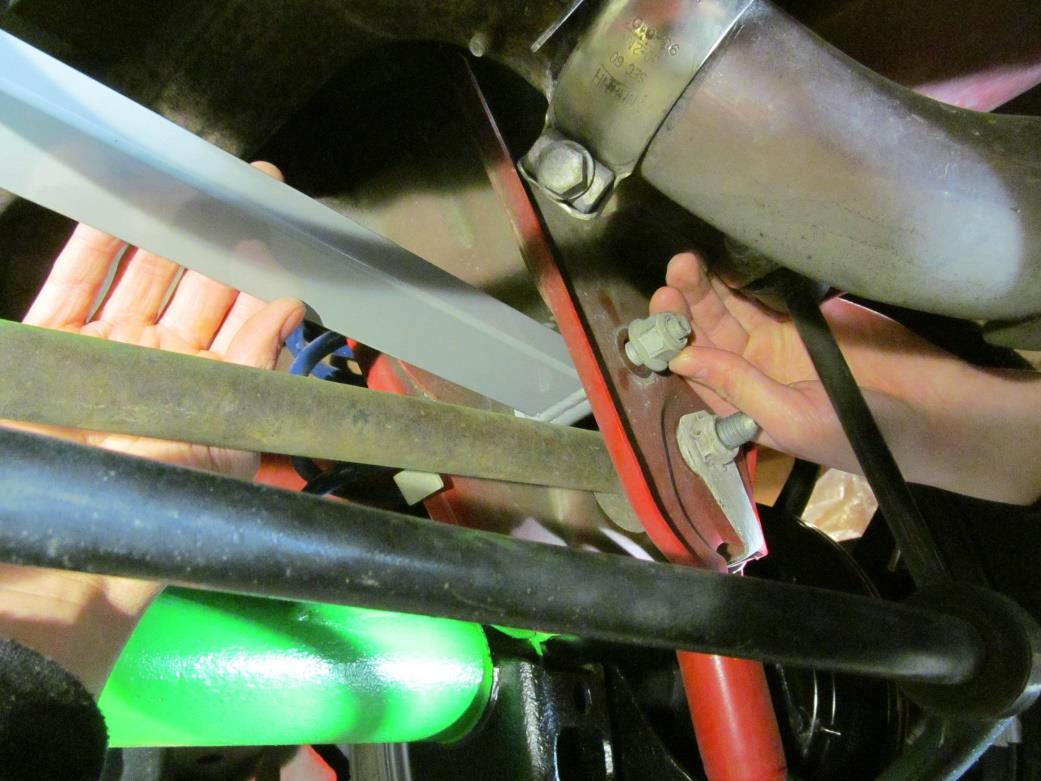
2. On the driver’s side of the bar hand tighten the two bolts that were earlier removed.
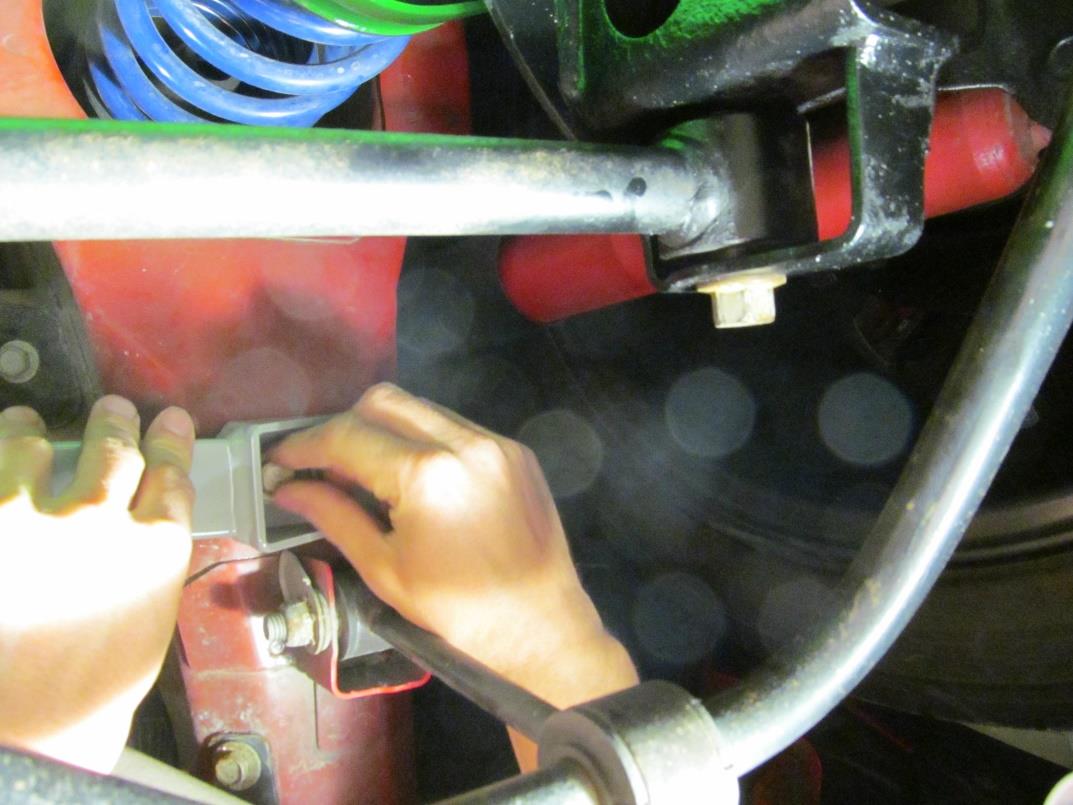
3. The last step is to torque the bolts installed to the manufacture specification. The passenger side nut is torqued to 85 ft. lbs. and the two drivers side bolts are torqued to 46 ft. lbs. Once tight your RTR Tactical Performance Panhard Bar Support installation is complete! Now go try it out!
