
Best Sellers
How to install a RTR Rear Valance Diffuser on your 2015-2016 Mustang
Installation Time
2 hours
Tools Required
- Ratchet and 7mm So cket
- Soft Panel removal tool / Flat Screw Driver
- Rotary tool with cut off wheel
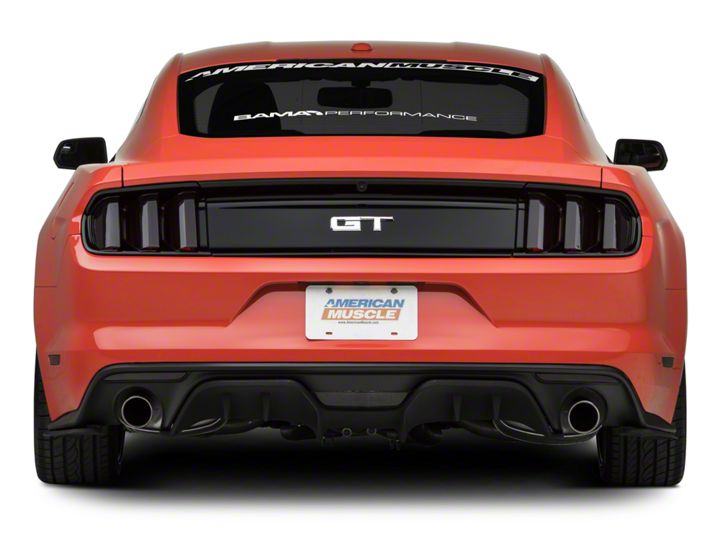
Shop Parts in this Guide
Step 1:
Jack the rear of the vehicle up and support with jack stands.
Step 2:
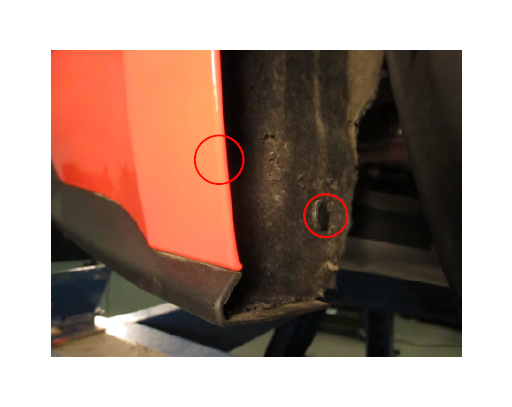
Remove two fender clips to gain access to one of the (3) 7mm bolt holding the rear trim piece to the bumper. The rest are accessible from under the bumper
Step 3:
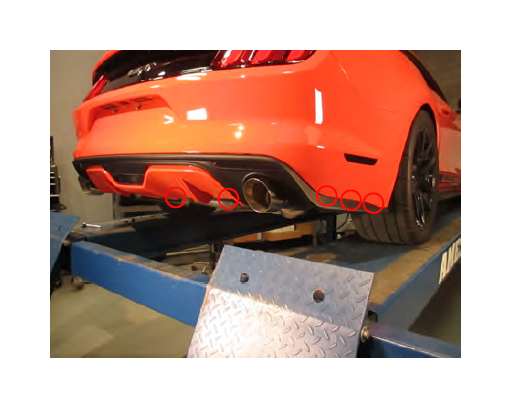
Remove the (3) 7mm bolts holding the trim panel to the outer edge of the bumper. There is also a 7mm bolt below the reverse lights, and a push clip on the factory diffuser. All fasteners are the same on either side of the bumper.
Step 4:
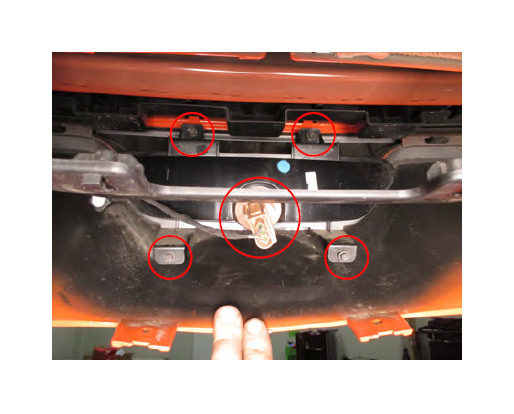
Applying light pressure, push the factory diffuser down for easier access to the upper reverse light bolts. Loosen the (4) 7mm bolts holding the reverse light to the bumper. Remove the plug from the light, then remove the light from the bumper.
Step 5:
Apply firm pressure to remove the factory trim tabs from the bumper.
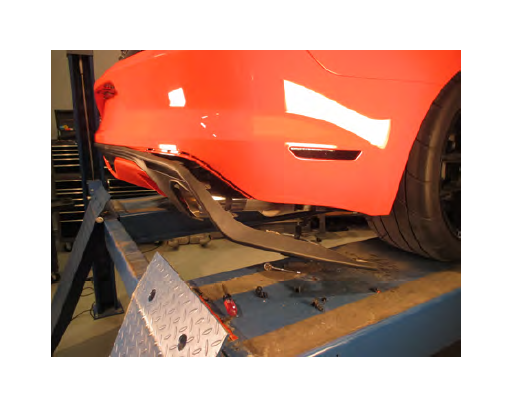
Step 6:
Apply tape to the painted surfaces so that you do not damage the paint while removing the remaining trim tabs. **Note: A soft panel removal tool will aid in removing the trim piece.
Step 7:
After the factory trim is removed, you will need to cut factory diffuser free from the bumper. **NOTE: Use the dotted lines below as reference.
Step 8:
Once factory trim is removed, install RTR diffuser onto the trim using the factory tab locations. Then reinstall trim/diffuser assembly in reverse order.


