FREE 1 to 3-Day Delivery on Orders $119+ Details
Best Sellers


How to Install RTR Tactical Performance Adjustable Shock & Strut Kit (11-14 GT, V6) on your Ford Mustang
**Note: These instructions are intended for a visual representation of the Dial. All Dial Installation happens AFTER the Struts and Shocks have been installed on the Vehicle.
Tools & Materials Required
- Ratchet and 7/8” and 3/4” socket
Components:
- 1 - Shock and Strut Adjuster Tool
- 2 - Shock Dials
- 2 - Strut Dials
- 2 - Spacers
- 2 - Nuts
Strut 1:
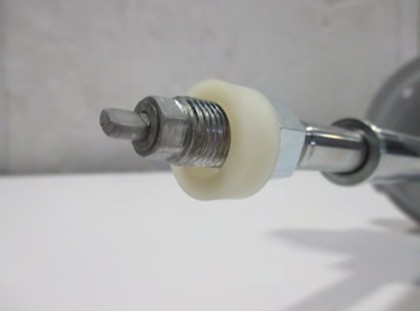
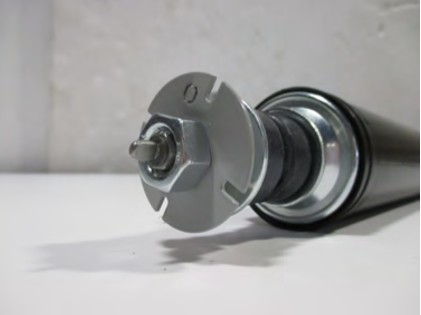
Begin with placing the supplied nylon bushing over top of the strut mount bolt followed by the strut dal then loosely thread on the supplied nut.
Strut 2:
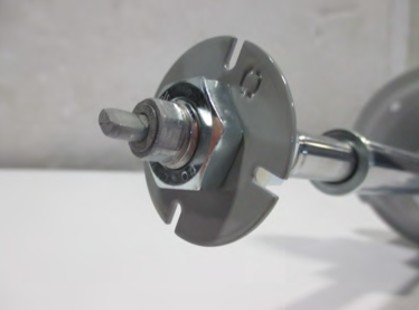
Using the supplied adjuster tool, use the F notch turn the strut clockwise until it stops. This is the softest setting. Rotate the dial to the 0 position at full soft and tighten the nut.
Strut 3:
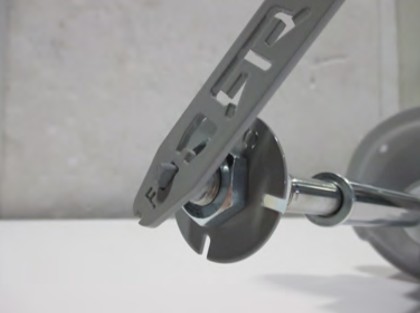
Using 0 as a reference point, each mark on the dial is a ¼ turn, every time you pass 0 is on full turn. The strut will rotate 2 ¼ turn from full soft to full stiff. It is suggested you start in the middle and adjust to firmer or softer depending on your vehicle’s needs.
Shock 1:
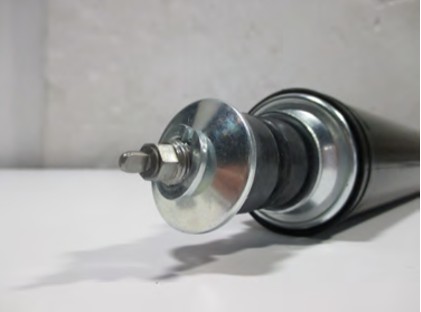
Begin with removing the shock nut. Then slide on the shock dial, loosely fastening the nut back on the shock.
Shock 2:
Using the supplied adjuster tool, use the R notch turn the shock clockwise until it stops. This is the softest setting. Rotate the dial to the 0 position and tighten down the shock nut.
Shock 3:
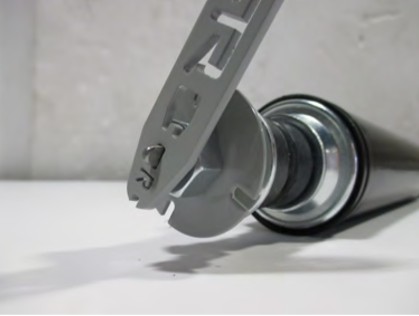
Using 0 as a reference point, each mark on the dial is a ¼ turn, every time you pass 0 is on full turn. The strut will rotate 2 ¼ turn from full soft to full stiff. It is suggested you start in the middle and adjust to firmer or softer depending on your vehicle’s needs.