Best Sellers
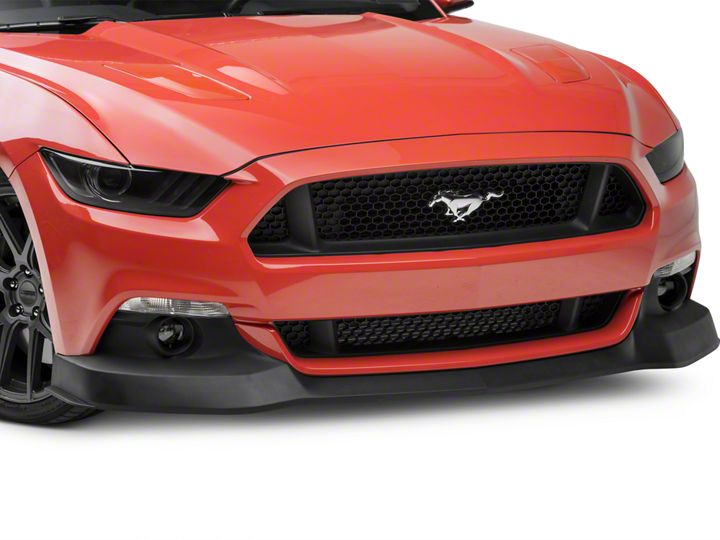
How to Install RTR Spec 2 Chin Spoiler on your Mustang
Installation Time
45 minutes
Tools Required
- Ratchet
- Flat Blade Screw Driver
- 5.5, 7, 8mm Sockets

Shop Parts in this Guide
Step 1:
Jack the vehicle up and support the font end with jack stands.
Step 2:
Remove the 8 clips securing the plastic radiator cover to the radiator support and remove it from the vehicle.
Step 3:
Remove the 8 bolts securing the bumper cover to the radiator support.
Step 4:
Support the front of the car so you can access the bumper splash shield. **Note there are two versions of the splash shield. Both are attached to similar locations
Step 5:
On each side of the bumper, remove the plastic clips holding the fender liner to the bumper.
Step 6:
Fold back the fender liner so that you can access the one 7mm bolt that holds the bumper to the fender. **Note: This bolt is tricky, it may help to remove the wheel for better access.
Step 7:
With the splash shield removed, you can remove the turn signal and fog light harnesses.
Step 8:
Once the bumper cover is ready to remove, use firm pressure and pull the edge of the bumper to pop it from the clips. Have a helper support one side so that you don't scratch the paint. Slowly remove the bumper.
Step 9:
Support the bumper on a soft non-abrasive surface. Saw horses covered in towels work great.
Step 10:
Remove the factory chin spoiler by removing the various 7mm bolts and plastic push pins.
Step 11:
Transfer the metal clip from the factory chin spoiler to the bumper on both sides.
*Track Pack Cars Only *Step 12:
Remove the chin spoiler support from the chin spoiler. Using a 1/8" drill bit, drill the 2 rivets securing the bracket.
Step 13:
Begin by removing the turn signal brackets. Remove the (6) 7mm screw circled below.
Step 14:
With the screws removed, remove the turn signal bracket unclipping it from the bumper. **Note these are usaully a tight fit.
Step 15:
With the factory bracket removed, transfer the factory turn signal to the supplied turn signal bracket.
Step 16:
Remove the factory fog light and bracket from the factory turn signal bracket. Using the supplied spacers and screws, reinstall the fog light and bracket to the supplied turn signal bracket.
Step 17:
Clip the supplied turn signal bracket back onto the bumper and then reuse the factory screws to resecure it to the bumper.
Step 18:
Starting on either side, ensure the chin spoiler slides behind the bumper cover as seen below.
Step 19:
Then apply firm pressure to ensure that the chin spoiler sits as far back in the bumper as possible.
*** Track Pack Follow Steps 20-21 ***
*** Non-Track Pack Skip to Step 22 ***
Track Pack Step 20:
Secure the chin spoiler by installing the outermost bolts. Then turn the bumper over to install the Track Pack chin support.
Track Pack Step 21:
Loosely reinstall the factory Track Pack chin spoiler brace. Ensure the brace sits above the splash shield mounting tabs(dashed line above).
Non-Track Pack Step 23:
Loosely install the chin spoiler leaving the (6) center bolts out. These will be installed when the splash shield is reinstalled.
Step 24:
Starting from either side, apply firm pressure to ensure the chin spoiler is as tight as possible to the bumper. Have a helper tighten the chin spoiler bolts starting from the outside working towards the center. **Note: Non-Track Pack cars will tighten the center bolts after the bumper/ splash shield have been reinstalled.
Step 25:
Re-install the bumper to the car in reverse order. Reference the following Steps 26 and 27 for splash shield installation.
***Track Pack Splash Shield***
Step 26:
With the bumper reinstalled, secure the splash shield using the factory bolts. The splash shield will slide above the chin spoiler mounting tab. Utilize the holes circled on the chin spoiler.
***Non-Track Pack Splash Shield***
Step 27:
With the bumper reinstalled, secure the splash shield using the factory bolts. The splash shield will slide above the chin spoiler mounting tab. Utilize the holes circled on the chin spoiler.


