
How To Install a Russell Stainless Steel Braided Brake Line for your 2005-2014 GT, V6 w/ABS Mustang
Installation Time
3 hours
Tools Required
- 1 – Jack
- 4 – Jack stands
- 1 – Lug Nut Wrench (21mm)
- 10mm – Socket or Open Ended Wrench
- 13mm – Flare Nut Wrench (Open Ended Wrench may work)
- 11/16” – Open Ended Wrench
- 1 – Drip pan
- Pair of Scissors or wire cutters
- 7/16” – Open Ended Wrench
- 12”-24” – Plastic Tube (1/8”-1/4” ID)
- 1 – Empty Clear Bottle
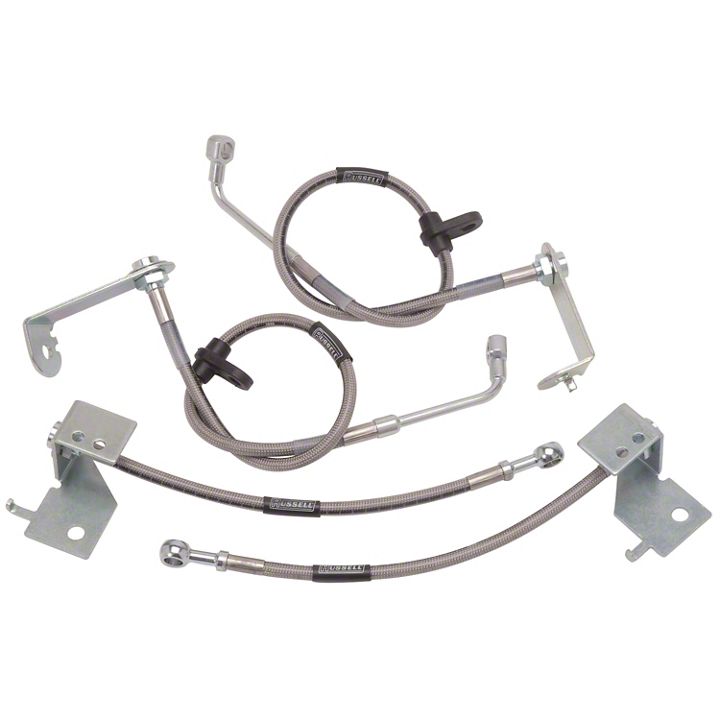
Shop Parts in this Guide
Brake Line Kit
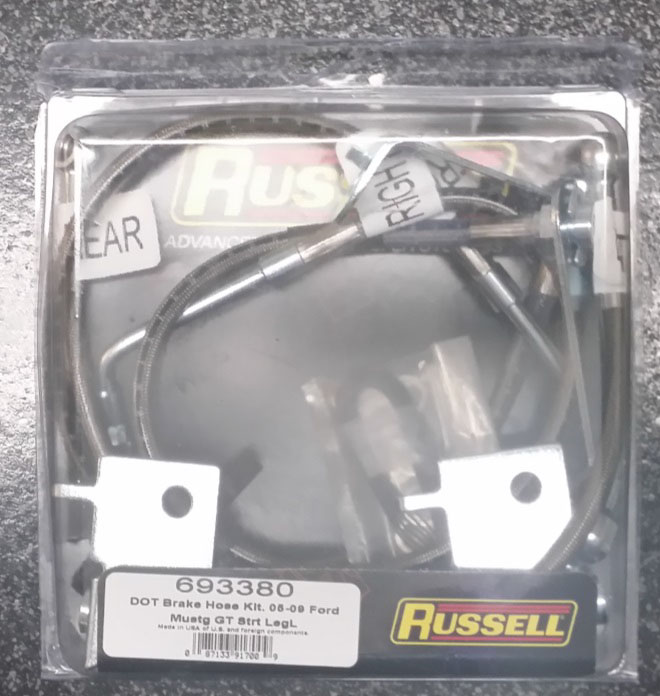
Torque Specifications:
Banjo bolt – 30 ft-lbs.
Hard brake line connections – 13 ft-lbs.
Bracket bolts – 10 ft-lbs.
Lug Nut – 100 ft-lbs.
Bleed screw – 90 in-lbs.
Installation Instructions:
Lifting Car
1. Loosen the lug nuts of all four wheels with lug nut wrench (21mm).
2. Lift the vehicle with the jack and install the jack stands in the proper locations.
3. Remove the wheels.
Note: The order of removal and installation of each brake line (right rear, left rear, right front, left front) does not need to follow this guide. This order was chosen to follow the brake bleeding procedure. Brake bleeding will be completed after all lines have been installed.
Note: By loosening and removing the banjo bolts, the master cylinder bowl will empty. Removing the fluid from the bowl first is not required, but recommended.
Right (Passenger) Rear Brake Line
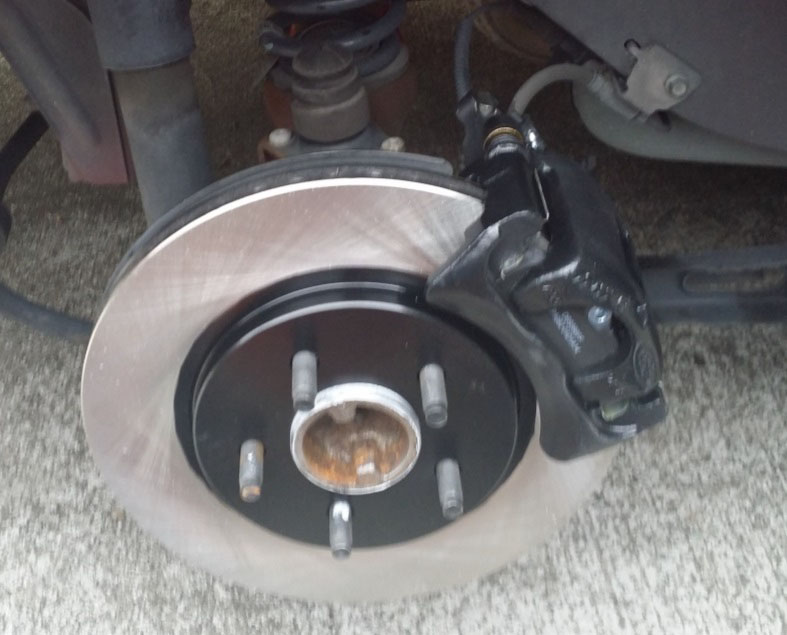
Old Brake Line Removal
1. Place drip pan under brake caliper.
2. Note brake line positioning.
3. Remove 10mm banjo bolt from caliper. Let caliper and line drain fluid.
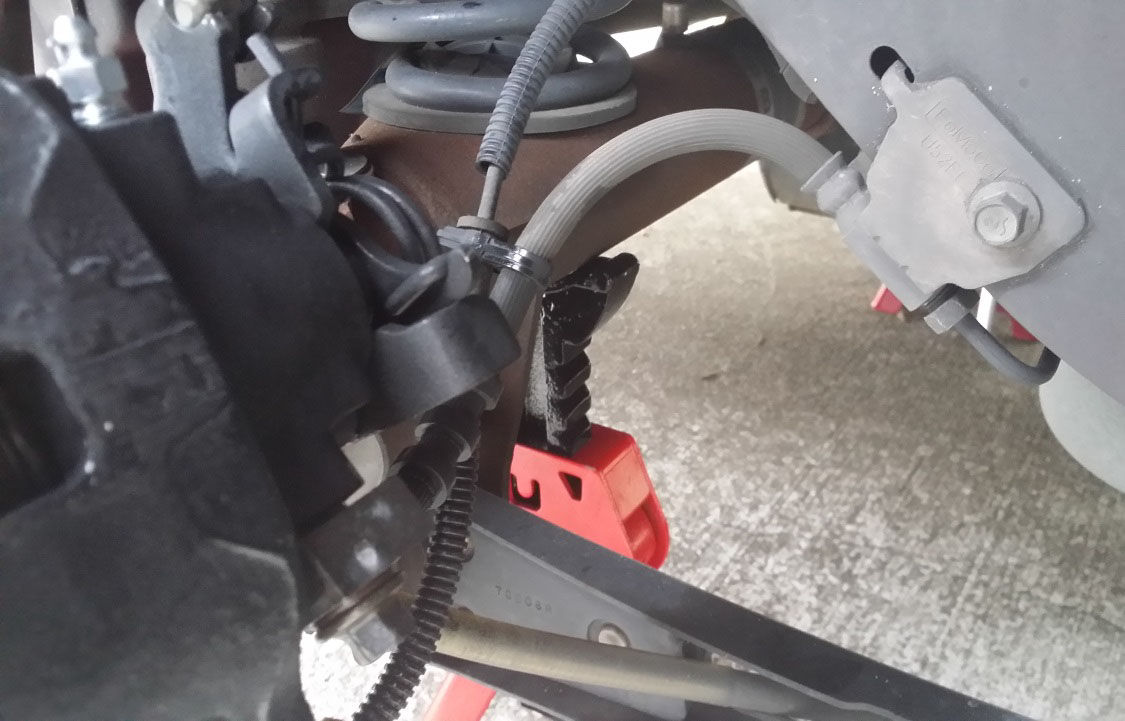
4. Unclip ABS sensor wire from brake line.
5. Unbolt flare nut (hard line) with 13mm flare nut wrench.
6. Unbolt 10mm bracket bolt.
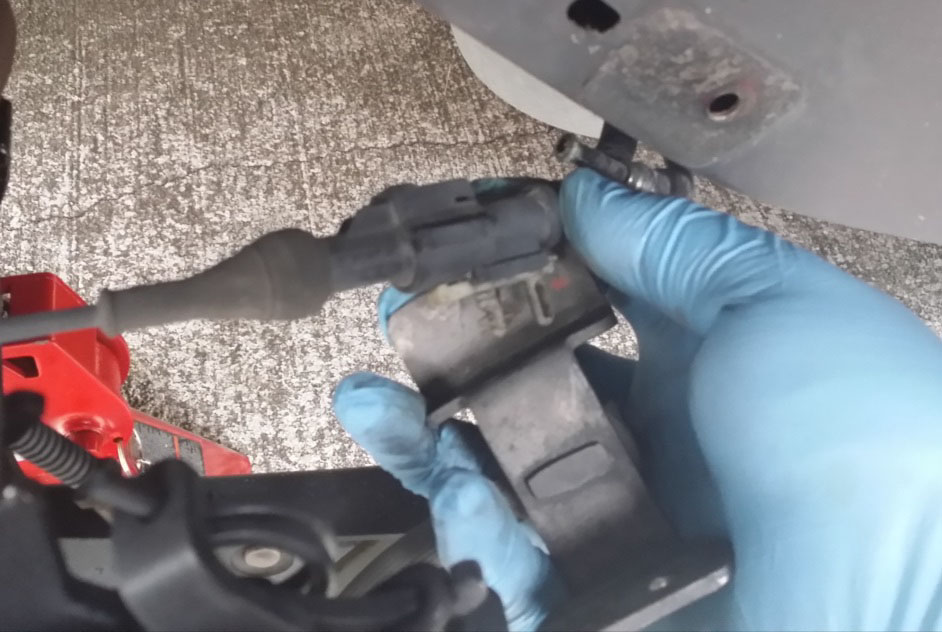
7. Carefully pry ABS sensor bracket clip from the brake line bracket.
8. Remove banjo bolt from the old brake line. Clean banjo bolt. Required for new brake line.
New Brake Line Installation
1. Remove the Right Rear brake line from the package. a. Two of the supplied metal gaskets and one of the zip ties will be required.
2. Remove Right Rear sticker from brake line – optional
3. Install ABS bracket clip onto new brake lie bracket.
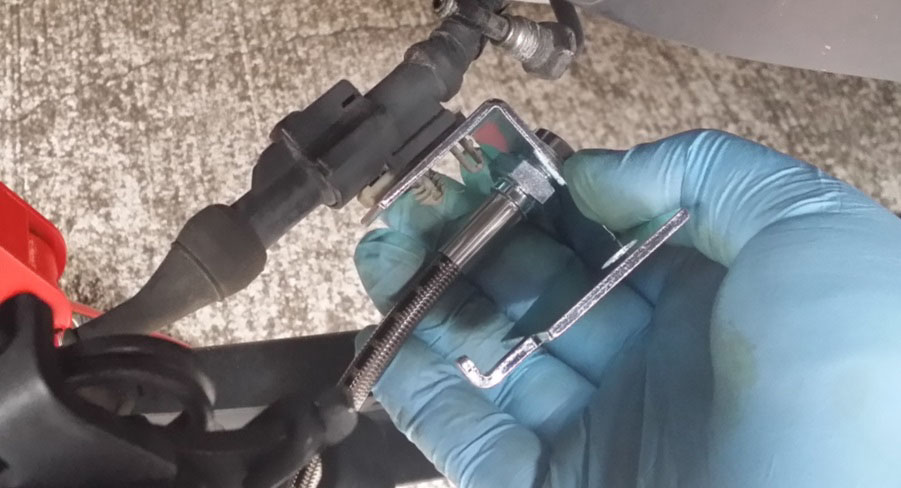
4. Install brake line brake onto frame with 10mm bolt. Torque to spec.
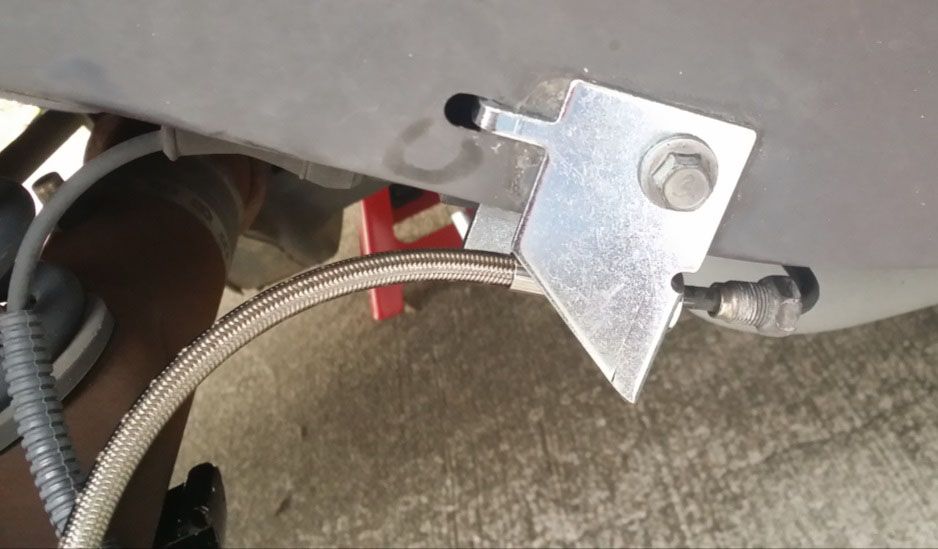
5. Install one metal gasket on either side of brake line fitting. Position brake line similar to OEM line. Torque 10mm banjo bolt.
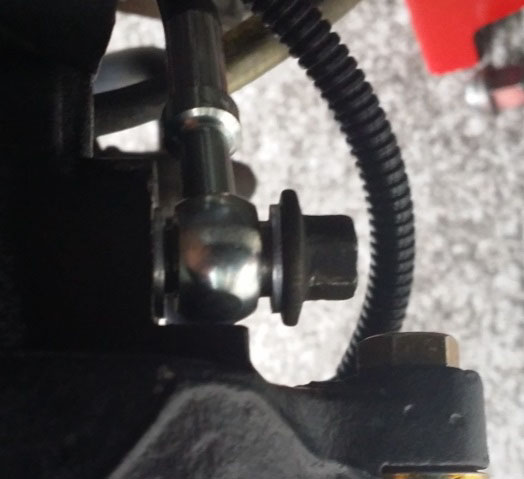
6. Tighten flare nut with 13mm flare nut wrench. Use the 11/16” wrench on the back side of the brake line to stabilize. Torque to spec.
7. Zip tie ABS sensor wire to brake line. Trim excess with scissors/wire cutters.
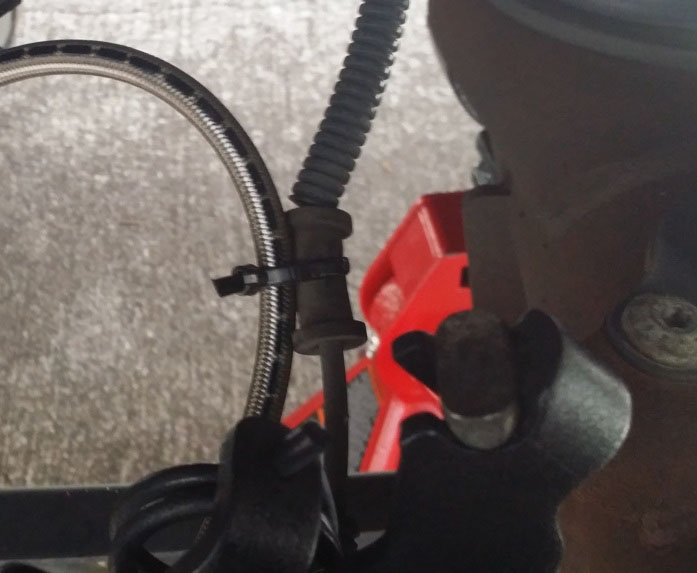
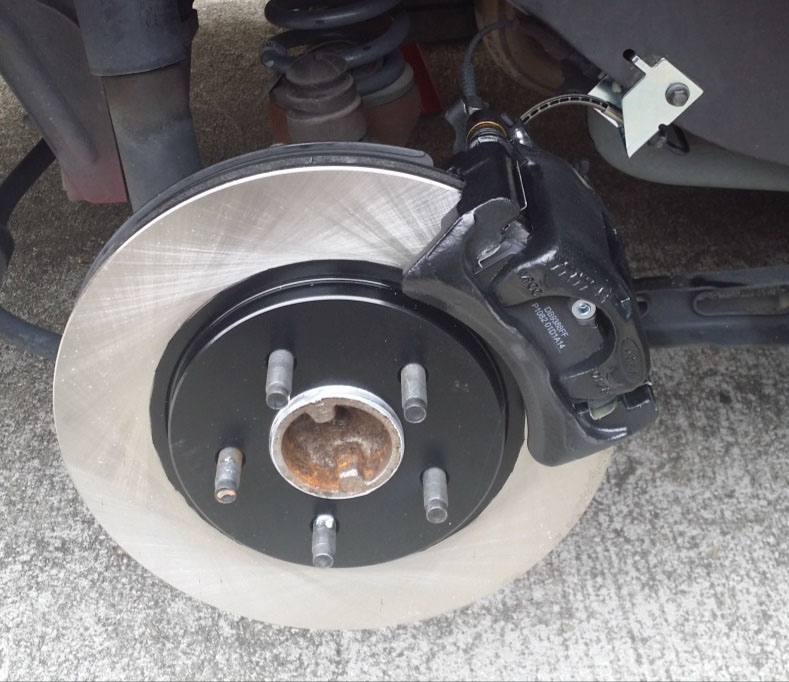
Right Rear Installation Complete
Left (Driver) Rear Brake Line
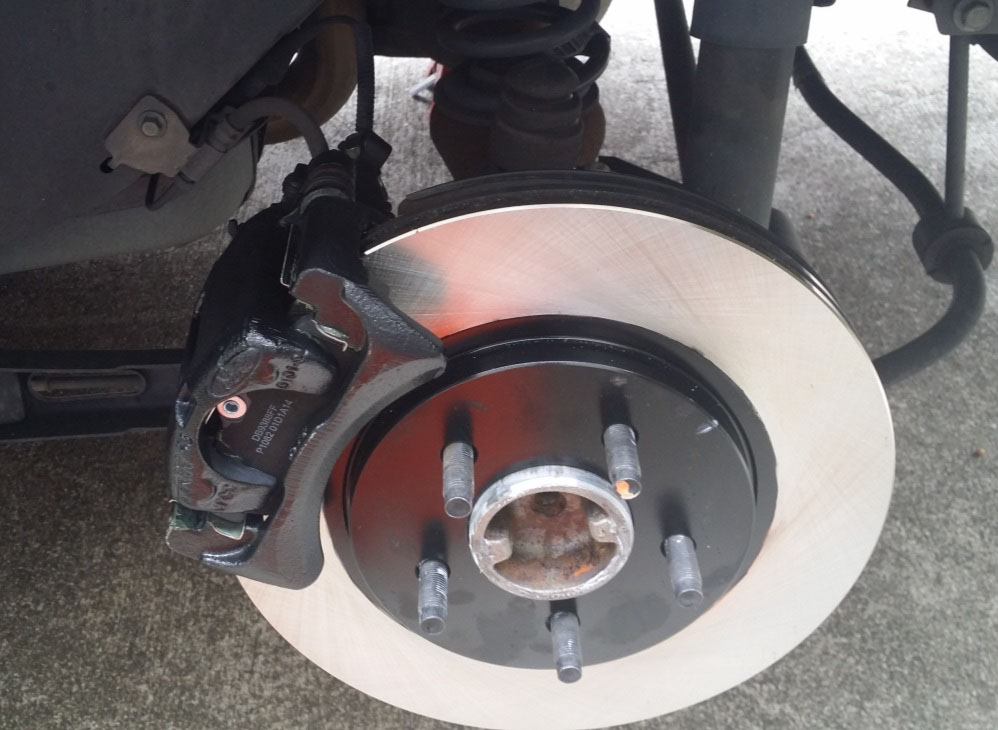
Complete the same procedure as the Right Rear Brake Line Removal and Installation on the Left Rear.
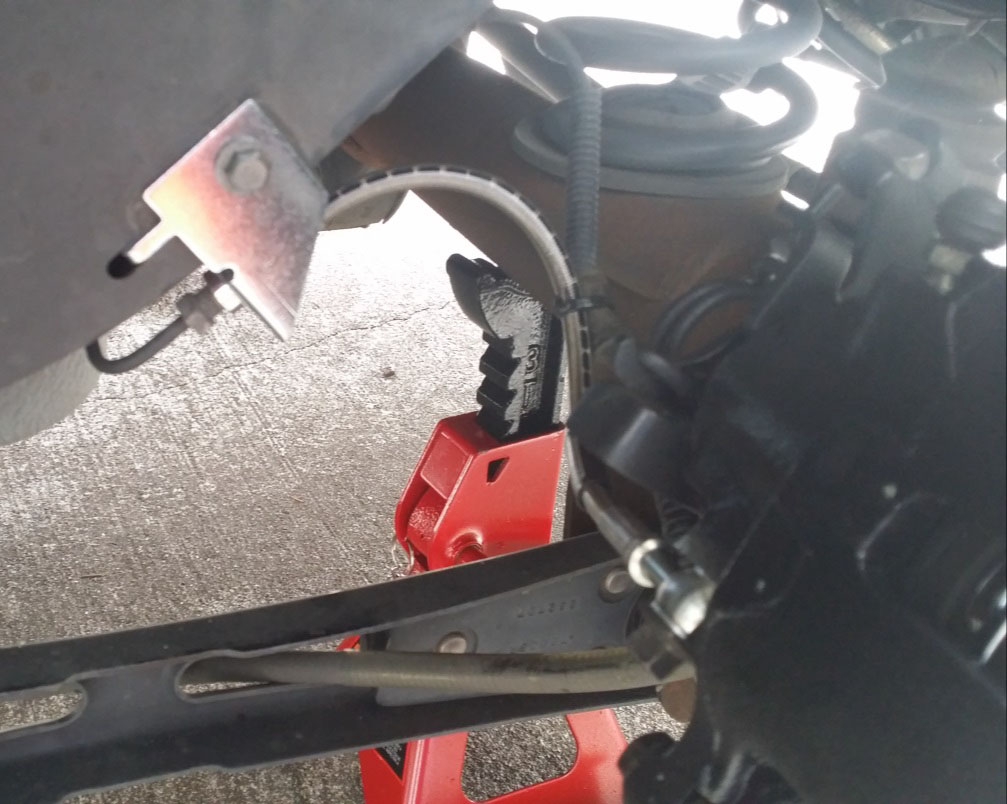
Left Rear Installation Complete
Right (Passenger) Front Brake Line
Old Brake Line Removal
1. Place drip pan under brake caliper.
2. Note brake line positioning.
3. Remove 10mm banjo bolt from caliper. Let caliper and line drain fluid.
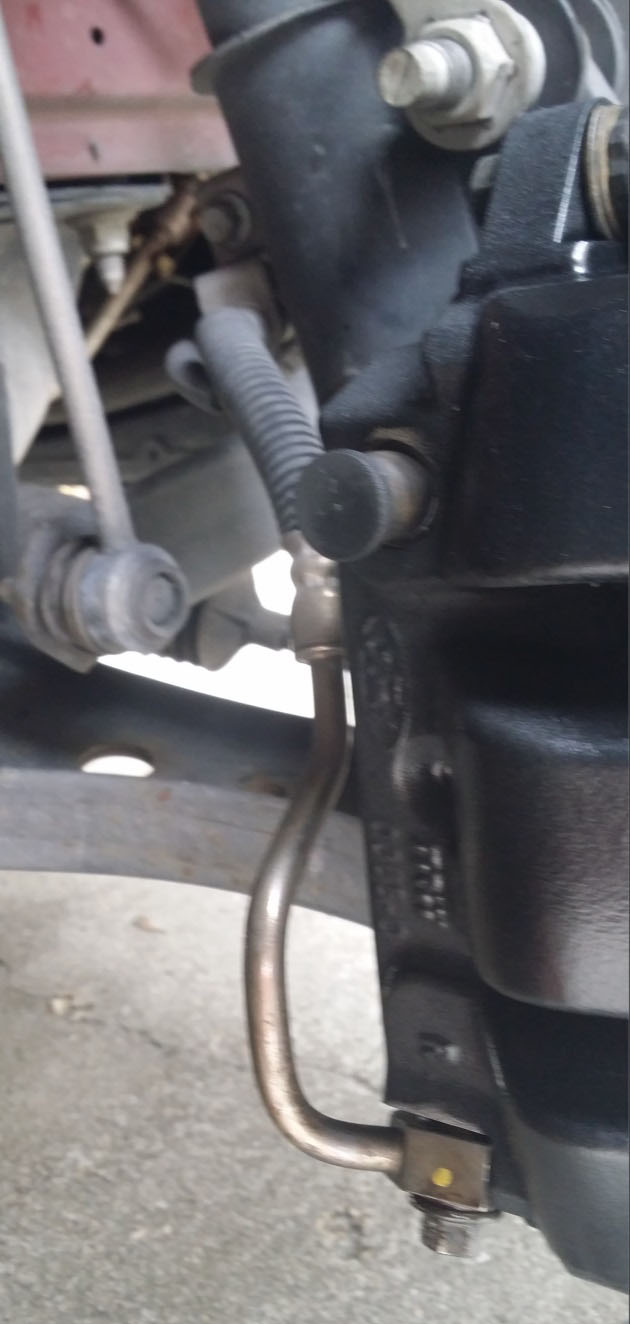
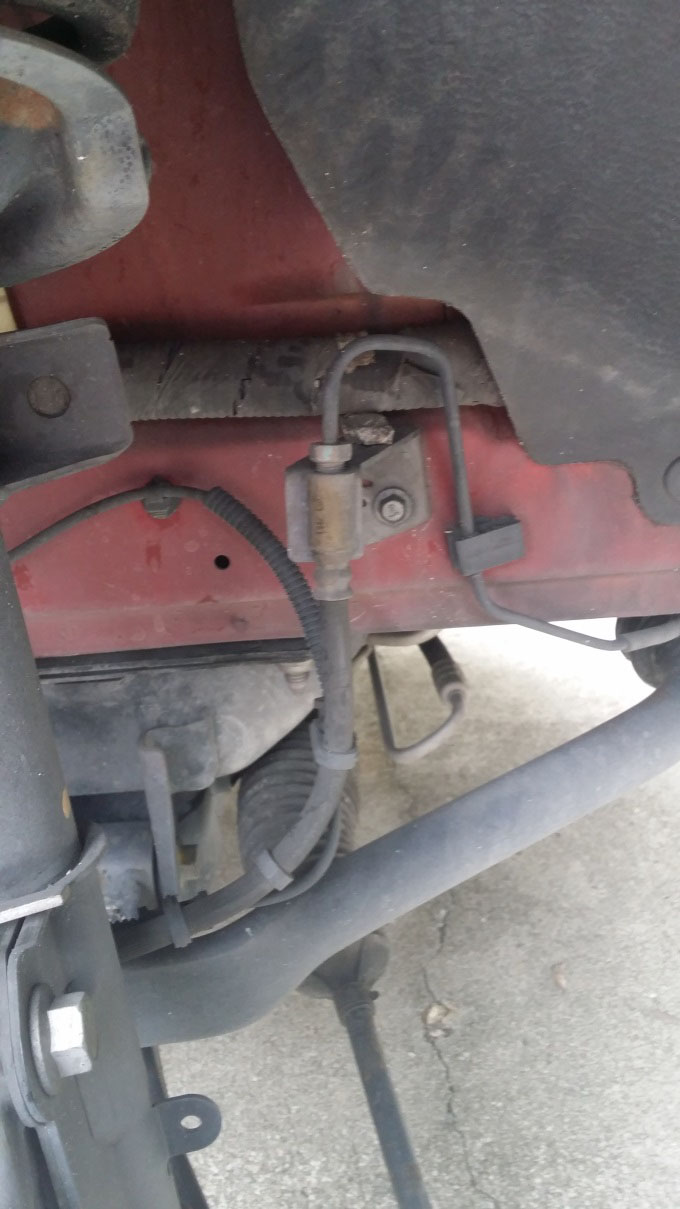
4. Unclip ABS sensor wire (2 places) from brake line.
5. Unbolt flare nut (hard line) with 13mm flare nut wrench.
6. Unbolt 10mm bracket bolts (2 places – Strut and Frame).
7. Remove brake line.
8. Remove banjo bolt from the old brake line. Clean banjo bolt. Required for new brake line.
New Brake Line Installation
1. Remove the Right Front brake line from the package. a. Two of the supplied metal gaskets and two of the zip ties will be required.
2. Remove Right Front sticker from brake line – optional
3. Route brake line behind strut.
4. Install brake line brake onto frame with 10mm bolt. Torque to spec.
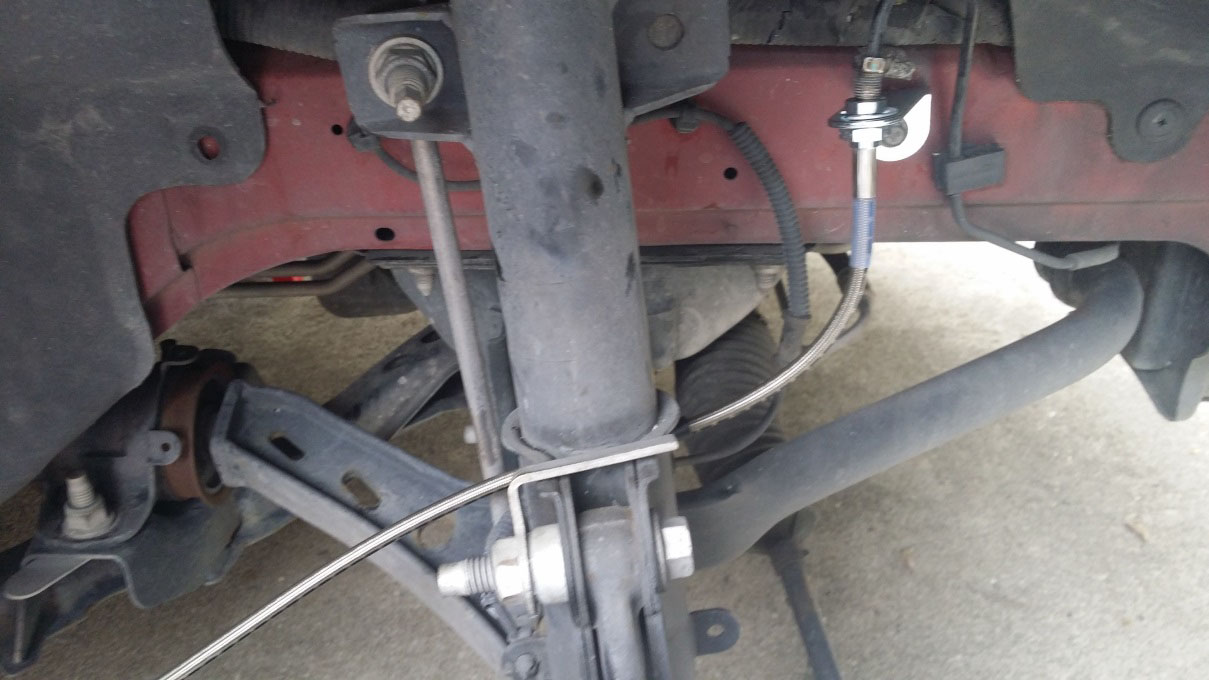
5. Install strut bracket with 10mm bolt horizontally. Torque to spec.
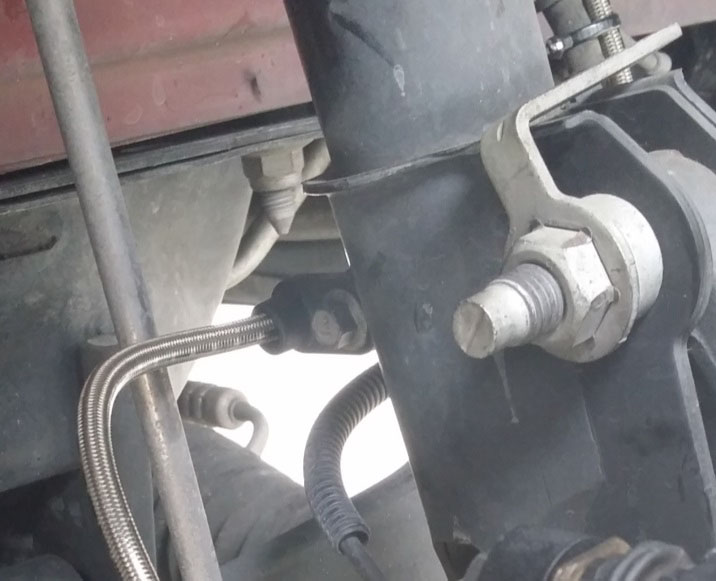
6. Install one metal gasket on either side of brake line fitting. Position brake line similar to OEM line. Torque 10mm banjo bolt.
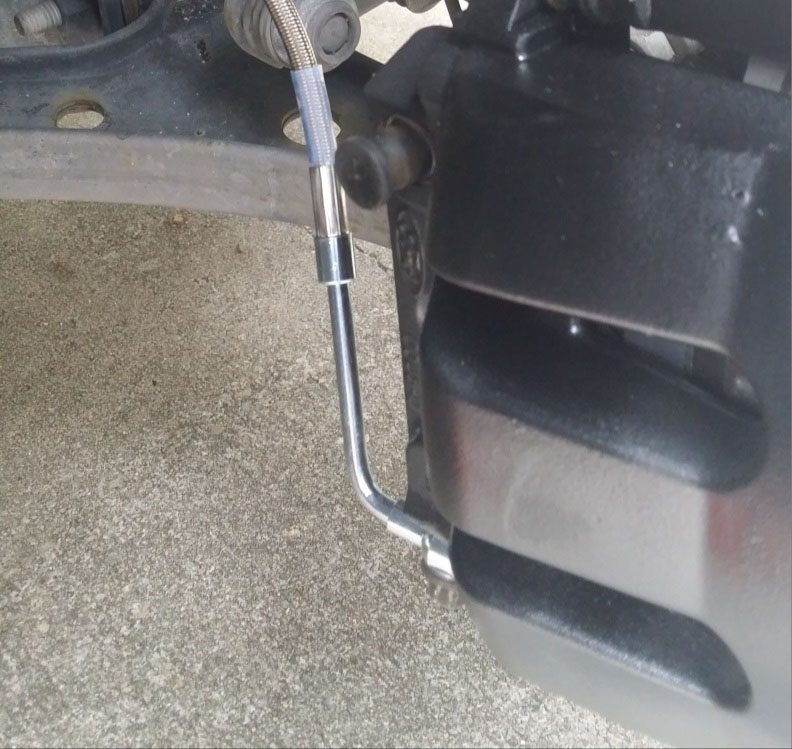
7. Tighten flare nut with 13mm flare nut wrench. Use the 11/16” wrench on the back side of the brake line to stabilize. Torque to spec.
8. Zip tie ABS sensor wire to brake line (2 places). Trim excess with scissors/wire cutters.
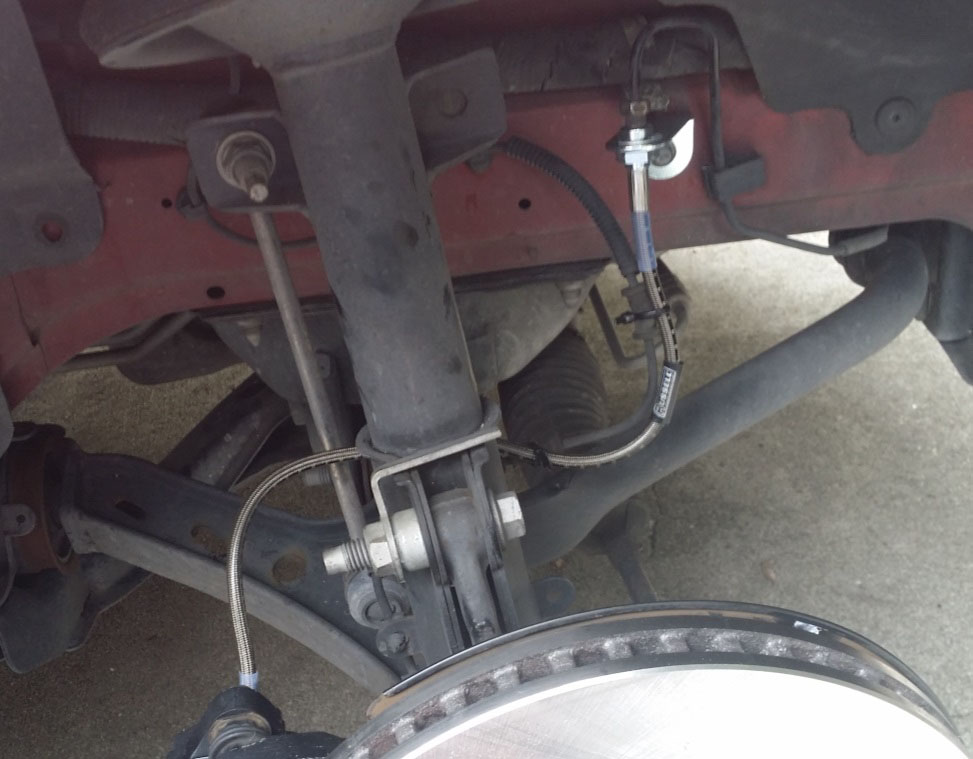
Right Front Installation Complete
Left (Drivers) Front Brake Line
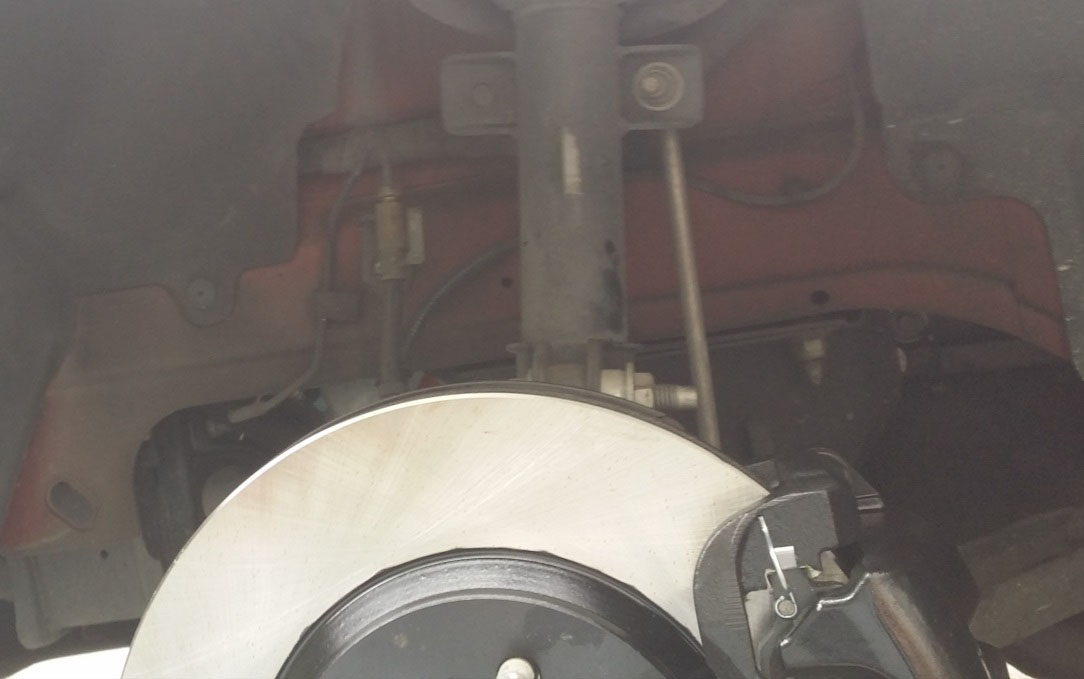
Complete the same procedure as the Right Front Brake Line Removal and Installation on the Left Front.
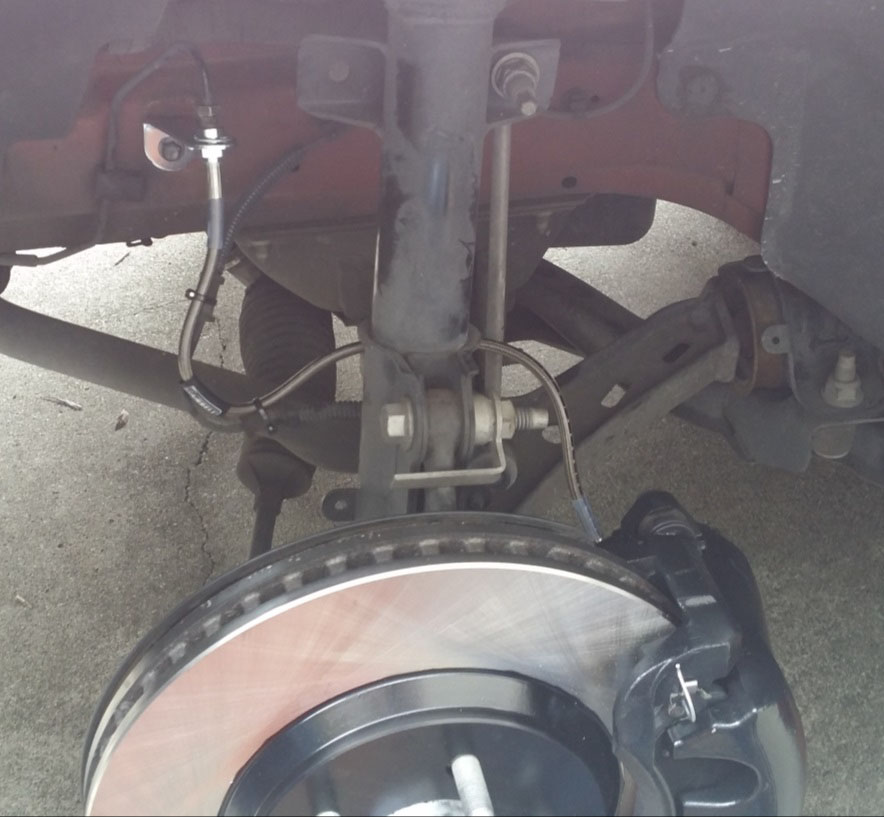
Left Front Installation Complete
Brake System Bleeding
Note: Complete the brake system bleeding in this order: Right Rear, Left Rear, Right Front, and Left Front.
Use the 7/16” open ended wrench, plastic tube, empty bottle, and another person to bleed the brake caliber until only fluid comes out of the tube. Add fluid as needed to brake reservoir during the process.
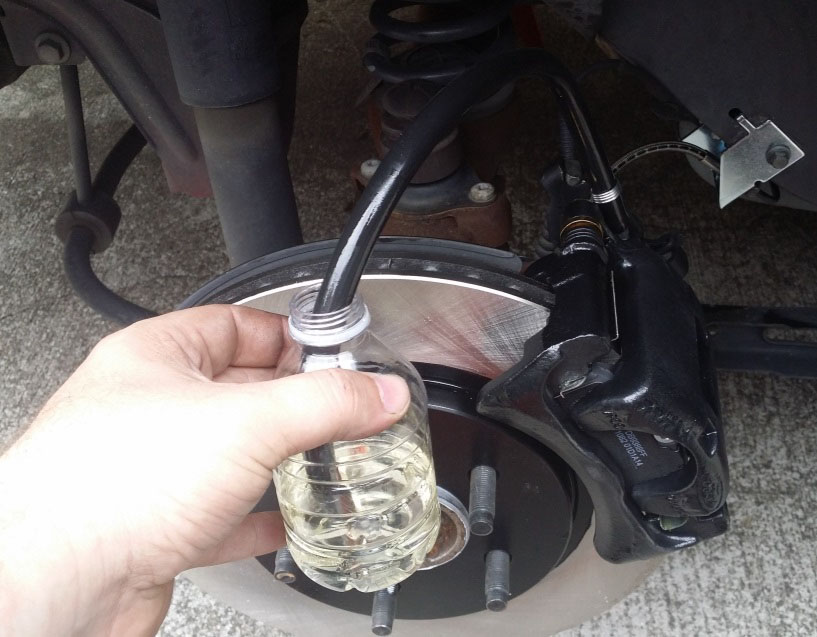
1. Place open ended wrench over brake bleeder screw.
2. Place tubing over brake bleeder screw and place the other end into a container with a little brake fluid in it.
3. Have your assistant press the brake pedal until it becomes hard. Keep pressure on the brake pedal.
4. Submerge the tube in brake fluid and loosen the brake bleeder screw and let the air/fluid out.
5. Your assistant should keep pressure on the brake pedal as it goes to the floor.
6. As the fluid flow slows, tighten the bleeder screw.
7. Have your assistant pump the brakes again until hard.
8. Continue bleeding the system until no air bubbles are seen in the brake fluid.
9. Pay attention to the brake reservoir. Top off periodically during the bleeding process to prevent the reservoir from running dry.
10. Remove plastic tubing and open ended wrench.
11. Move to the next brake caliber.
12. When finished, dispose the remaining brake fluid.
Put the wheels back on the car, lower the car and torque the lug nuts.
The Installation is Complete. Enjoy.
Installation Instructions written by AmericanMuscle customer Richard Klimas 8.04.2014

