How to Install a Billet Aluminum Hood Pin Kit on your 2005 to 2009 Mustang
Installation Time
2 hours
Tools Required
- Flat Head Screwdriver
- Phillips Head Screwdriver
- Rivet Gun
- 90 degree Power Drill
- 3/4" Hole Saw with Long Pilot
- 3/4" Wrench
- 10mm Wrench
- Long 1/4" Drill Bit
- 1/8" Drill Bit
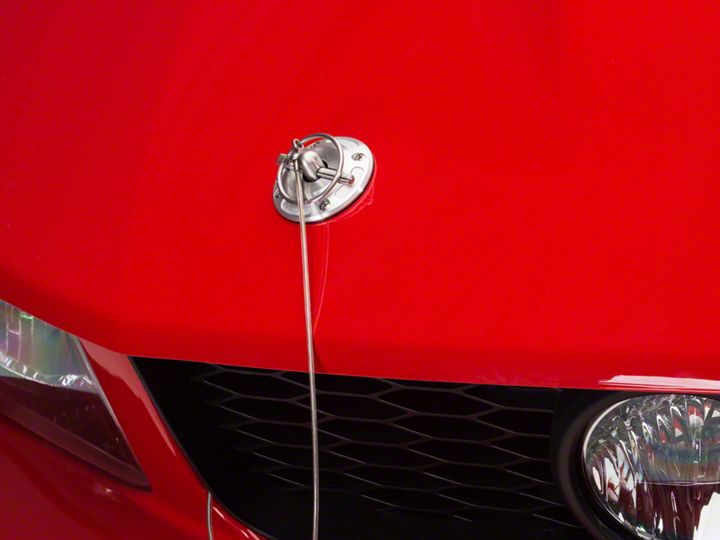
Shop Parts in this Guide
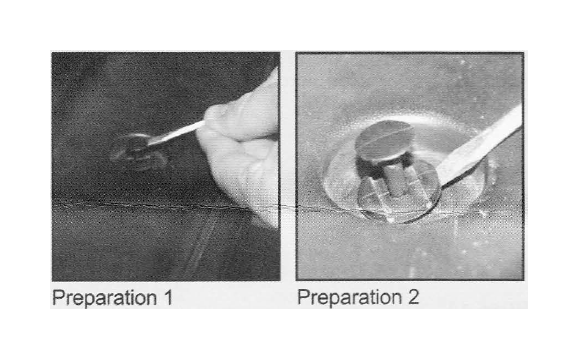
PREPARATION:
First, you must remove the plastic radiator cover by prying up on the plastic tabs with a flat head screwdriver, in two steps/Remove grille by starting on one side by pulling as you pry on fascia retaining tabs.
INSTALLATION INSTRUCTIONS:
Step 1:
Loosen and remove radiator support bolts (2) on each side.
Step 2:
Install metal brackets underneath radiator support brackets and re-install bolts snug. (Do NOT tighten yet) Make sure brackets are facing outboard as shown on the passenger side.
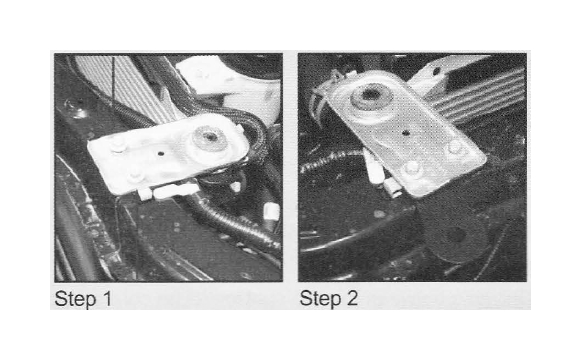
Step 3:
Line up outboard edge of bracket with outboard edge of radiator support brackets for initial alignment. Tighten bolts.
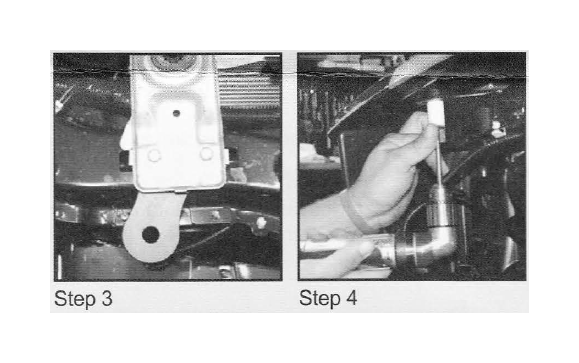
Step 4:
Close hood. Drill a pilot hole all the way through the hood, from underneath, on both sides, using the bracket hole as a guide.
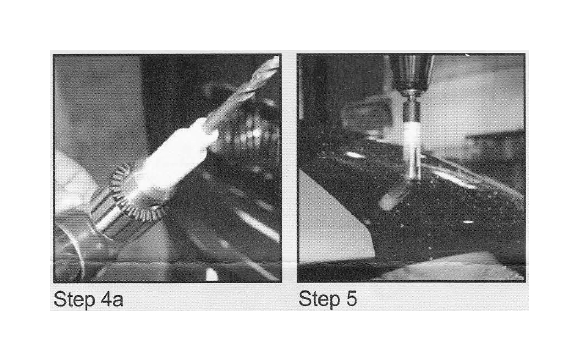
Note: In order to drill a perfectly normal hole to the bracket, a locator (see figure 4a) can be used in conjunction with a 90 degree drill.
Step 5:
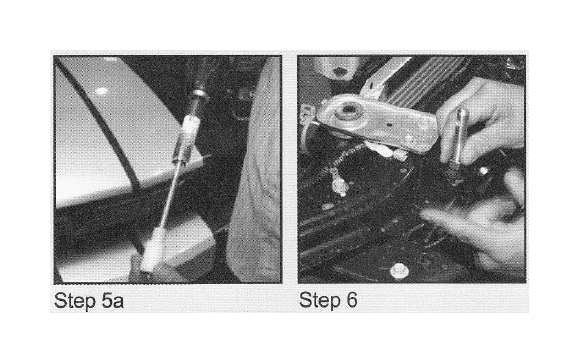
Drill through all layers of the hood on both sides. Note: Use a 3/4" hole saw with a long enough pilot to re-use the locating device, to stay normal to the mounting bracket, (see figure 5a)
Step 6:
Install hood pins snug on both sides.
Step 7:
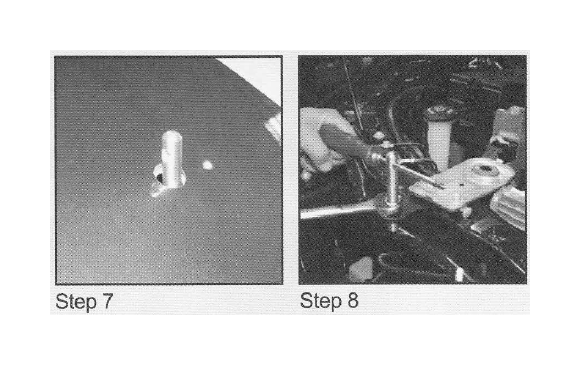
Slowly close hood and check alignment to hole. Adjust bracket and/or pin until pin is centered in the hole. Tighten brackets. Temporarily slide on poron seal, delrin bushing and billet plate. Adjust height of pin until lynch pin slides in close on top of assembly. Remove seal, bushing and plate.
Step 8:
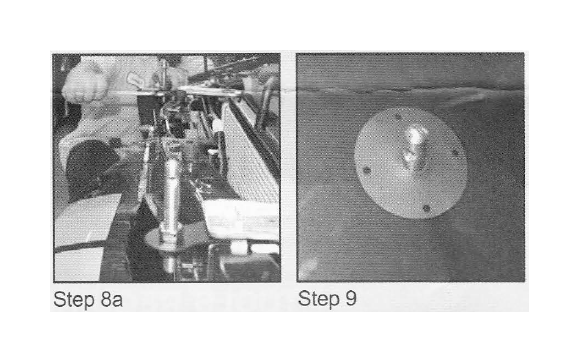
Align lynch pin holes across car with each other. Once pin holes are lined up, tighten pins to bracket.
Step 9:
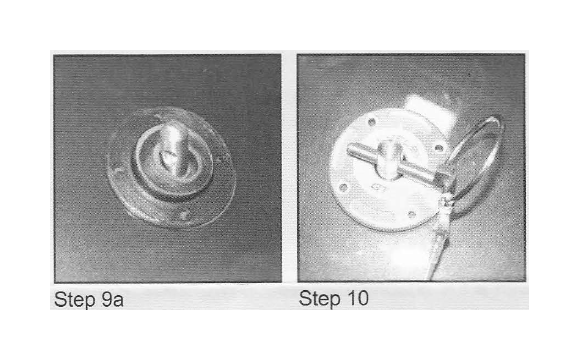
Install poron seal & delrin bushing with thinner section of oval hole towards front of car.
Step 10:
Install billet plate. Line up all holes. Install lynch pin to hold assembly in place.
Step 11:
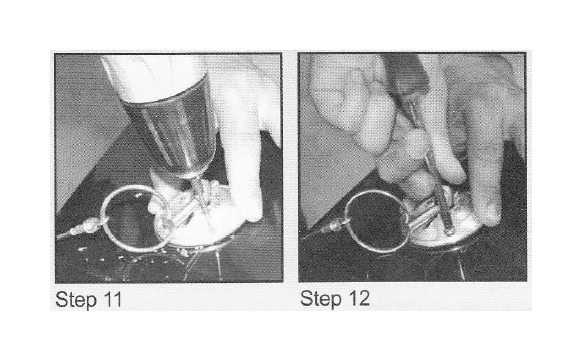
Drill holes (4) in hood to mount assembly. Use a 1/8" drill bit with a stop (or wrap end of drill bit with tape) to prevent damage to billet plate once through the hood. Blow away any debris. Note: Pull away, or space out, underhood insulation to prevent putting holes in the insulation during this step.
Step 12: Attach billet plates using supplied screws. Snugly tighten. Do not over-tighten as it will cause hood damage!
Step 13:
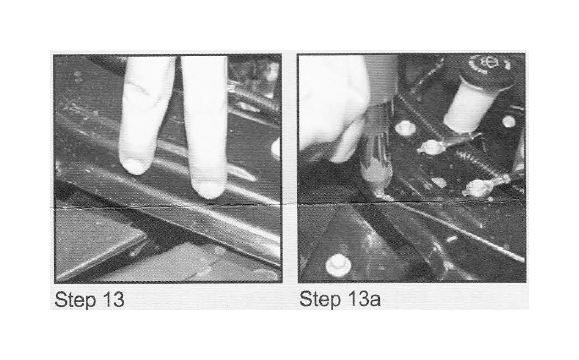
Drill hole between the two spot welds on core support to attach lanyard to. Note: We recommend riveting the lanyard with a washer, (see figure 13a)
Step 14:
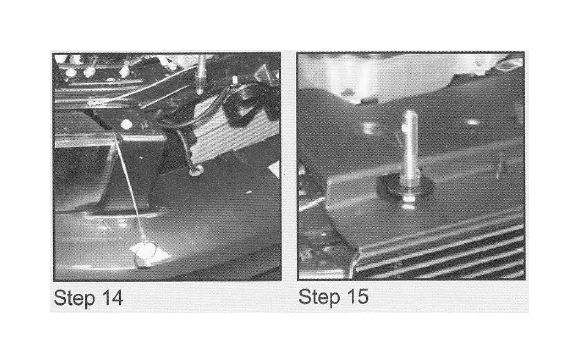
Route lanyards around hood pin bracket to come out the corners of the grille.
Step 15:
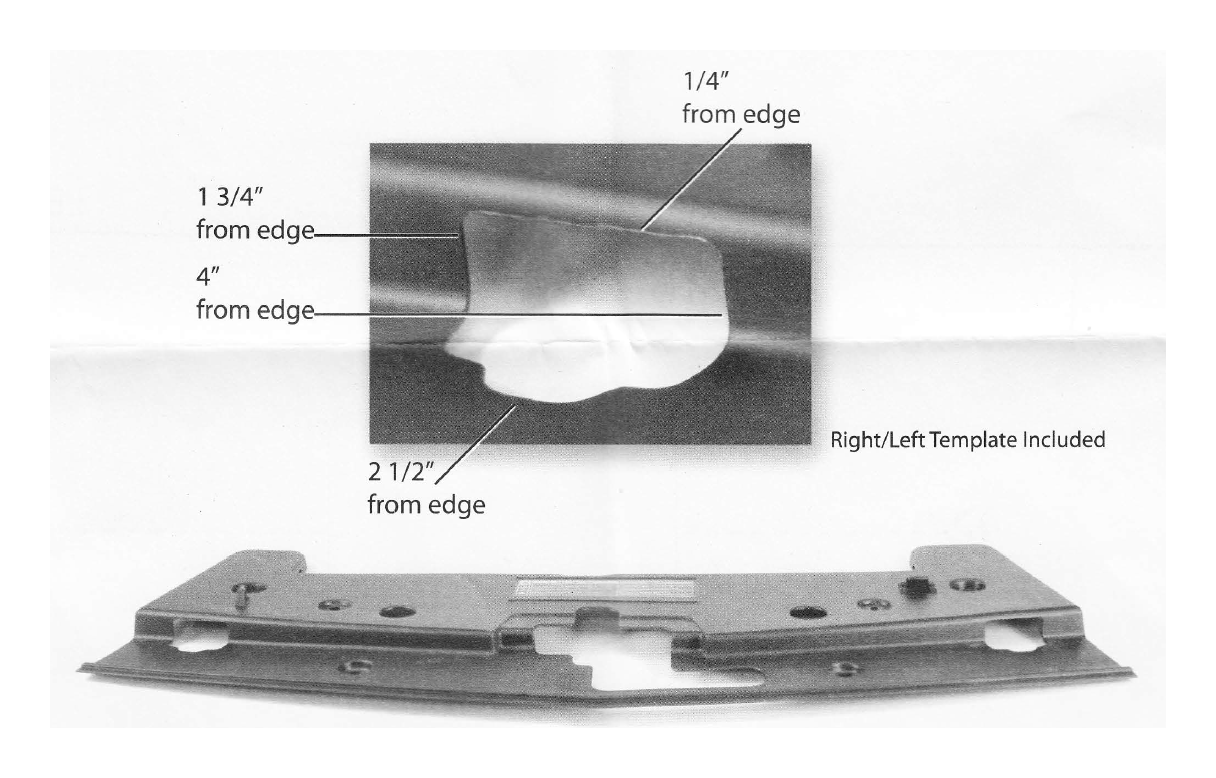
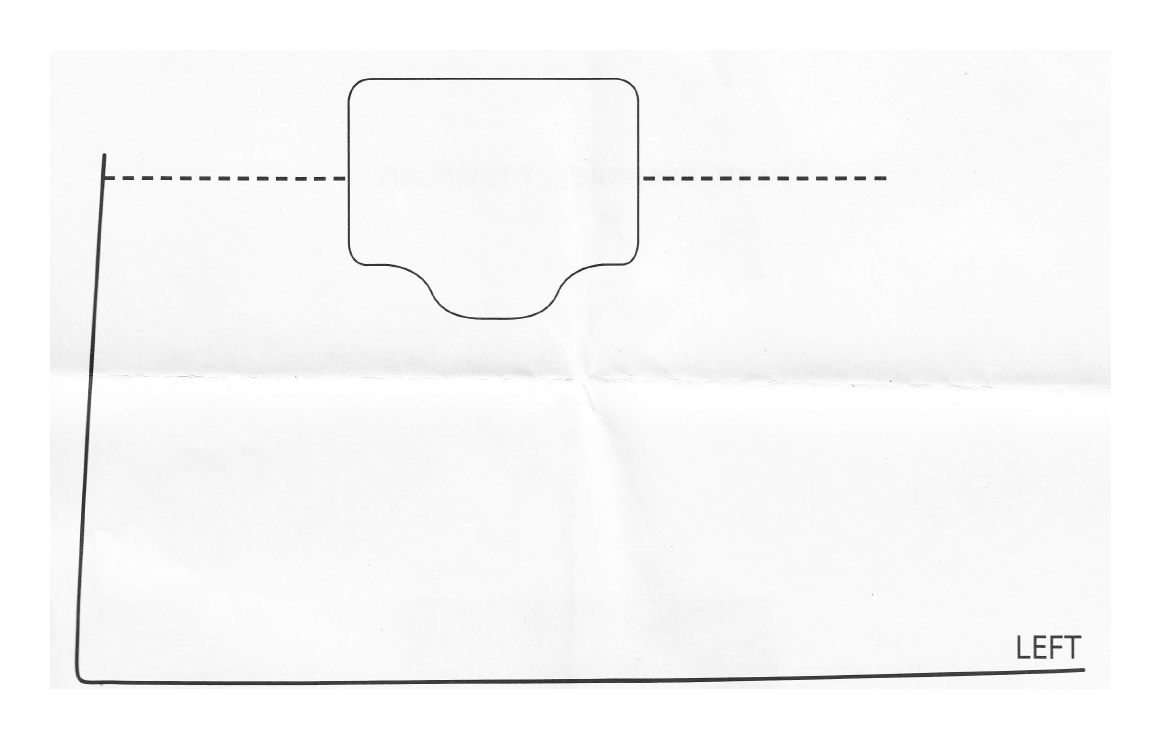
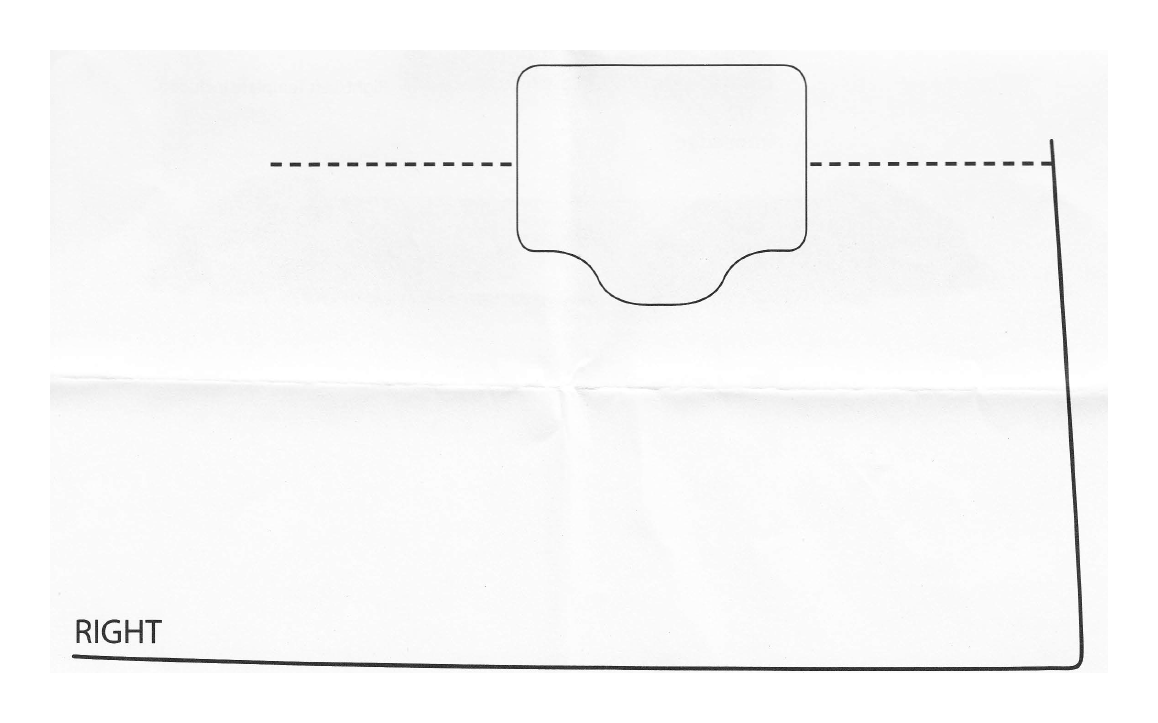
Cut holes in radiator cover with template or purchase one already modified (Part #5R3Z-8C291-AAA). Re-install cover and then grille.
HOOD PIN BRACKET TEMPLATE
