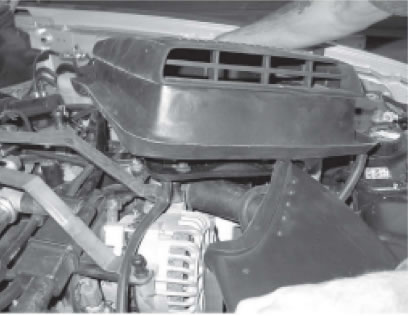
How to install a CDC Shaker System on your 1999-2004 GT Mustang
Installation Time
3 hours
Tools Required
- Template
- Tape
- Center Punch
- 1" Hole Saw
- Saber Saw
- 1/8" Pilot Drill Bit
- 5/16" Drill Bit
- 3/8" Drill Bit
- Scissors for cutting Template
- Drill Motor
- Phillips Head Screw Driver
- Eye Protection
- 8mm Socket
- 10mm Socket
- 11mm Socket
- 1f4" or 3/8" Drive Ratchet
- T40 (Torx Bit)
- IN. LB. Torque Wrench
- Removable Loctite
- 112" Socket, %"Drive
- 114" Drive Nut Driver

Shop Parts in this Guide
Installation
Parts Included:
- 1- Hood Applique
- 1- Aluminum Shaker Scoop
- 1- Lower Air Box
- 1- Upper Air Box w/CDC nameplate
- 1- Air Tube
- 4- Ball Stud Sockets & Brackets (X, Y & Z)
- 2- brackets (driver and passenger)
- 4- M-6-1.0 Ball Studs
- 1- 3/8" ID Driver Side Drain Tube
- 2- 3/8" Drain Tubes (18" length)
- 4- 4.8-1.6 x 15mm Phillips Head Screws
- 7- 5/16" Thread Cutting Nuts
- 3- M-6-1.0 X 70mm Hex Head Screws
- 1- M-6-1.0 X 75mm Hex Head Screw
- 2- M-6-1.0 X 10mm Hex Head Screws
- 4- M-6 Washers
- 6- M6-l.O X 18.5mm Hex Head Bolts
- 2- 1/4" Washers
- 1- 6mm nut (Bullitt Only)
- 1- Hood Cutout Template
- 1- Air Filter cover Cutout Template
- Instructions
Note: Read installation instructions before starting and test fit component before painting. The Shaker Hood Applique is molded ABS Plastic. To ensure the quality of your vehicle and the product, have your Trim Ring painted by a professional automotive painting facility (if applicable). We recommend that paint-curing temperature not exceed 130°F.
Installing Hood Applique:
A. Raise Hood. Remove under hood blanket (and production hood scoop if installed on car, 7, 9mm nuts).
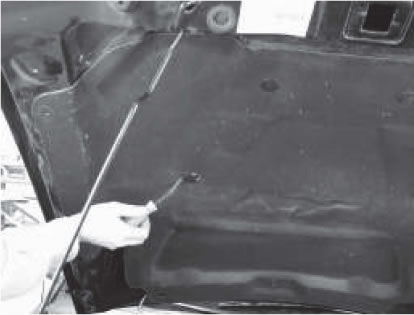
B. Close hood - Align template with hood feature lines as noted on template. Tape template securely to outside hood surface.
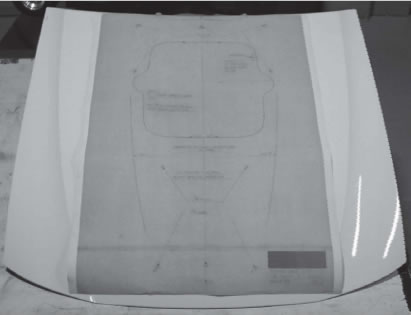
Note: During the drilling and cutting process, elevate hood far enough to ensure no damage will occur to engine components.
**Note: Do not remove template from hood until steps B-E are complete.
C. Using a center punch, transfer the (11) attachment point locations to the hood. Drill with a 1/8" pilot hole through template, hood and inner reinforcement.
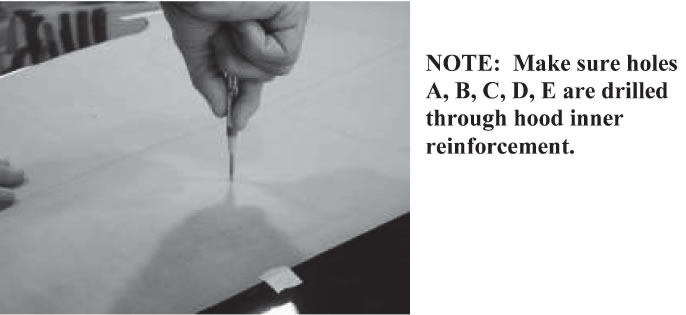
D. Raise hood- Using a 1" hole saw, drill holes called out as A, B, C, D and E in the hood inner reinforcement.
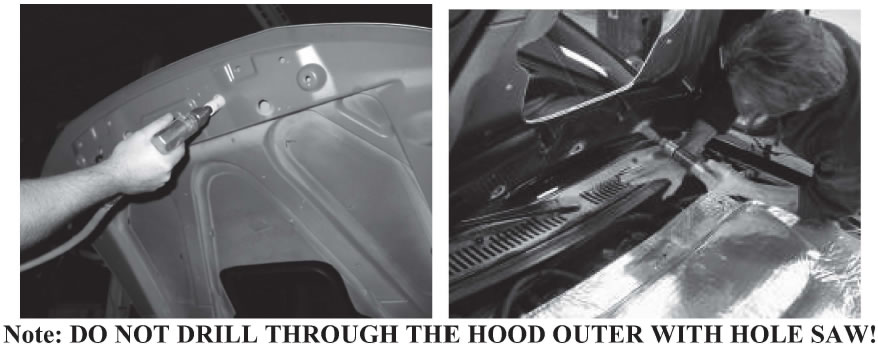
E. Close hood. Finish drilling the (11) pilot holes with the drill size indicated on the template.
Note: When drilling holes called out as "D" & "E", drill should be 90° to floor NOT hood.
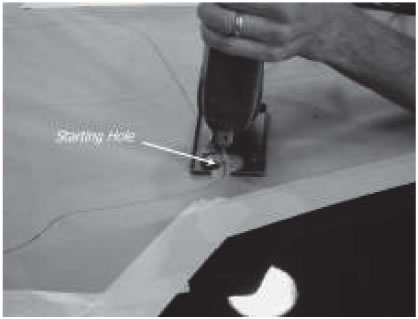
F. Drill a starter hole for the Shaker opening with a 1" hole saw as shown on template. Use a sabersaw to cut out the Shaker opening.
G. Open hood. Attach applique to hood using (7) Thread Cutting Nuts and ( 4) 4.8-1.6 x15mm Screws. Use Phillips head screws at attachment points just forward of hood scoop opening.
Note: Do not over tighten applique attachment nuts & screws! Install thread cutting nuts with a ~" socket on a nut driver to hand tight. Torque Nuts to 20-25 inch pounds.
I. Reinstall hood blanket using original fasteners.
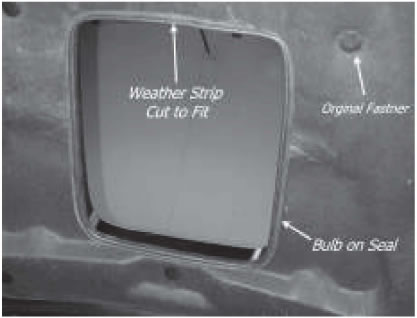
J. Cut hood blanket to fit tightly against the outside of the Applique opening flange.
K. Install weather strip and cut to size to opening as shown. Weather strip sandwiches applique, hood and blanket together.
Assembling Air Tube:
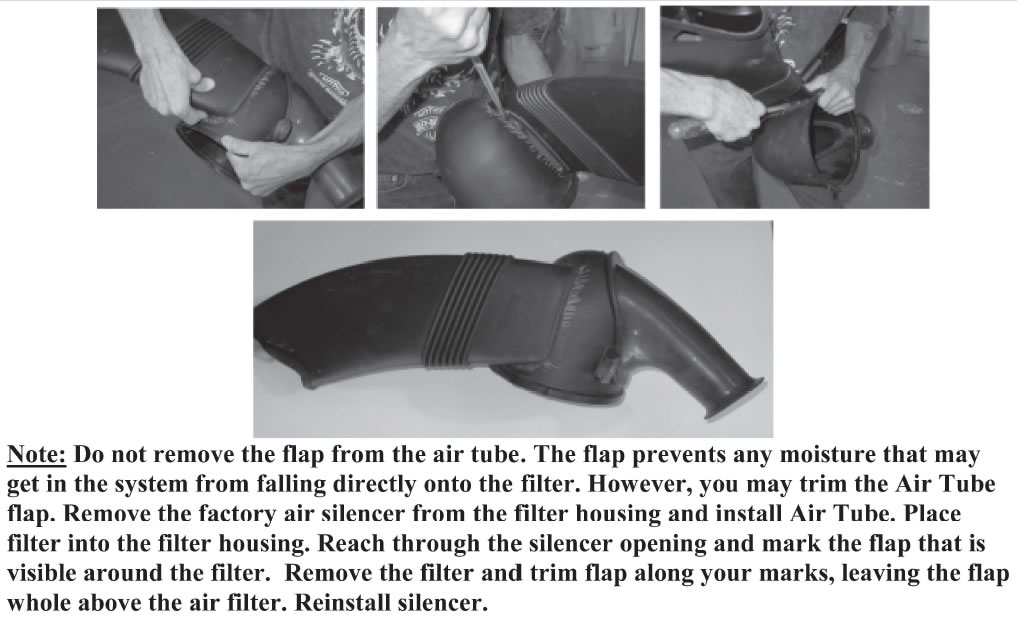
A. Remove stock air filter housing and rubber air snorkel from vehicle.
B. Cut out air filter housing template.
C. Place template on air filter housing following instructions on template.
D. Mark hole location onto air filter housing and cut out.
E. Drill a 5/16" hole in bottom of stock air filter housing at its lowest point for drainage.
F. Attach Shaker air tube to air filter housing.
Mounting Shaker Air box:
Bullitt owners - please skip steps A & B and refer to the Bullitt insert for bracket mounting instructions.
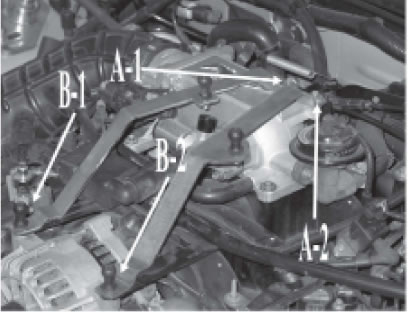
A. Remove passenger side bolts A-1 and B-1. Place bracket on vehicle as shown. Bolts A-1 and A-2 will be re-used and bolts B-1 and B-2 will be discarded and replaced with Silver Ball Studs provided in kit. Use removable loctite on all bolts & Ball Stud Threads. Do not remove both A bolts at same time.
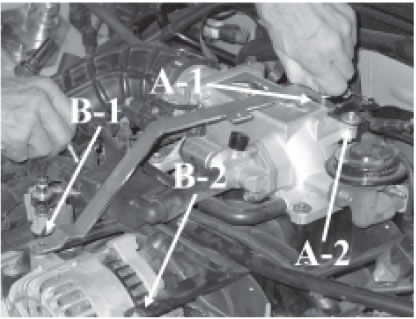
B. Repeat step A with bolts A-2 and B-2. Install Ball Studs onto center hole of brackets.
Shaker Air Box Assembly:
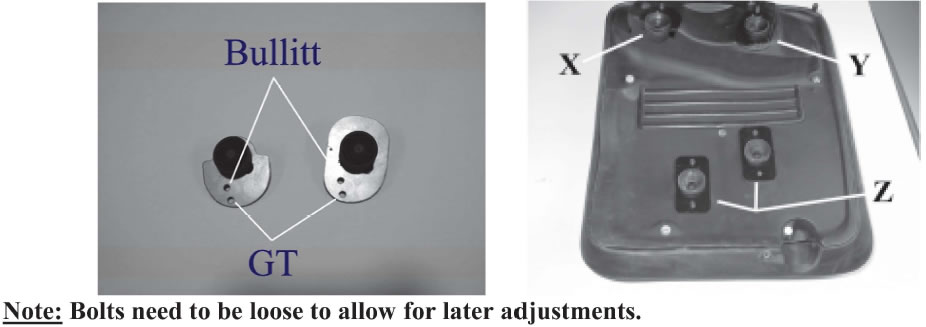
A. Loosely install 4 brackets with ball stud caps to lower air box us
B. Place upper air box and aluminum scoop onto lower air box, without hardware and snap unit to brackets on motor by firmly pushing onto ball studs.
C. Close hood gently and align shaker scoop in center of hood opening.
D. Once the aluminum scoop is aligned, with the hood closed, remove only the aluminum scoop from the upper air box and tighten brackets X, Y and Z.
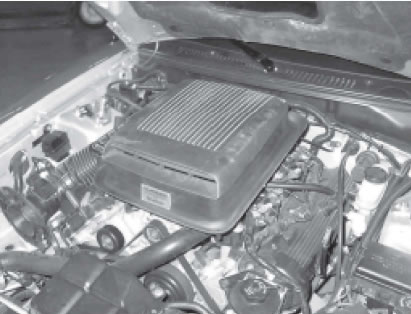
E. Open hood to remove the entire Shaker air box assembly from brackets on the motor.
F. Assemble Shaker aluminum scoop to upper air box using two M6-l.O x lOmm bolts w/114" flat washer. Assemble lower air box to Shaker aluminum scoop using three M6-l.O x 70mm w/6mm flat washer and one M6-l.O x 75mm w/6mm washer.
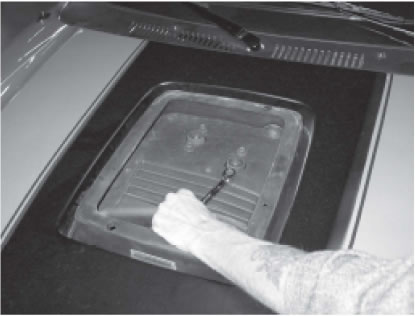
G. Install stock air filter housing with Shaker air tube back into vehicle.
Note: When reconnecting the filter housing to the mass air flange, it is imperative that the union is properly sealed to prevent a false reading from the mass air sensor.
H. Slide entire Shaker air box assembly onto the air tube already assembled in vehicle. Once air tube is inserted into the Shaker air box, snap down onto ball studs to lock in place.
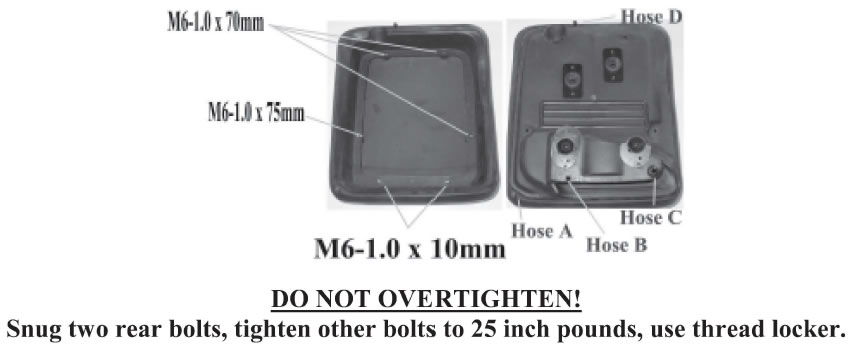
DRAIN TUBES: Route drain tubes, down each side of motor. Be sure to avoid all hot and moving parts of the engine secure drain tubes to hose fittings with tie straps
