
Shelby Mustang Aluminum Hood Pin Kit ('05-'09) - Installation Instructions
Installation Time
2 hours
Tools Required
- Power drill
- 3/4 hole saw
- 1/8 drill bit
- Dremel tool (optional, though very effective)
- Painters or masking tape
- Flathead screwdriver
- Phillips screwdriver
- 2x 10mm wrench
- 2x sheet metal screws
- Grease or putty (something sticky to mark where holes should be drilled)
Installation
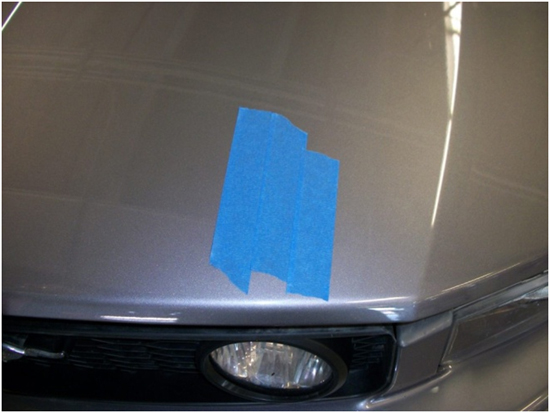
1. To prevent paint from flaking when drilled, place tape over the approximate area where drilling will be done. Use a wide area as this is an inexact procedure.
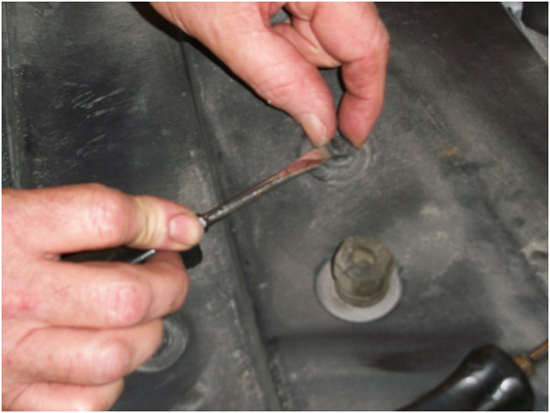
2. Remove radiator cover. Use flathead screwdriver to pry off plastic tabs.
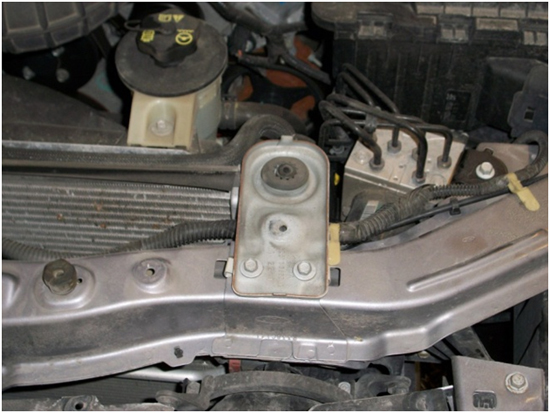
3. Loosen and remove both radiator support bolts on either side of the radiator.
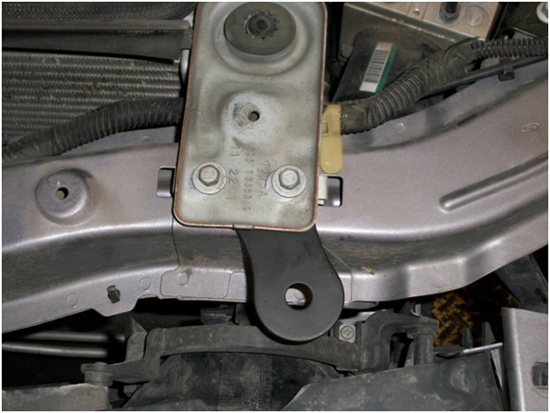
4. Install metal brackets underneath radiator support. Brackets must face towards outside of engine compartment, as shown here from the driver’s side. Tighten bolts.
5. Install hood pins snug on each side.
6. Place a glob of grease on the tip of each pin. Close hood gently – the grease will act as a marker to drill holes.
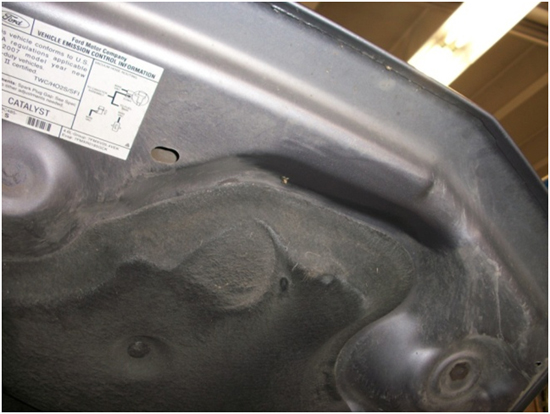
7. Using 1/8” bit, drill a starter hole directly through the hood on both sides. Keep in mind that the hood will be slightly angled compared to the hood pin, so drill bit must be angled as well to make hole as straight as possible.
8. Once starter holes are drilled, close hood gently and check alignment. Look down the holes and make sure you can see the top of the hood pins. If out of alignment, adjust drill angle as necessary and drill holes again. Keep in mind this part is somewhat forgiving if holes are slightly out of line – the base plate will cover a fairly large area and hide an ugly hole.
9. Once holes are aligned properly, use the 3/4” hole saw to cut the final holes.
10. Use dremel tool to smooth out edges of holes or widen as necessary for alignment.
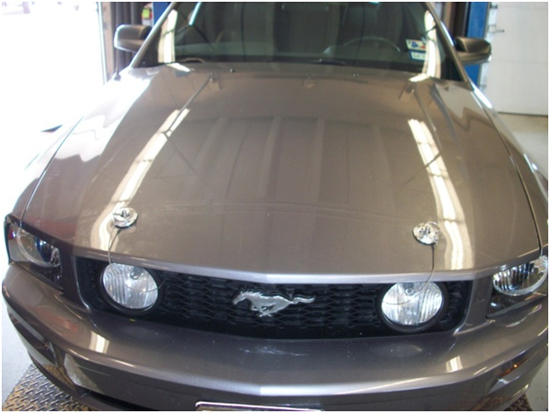
11. Install pins and close hood. Slide on poron seal, delrin bushing and billet plate. Adjust height of pins until lynch pin slides on close to assembly.
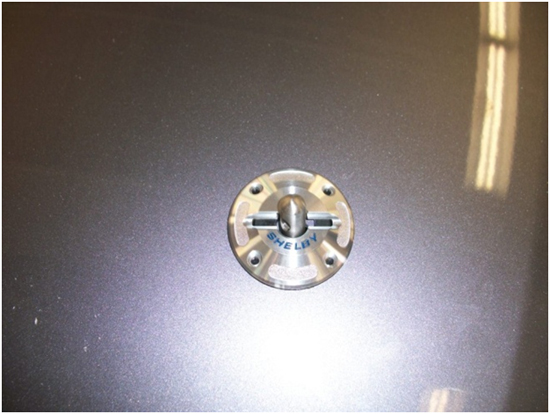
12. Align pins with each other across the hood.
13. Install billet base plate assembly and attach lynch pin. Using the 1/8” bit, drill holes and attach assembly with supplied screws.
14. Drill hole between spot welds. With sheet metal screws attach lanyards.
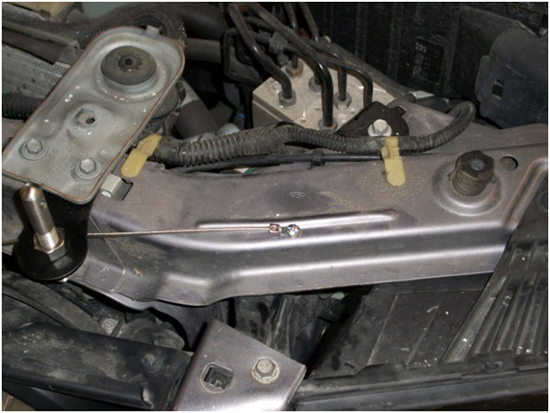
15. Route lanyard around brackets and place through corners of the grille.
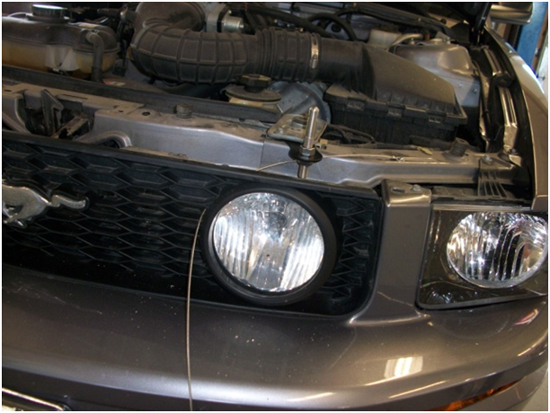
16. Cut holes in the radiator cover and reinstall in reverse of removal.
Installation instructions provided by AmericanMuscle customer Justin Amundson 7.21.10
Related Guides
-
Installation
-
Installation
-
Installation

