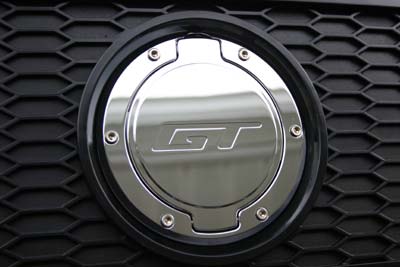
How to Install an SHR Deck Lid Medallion on Your 2005-2009 Mustang
Installation Time
15 minutes
Tools Required
- Cotter-Key puller (available from SHR or other vendors)
- #3Phillips Screwdriver
- Flat-Blade prying tool
- Monofilament fishing line (optional)
- 1/8" drill bit and drill
- Safety Glasses
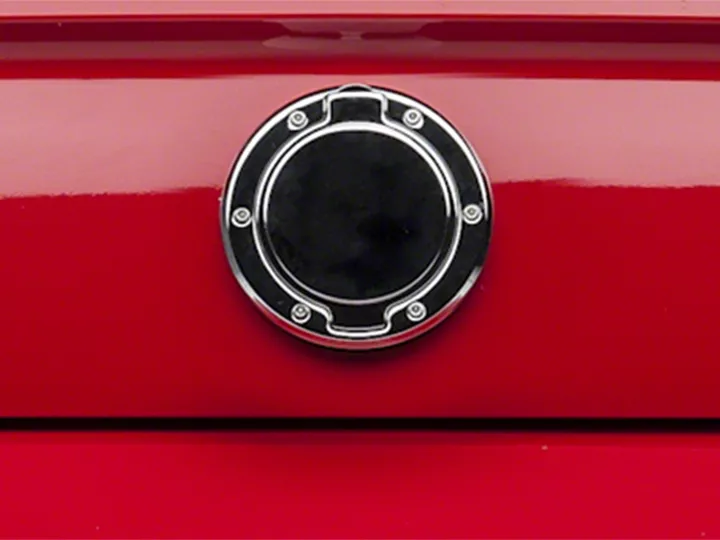
Shop Parts in this Guide
Installation
Thank you for your purchase of SilverHorse Racing products. Please read all directions before beginning the installation. A factory shop manual should be available for reference during installation. If, after reading these and any accompanying directions, you feel that you may not be able to complete the installation safely and properly, please seek out professional installation by certified technicians. Please read and understand our product purchase agreement (included on yellow sheet) prior to starting installation. Vehicle should be off with key removed from ignition and in park with parking brake set prior to beginning installation.
Directions:
1. Start by removing the factory emblem. To do this, one of the following methods may be used:
- Using the cotter key puller, get underneath the emblem through the keyhole and start to separate it from the double-sided adhesive. As it starts to pull away, gently insert a flat prying device to finish pulling it away from the vehicle. Use the cotter key puller already in place to assist you. See Figures 1 and 2.
- Using monofilament line as an improvised saw, cut behind the emblem to remove it. This will require you to use new double-sided adhesive for the installation, as the adhesive will no longer be usable. You will also need to clean off the residue of the old adhesive, which will take some time to do without damaging the underlying finish.
- On some vehicles, the fit of the emblem to the tape is such that a good grip can be had on the edges, allowing the installer to simply grab it by the edges and pull it off.
2. If you need to replace the rear emblem adhesive tape, it can be made from the included 6” square sheet of adhesive using the provided template. Use caution when working with a sharp razor and wear appropriate safety gear. Replacement should not be required if using cotter-key method for removal of original piece. Clean all bare surfaces with rubbing alcohol prior to installation.
3. Whether installing new tape, or re-using the existing tape, clean the back of the medallion with the included wipe, using care near any sharp edges. Open the medallion and line up the dowels of the new medallion to the holes in the trunk, taking care to insure that the door opens from the top when installed (hinge will be to the bottom). When you are satisfied with the alignment, press the piece firmly to the adhesive tape and hold for at least 30 seconds. (Fig 3)
4. As an added measure, a single 1/8” hole may be drilled on center after installation for a #12x3/4” retaining screw. The stainless steel screw is included in the package that your medallion came in. Take EXTREME caution when drilling the hole to use all safety precautions necessary, and to only drill through the first layer of outer sheet metal. If you continue drilling through the entire trunk, you can damage your trunk release mechanism. (Fig 4)
5. Install the phillips screw, using a small amount of silicone or other sealer on the threads to keep out moisture and prevent corrosion. Do not over-tighten. (Fig 5)
6. Close your new rear medallion and enjoy !! (Fig 6)
Fig. 1 – Flat blade prying tool and cotter-key puller.
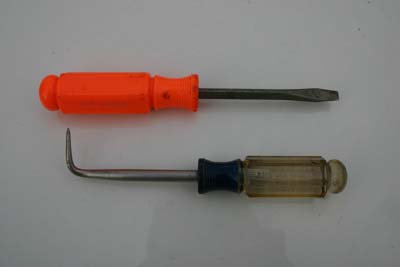
Fig. 2 – Insert Cotter Key puller to start prying off emblem, followed by flat prying tool to help
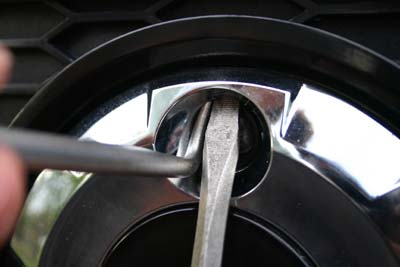
Fig. 3. When satisfied with the alignment, install to trunk using machined dowels as alignment guide
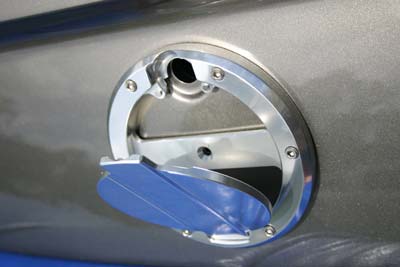
Fig 4 – Using a 1/8” drill bit, carefully drill on center through the outer layer of sheetmetal. Tak
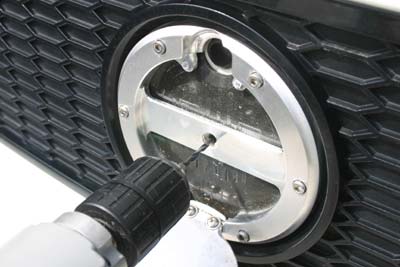
Fig. 5 – After drilling, use a #3 phillips screwdriver to install the #12 x ¾” SS sheetmetal screw.
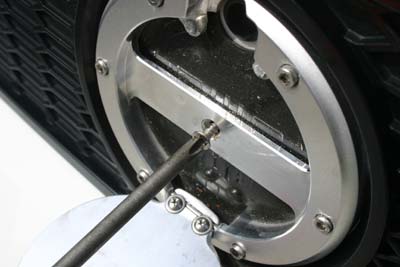
Fig. 6 – Complete installation with Honeycomb Panel shown. Honeycomb panel (if installed) does not
