
How to Install a Smoked Fog Lights on your 1994-1998 Mustang
Installation Time
1 hours
Tools Required
- 10mm Socket and Ratchet
- 15 mm socket and ratchet
- 13 mm socket and ratchet
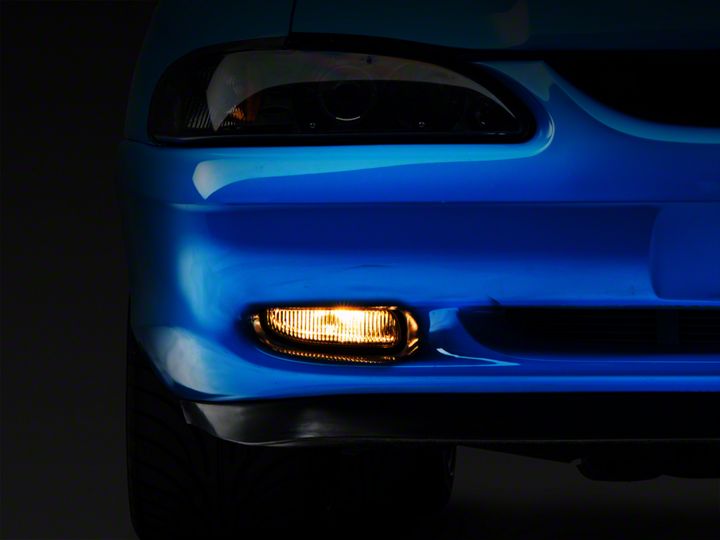
Shop Parts in this Guide
Installation
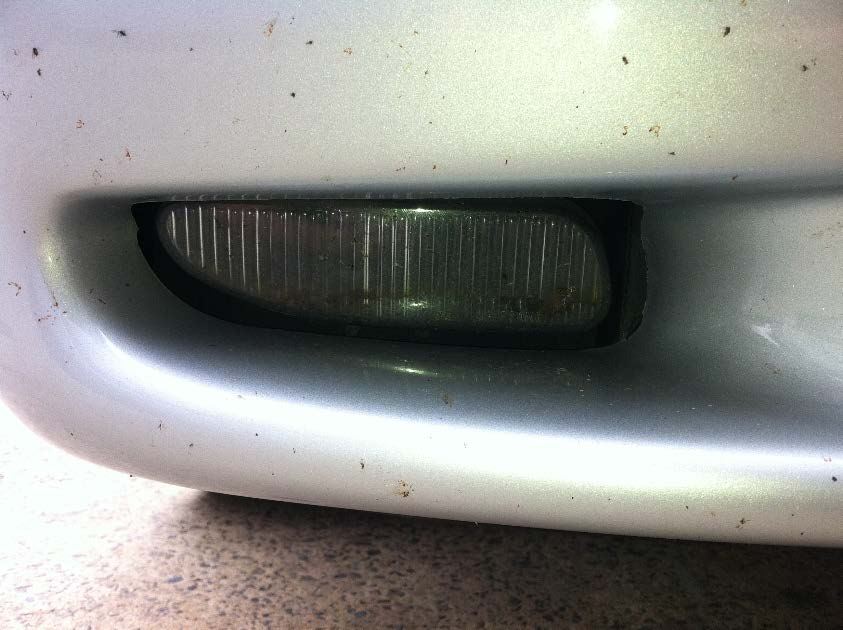
Installation Instructions:
1. From under the car unplug the light from the harness. Remove your stock fog lights from the car by removing the whole mounting bracket with the stock fog light still attached. Using the 10 mm socket and ratchet.
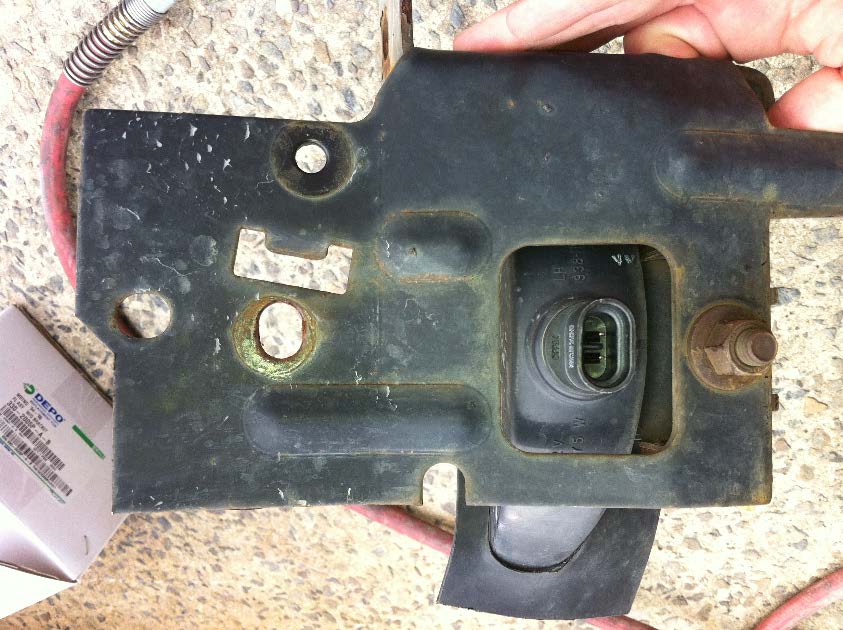
NOTE: At this point in your build you should check the mounting bracket and bolts for any rust or damage. I recommend that you replace the bolts that go through the fight light that mounts them to the bracket.
2. Once you have both lights removed from the car and you have inspected the mounting brackets remove the original fog light and small bracket using the 15mm socket and ratchet. Then remove the light using the 13mm socket and ratchet from the small bracket.
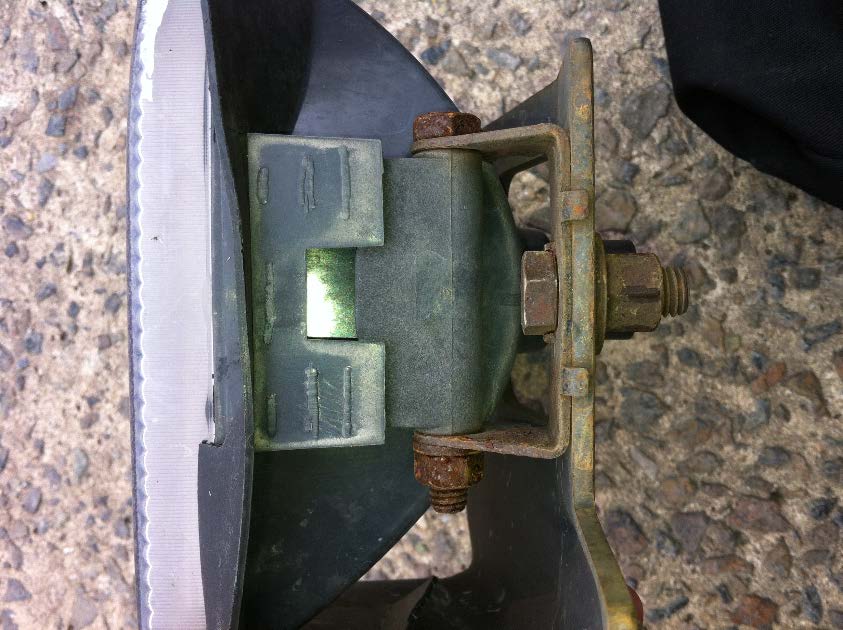
3. Inspect the new light for any damage
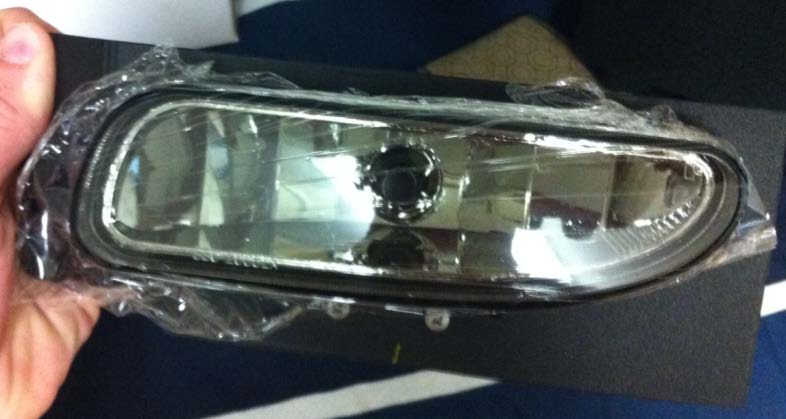
New light with plastic covering Make sure you leave the black back plastic in place when installing.
4. Install the new light to the small bracket and then to the larger using the same tools used to remove them. The 13mm and 15mm socket and ratchet
5. Hold the whole bracket and light back in the car while the light is still slightly lose so you can adjust to the right position. Remove the bracket and light from the car.
6. Tighten the light and install back into the car.
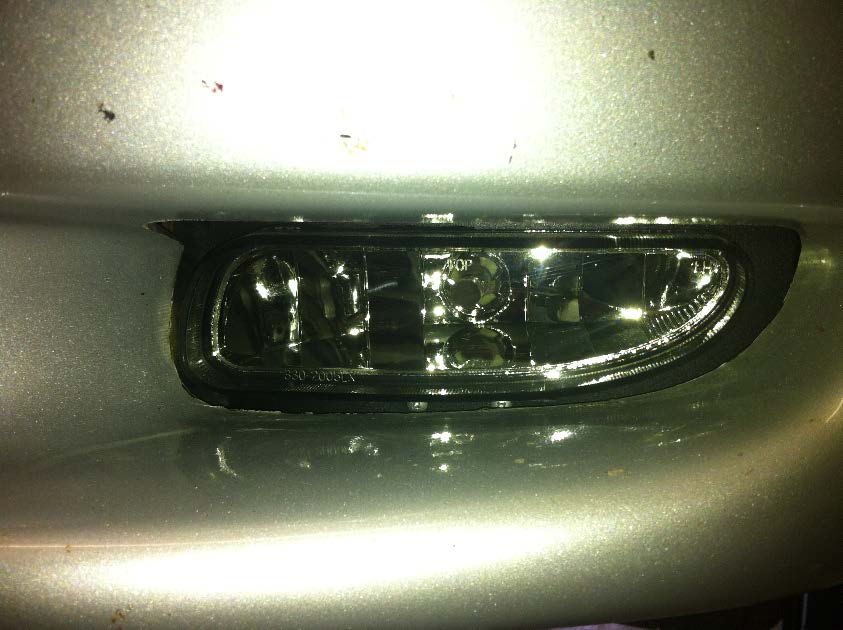
Installation Instructions written by AmericanMuscle customer Daniel Snyder 5.30.12
