Top Sellers in Mustang
How to Install Rear Bumper Lenses on your 2005-2009 Mustang GT, V6, and Bullitt
Installation Time
15 minutes
Tools Required
- Flat Tip Screwdriver
- Light Bulbs #168 (optional)
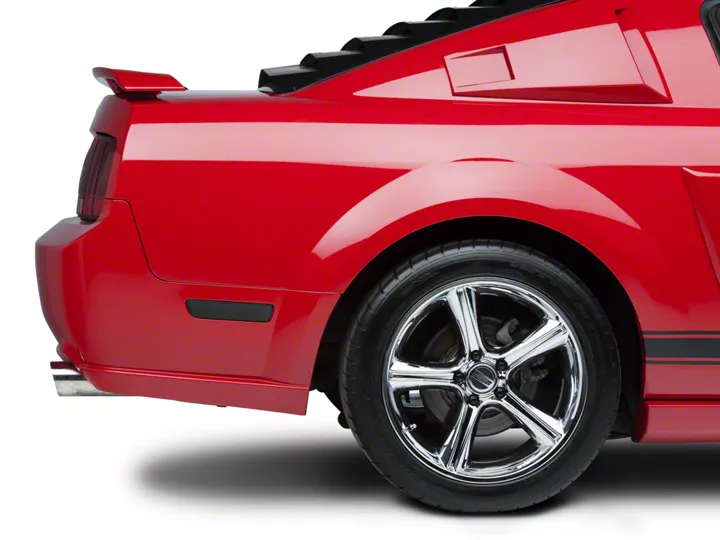
Shop Parts in this Guide
Tools Needed:
• Flat Tip Screwdriver
• Light Bulbs #168 (not required but a good time to check if the old bulbs have burned out)
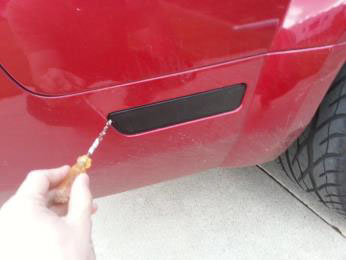
Step 1: Using your flat tip screwdriver, carefully pry the rear end side of the light from its mounting place.
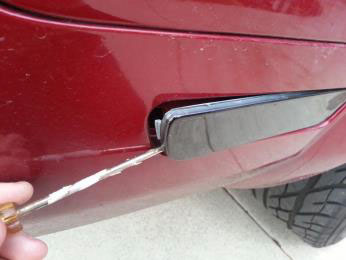
Step 2: Slide the light towards the rear end of the car to completely remove it from its place.
Step 3: While holding onto the light, rotate the bulb until the tabs align with the holes and it can be pulled out from the light. (Good time to check and see if the bulb has burned out)
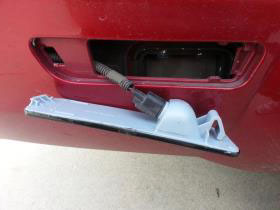
Step 4: Grab the new light and align the tabs on the bulb with the tabs on the new light. Slide the bulb in and rotate slightly to lock into place.
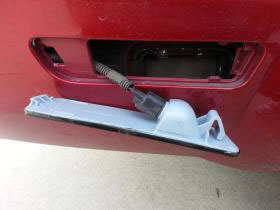
Step 5: Insert the tab on the rear end side of the light into the hole and then push the front end of the light back into its hole (will take some pressure to get the tab into the hole and will click when it is properly in the hole)
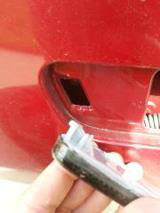
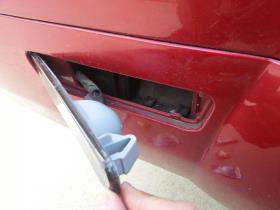
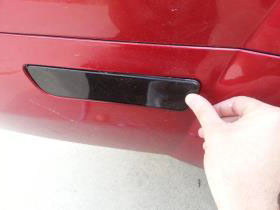
Step 6: Repeat steps 1-5 for the light on the opposite side.
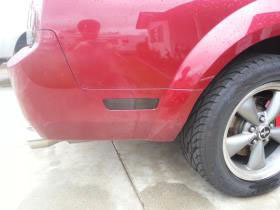
Step 7: Turn on the car’s headlights and check to verify that both new lights light up.
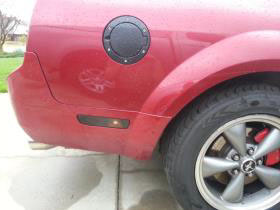
Before and After:
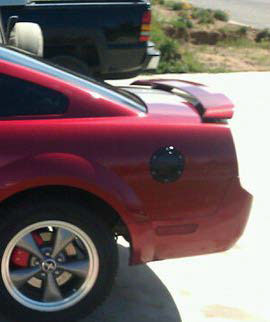
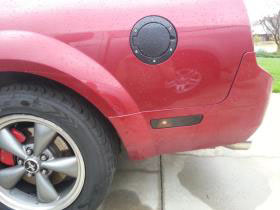
Side note: If you change the bulbs, it is recommended that you use Bulb Grease inside the fitting to prolong the life of the bulbs
Installation Guide Written By AmericanMuscle Customer Joshua Furlong 4/19/2013


