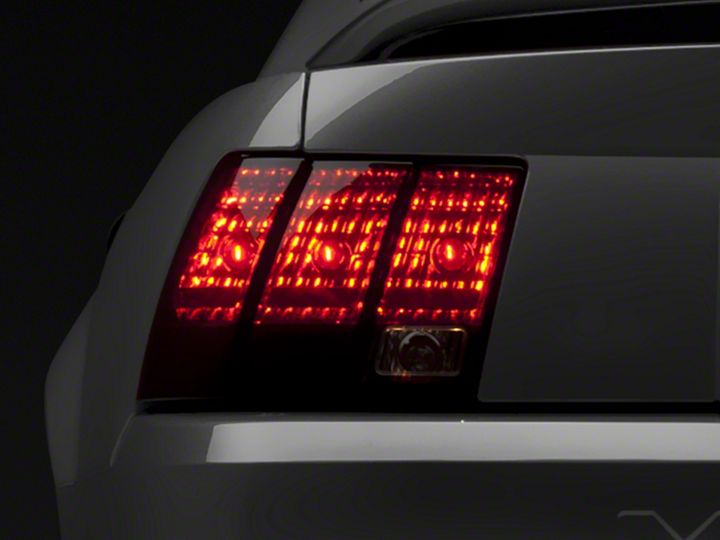
How to Install Smoked Tail Lights for 1999-2004 Mustang

Shop Parts in this Guide
Installation
1. Using a flat-head screwdriver, remove the trunk insulation retaining clip as shown below.
2. Using an 11mm socket or wrench, remove the 4 nuts highlighted in the photo below:
3. Once all of the nuts are removed, simply pull the tail light housing from the vehicle. Remove the bulbs by twisting them, making sure to take note of their position in the housing.
4. Install the bulbs in the new housing in the same position as they were removed from the old housing. Make sure to place the two wiring harness clips into the holes on the new housing to ensure the wires done get pinched upon re-installation.
5. Place the housing back into the tail section of the vehicle and re-install using the 11mm nuts that were removed in Step 2. Repeat for other side then re-install any interior trunk trim that was removed in Step 1 to complete the installation.
Related Guides
-
Installation
-
Installation
-
Installation

