Top Sellers in Charger
Spark Plug and Spark Plug Wire ('94-'04 V6) - Installation Instructions
Installation Time
60 minutes
Tools Required
- New spark plugs
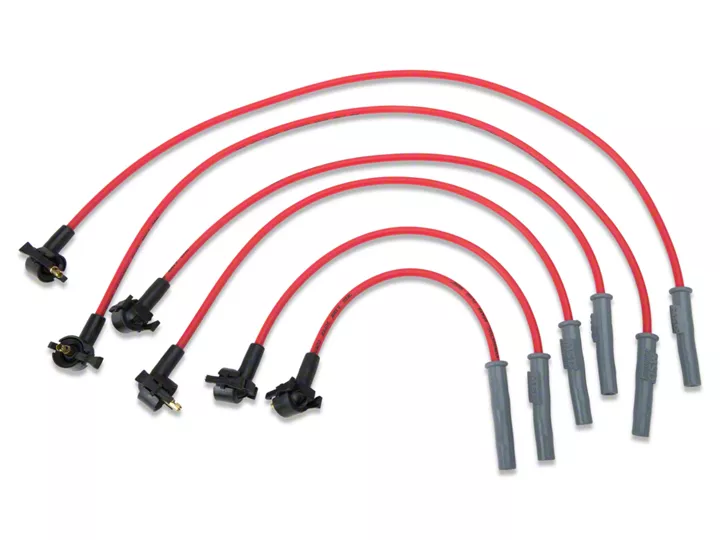
- New spark plug wires
- Spark plug gapping tool
- Ratchet
- Spark plug socket for ratchet
- Flat head screw driver
- Zip ties
Shop Parts in this Guide
Installation
1. The first step to changing your spark plug wires is to take necessary safety precautions. Make sure your car has been allowed to cool because you will be reaching in and around the exhaust manifolds, which retain heat.
2. Next you want to check the gaps on your spark plugs. A stock V6 1999-2004 Mustang spark plug is gapped to.054 inches. You can use a spark plug gap tool for this. Here is a picture of one I bought for 99 cents.

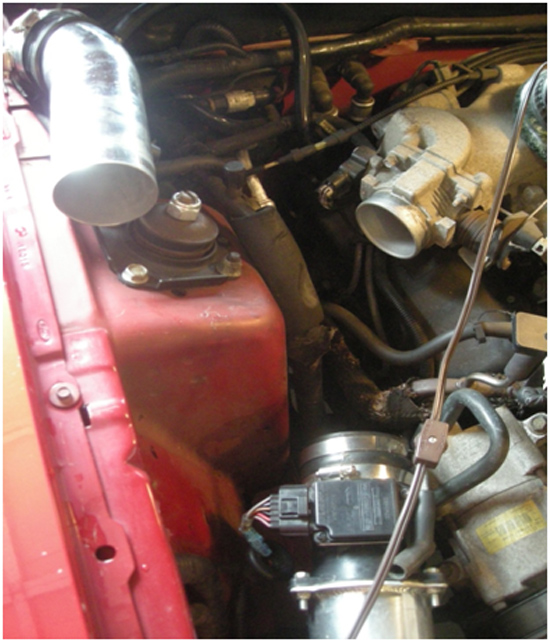
3. After you have assured that all the spark plugs have the same and correct gap, you are ready to start on installation. I found it easier to remove the upper tube to my cold air intake to get at the passenger side spark plugs and wires. As pictured below.
4. I started on the driver’s side just because there is more space than the passenger side. Starting with the cylinder closest to the nose (front) of the car, locate and remove the spark plug boot from the spark plug. Follow it up to the coil pack and remove the wire completely.
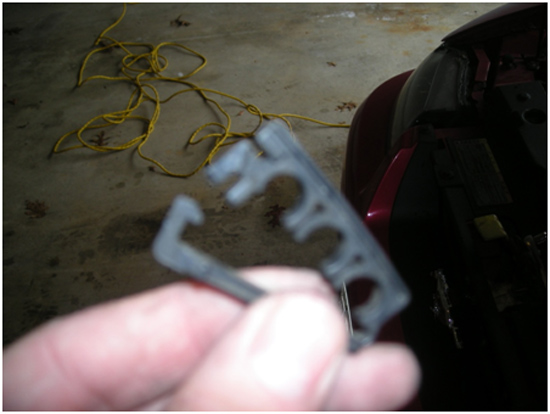
5. There will be numerous clips throughout the whole project that hold the wires together and it looks like the below picture. It can be removed easily with a flat head screw driver.
6. Using the spark plug socket place it over the spark plug and turn it to the left (counter clockwise) while pushing in lightly until it is snug on the spark plug and you can no longer turn it by hand. Attach your ratchet and loosen and remove the spark plug.
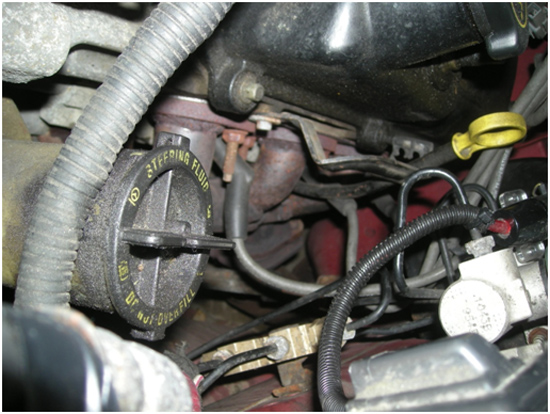
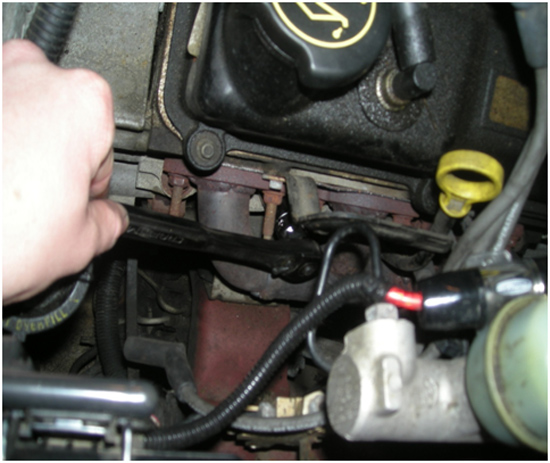
7. Once the old spark plug is removed, take your new properly gapped spark plug and insert it into the spark plug socket to make it easier to install back in place like shown below.
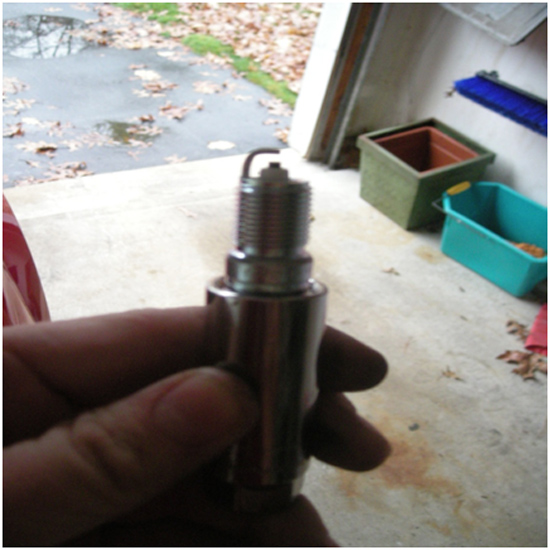
8. This step is a little tricky. Make sure the spark plugs stays in the socket, then you have to feel around and find the hole to insert the spark plug in. Once it is in turn it to the right (clockwise) by hand while pushing in until you cannot turn it anymore. Then attach your ratchet (using an extension if needed) and turn it until it is very tight.
9. Once you have tightened the new spark plug snuggly measure the length of the old spark plug wire you just removed and replace it with the same length wire from the kit. Take this new spark plug wire and attach it to the coil pack and to the sparkplug you will hear an audible click.
10. Repeat steps 4-9 for the driver side being careful and taking your time. Some of the plugs will be harder to reach, so you may need to use a different size ratchet or an extension to reach the plugs. Make sure all the wires are pushed on firmly and you hear an audible click.
11. Below is a picture of what the coil pack should look like after the two spark plugs closest to the front of the motor have been connected to the coil pack, notice the new red wires.
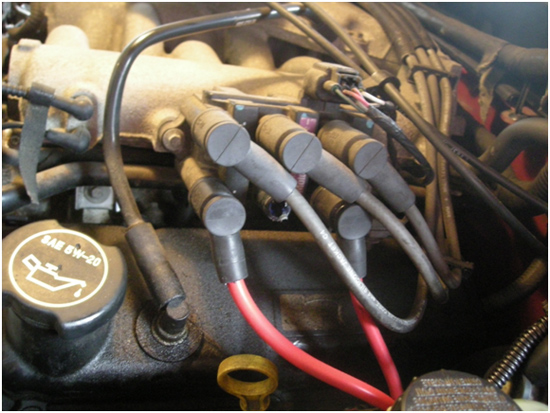
12. Now you can move over to the passenger side. The passenger’s side wires are arranged on the coil pack to their locations in motor, so the spark plug closest to the nose of the car will attach to the top of the coil pack closest to the nose of the car. There are quite a few clips for the passenger side so be sure to unclip them to make tracing the wires easier. The passenger side is pretty straight forward once you have completed the driver’s side however there is less space, but it is still very doable. Like mentioned earlier removing the upper intake tube on your stock intake or cold air intake will help with space issues however is not necessary. This is very simple and is just a few hose clamps or bolts. Repeat the steps 4-9 for the passenger side as well. Here are some pictures to help you through it. Some of the wires will have a plastic sleeve over them as you can see to help protect them against heat which you can transfer over to the new wires taking note of their position on the old wires.
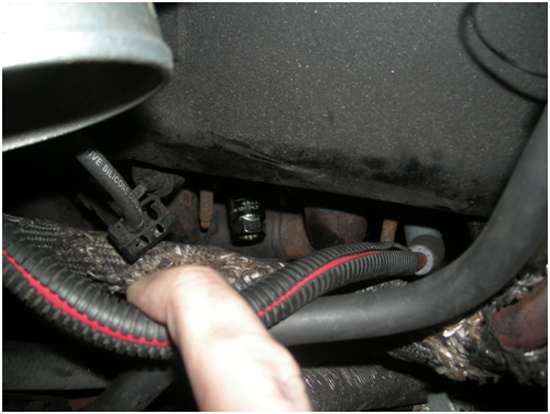
13. Once you have finished with the passenger side, I would recommend using some zip ties to hold the wires together so they are not all over the place. Then trim the extra off the zip tie.
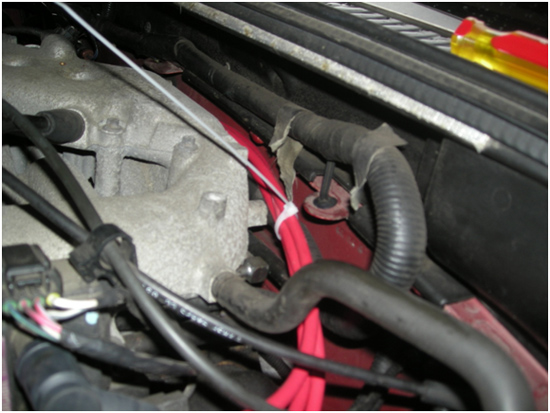
14. Once installed double check everything. Make sure all the plugs are secure and snug on the coil pack and spark plugs. If you removed your intake to make the install a little easier reinstall it now. Now start the car up. Make sure it idles smoothly and take it for a drive to ensure it runs smoothly as it should at all rpm’s. If you start it up and something is wrong, turn the car off immediately and double check all your wires and connections.
15. This should complete the installation of your new Spark Plugs and Spark plug wires. Enjoy.
Installation instructions provided by AmericanMuscle customer Shaun McDonald 11.16.09


