
How to Install a SPEC Billet Aluminum Flywheel on your 2007-2009 Mustang V6
Installation Time
3 hours
Tools Required
- Lift or jack stands and Jack
- Transmission Jack
- Pry bar
- Hammer
- Flathead screws driver
- Metric sockets ranging from 10mm to 19mm
- Lots of extension (3 feet worth)
- Ft Lbs. torque wrench
- Plug for clutch hydraulic line
- Penetrating oil
- Anti-seize
- Loctite
- Zip Ties
- Rags
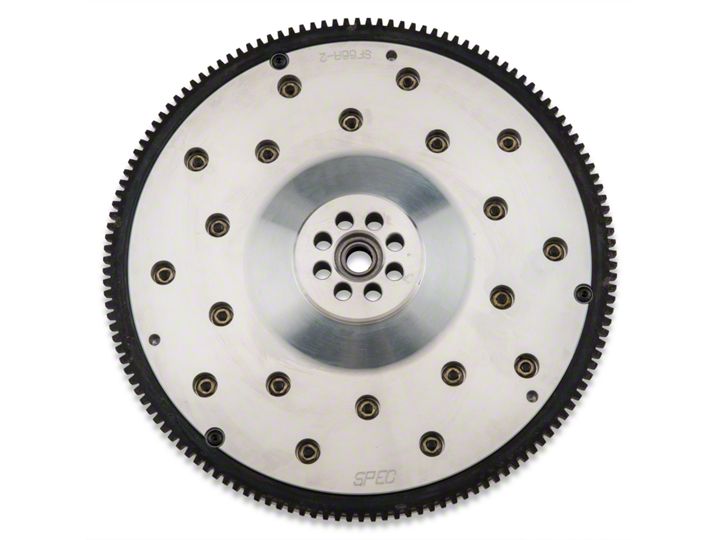
Shop Parts in this Guide
Installation Instructions:
1: Remove the shift knob and boot.
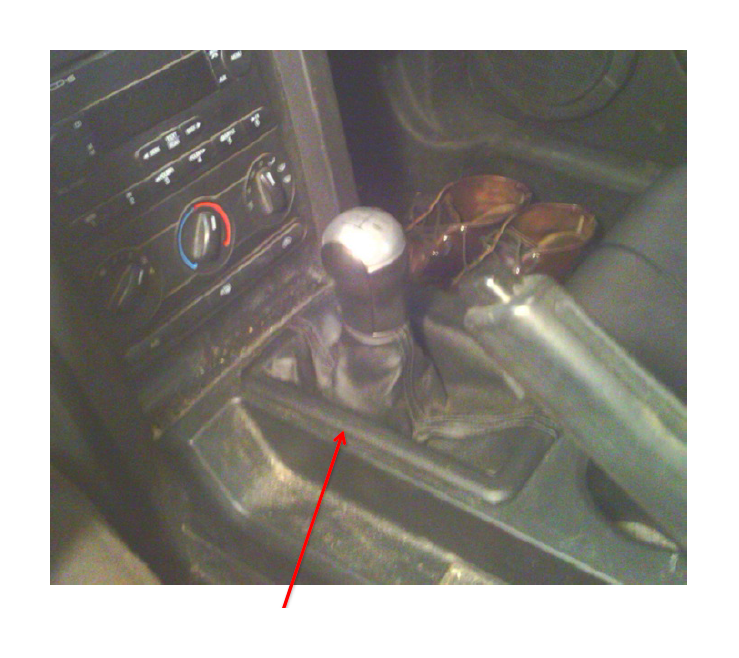
2: Pry off the rubber grommet around the shift lever.
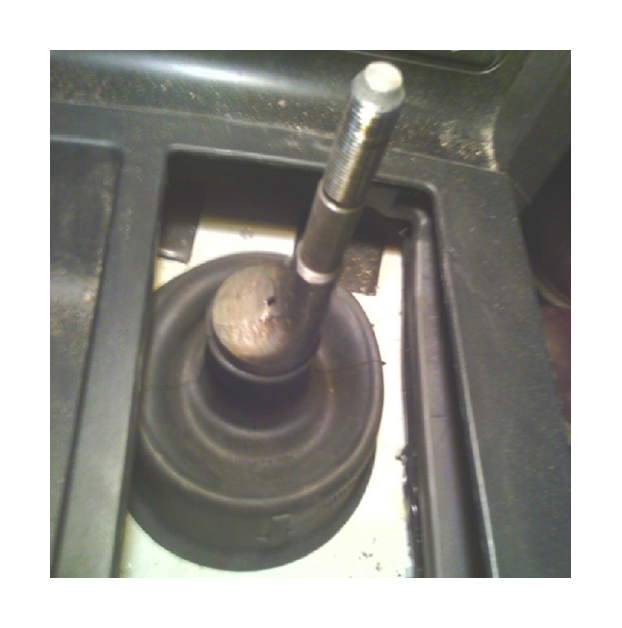
3: Jack the car in the air, and make sure it’s stable.
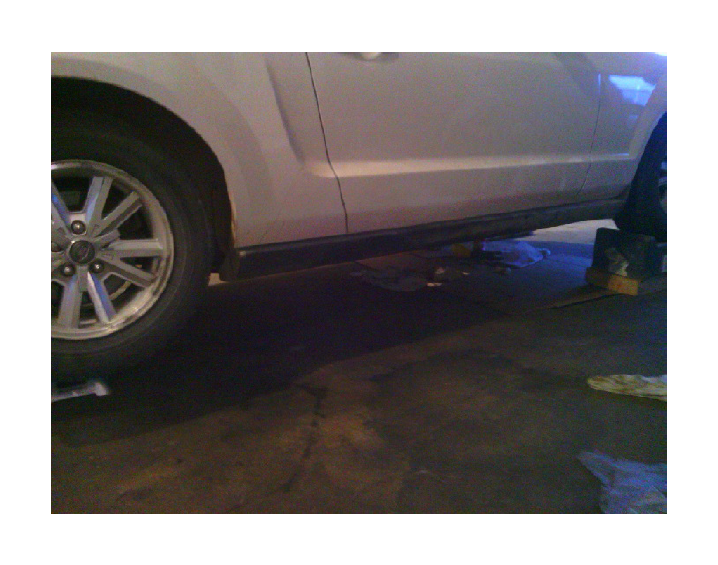
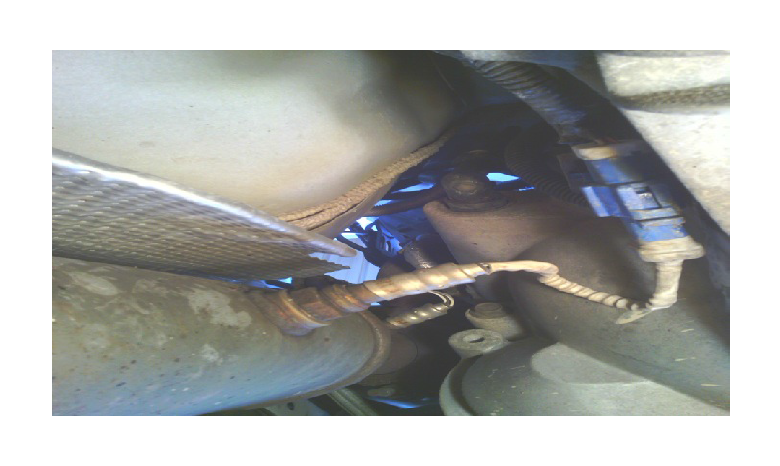
4: Unhook the sensors from the exhaust. (2 on each side)
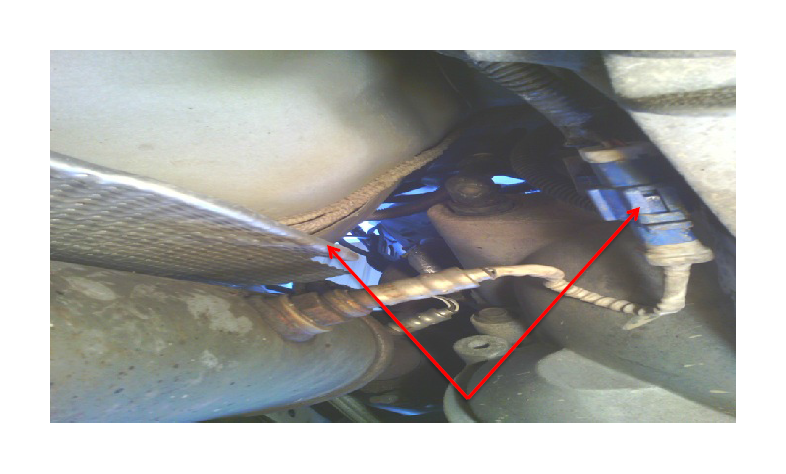
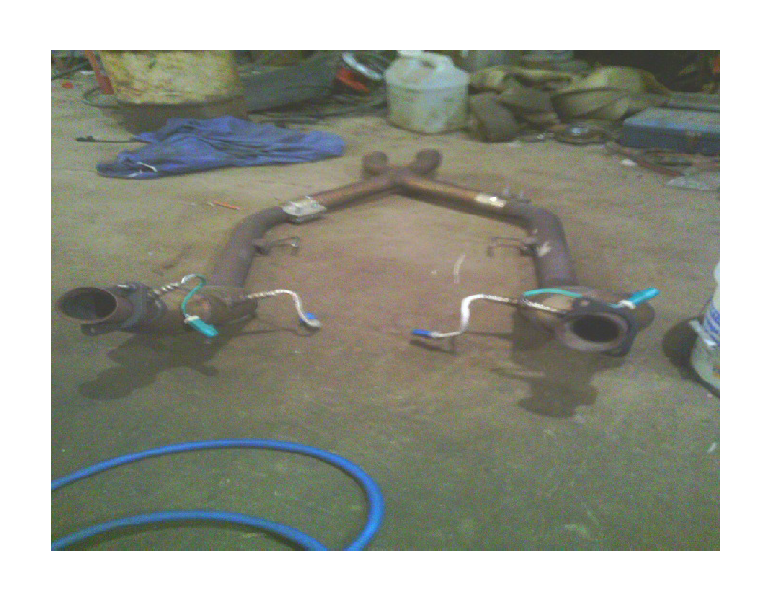
5: remove the exhaust from the Converters to the rear axle and lay it out of the way. The bolts on the converters are 15mm. The X-pipe bolts are 16mm
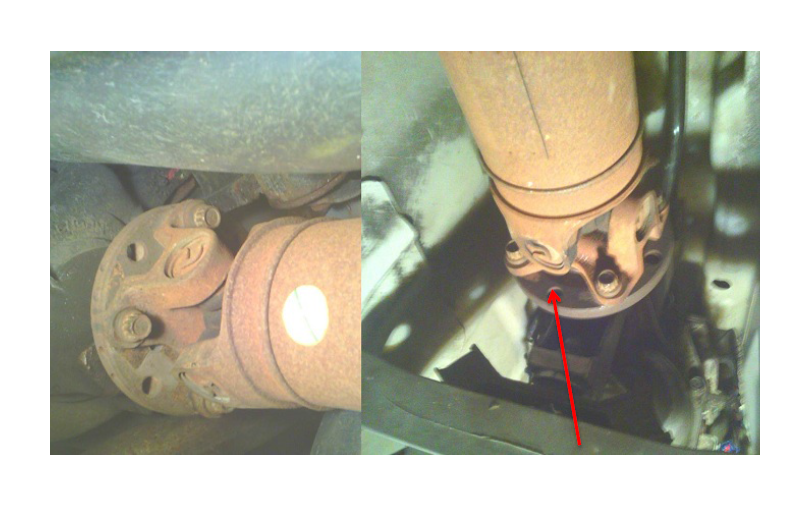
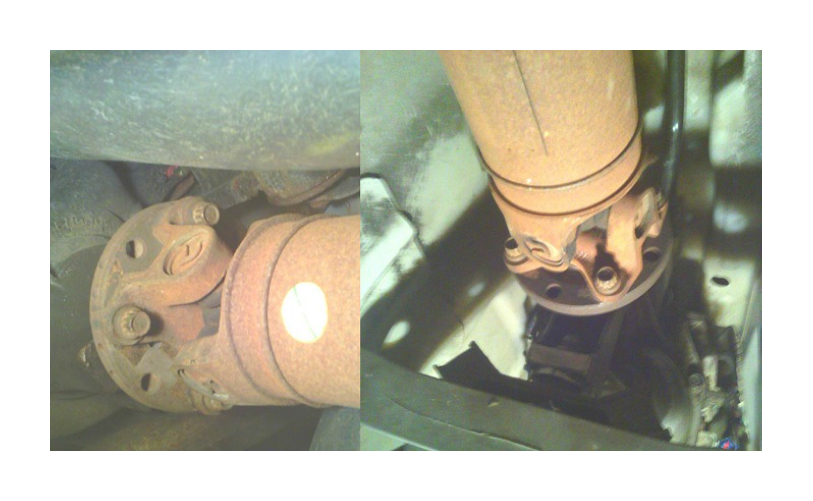
6: Remove the Driveshaft. (12 point 12mm)
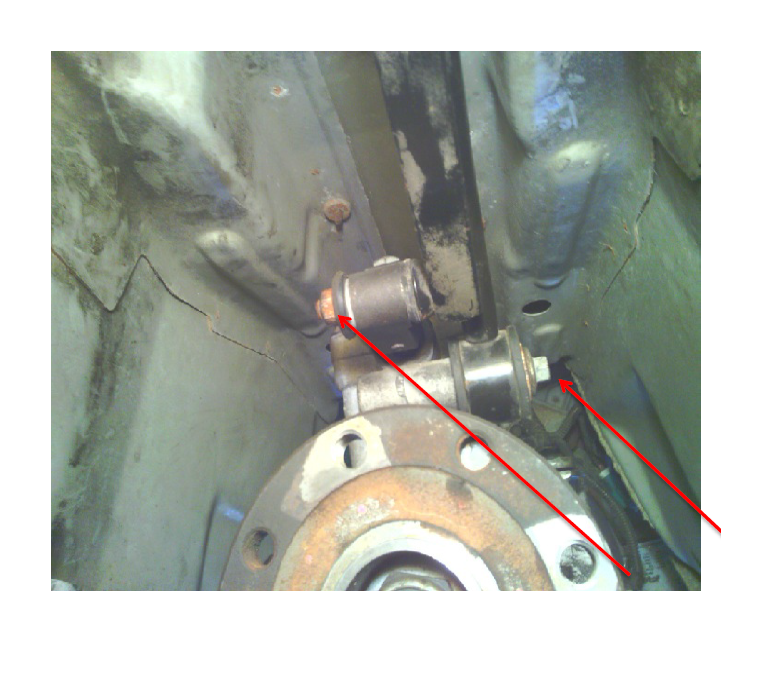
7: Unbolt the shifter linkage from the transmission, (13mm and 10mm) and the car body(10mm deep well). Set it out of the way.
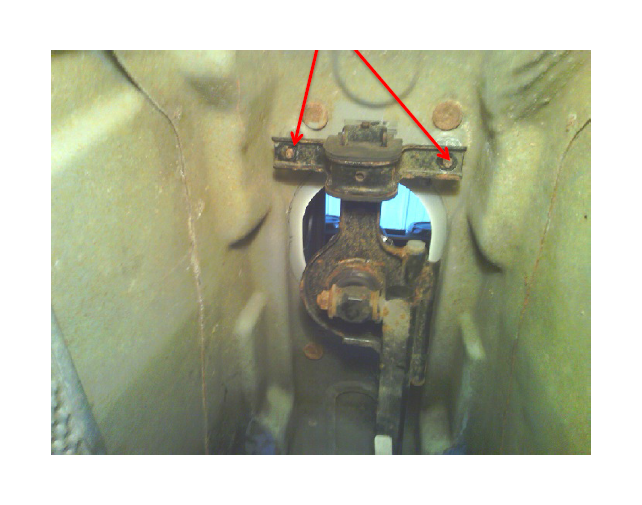
8: Remove the starter (10mm)
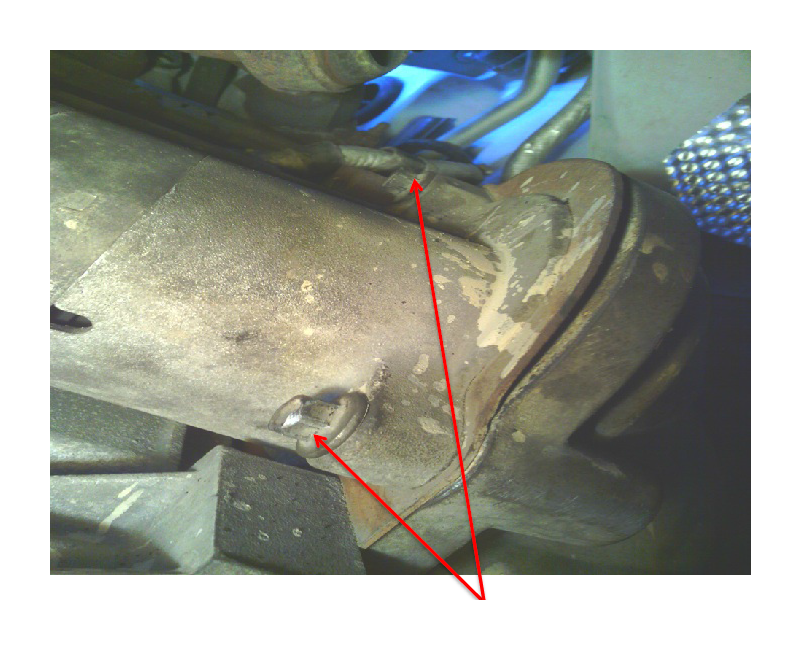
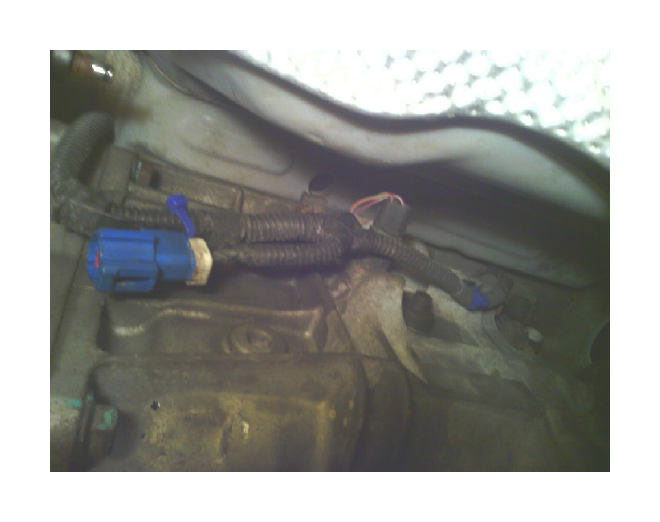
9: Unplug the wires from the transmission, and clip all the wire ties so the wire harness is free.
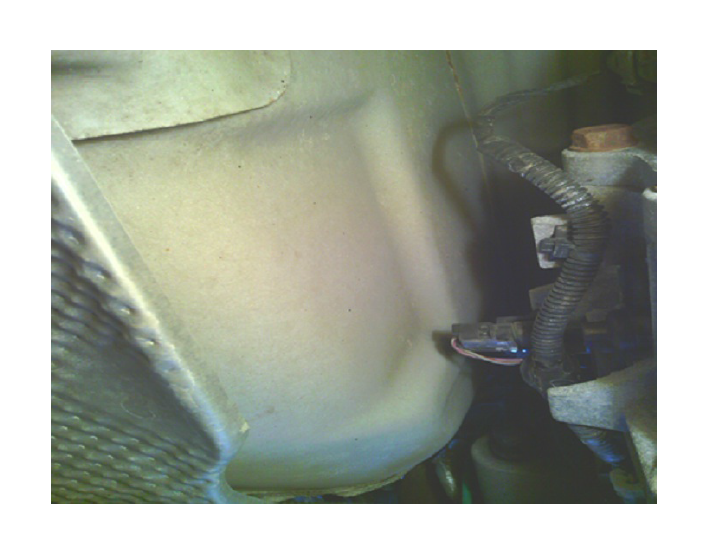
10: Unhook the hydraulic line from the slave cylinder and cap or plug it.
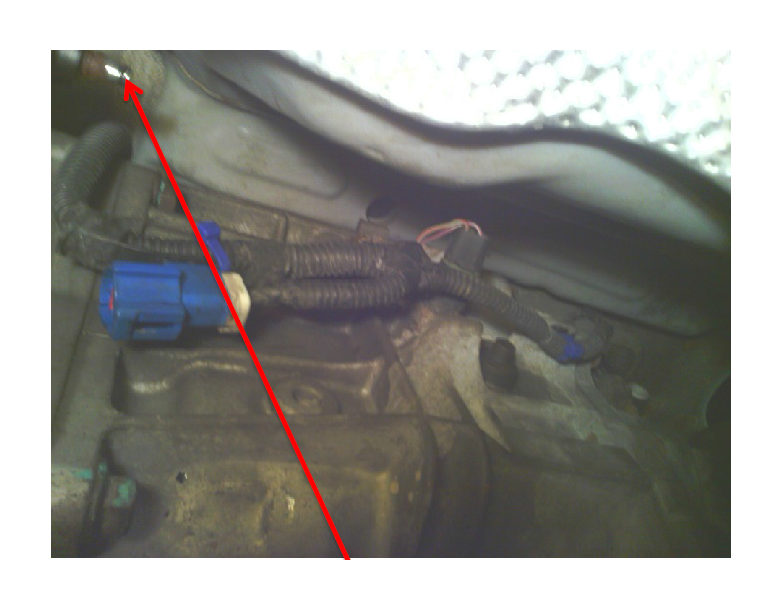
11: Support the rear end of the motor.
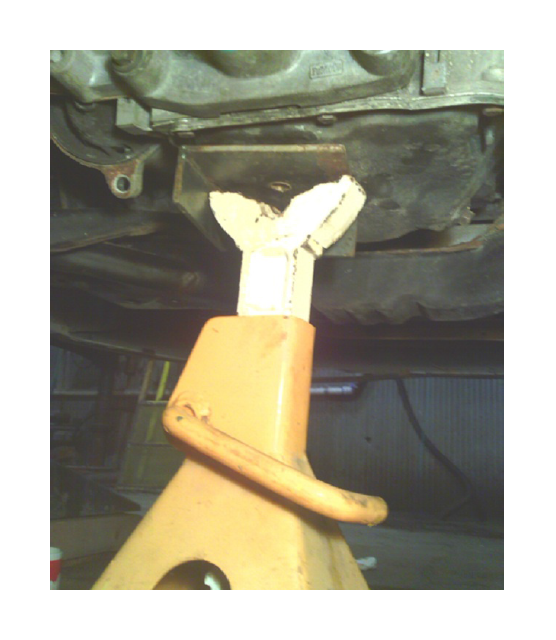
12: Remove the rear transmission bracket. (14mm, and 19mm)
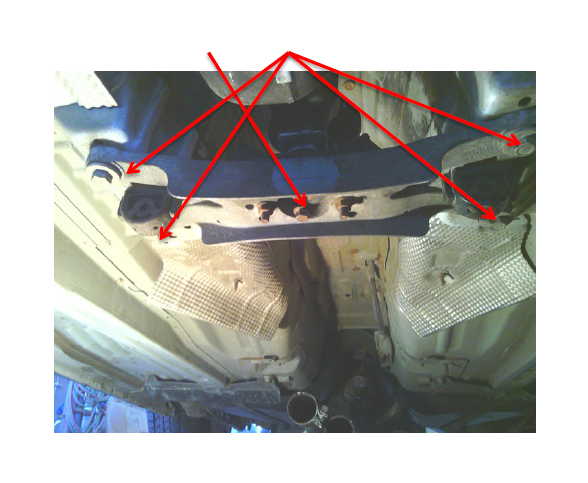
13: Removing the transmission from the motor.
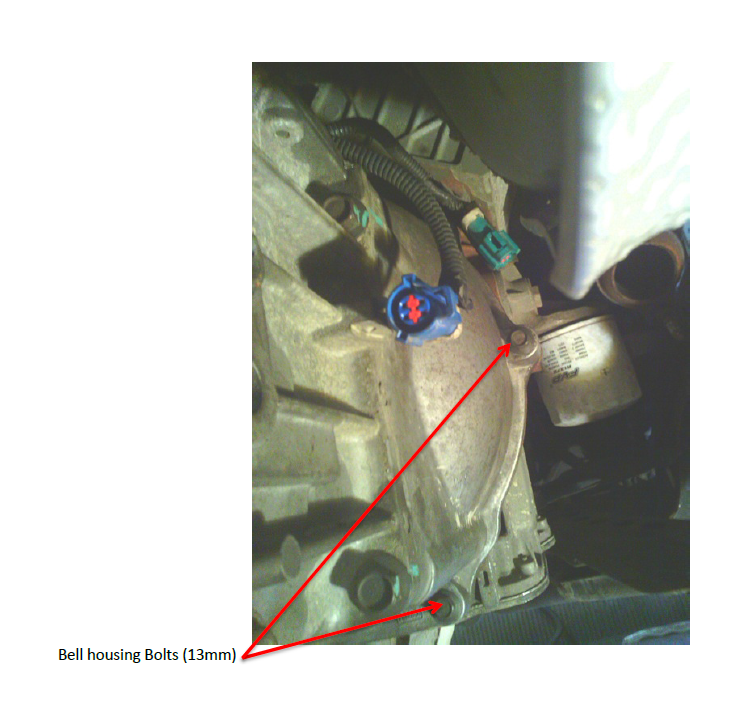
a. Support the transmission using the transmission jack.
b. Use the extensions to reach up and over the back of the transmission to get the top 2 bolts.
c. Remove the remaining 6 bolts in the bell housing. The 4 on the bottom are a different length then the top 4 so don’t get them mixed up!!
d. Remove the Transmission.
(There are also two alignment pins on the sides of the motor. These might be corroded so you may have to gently pry things loose. Clean up the pins and put antiseize on them when you reinstall the transmission.)
14: remove the old clutch. (10mm bolts)
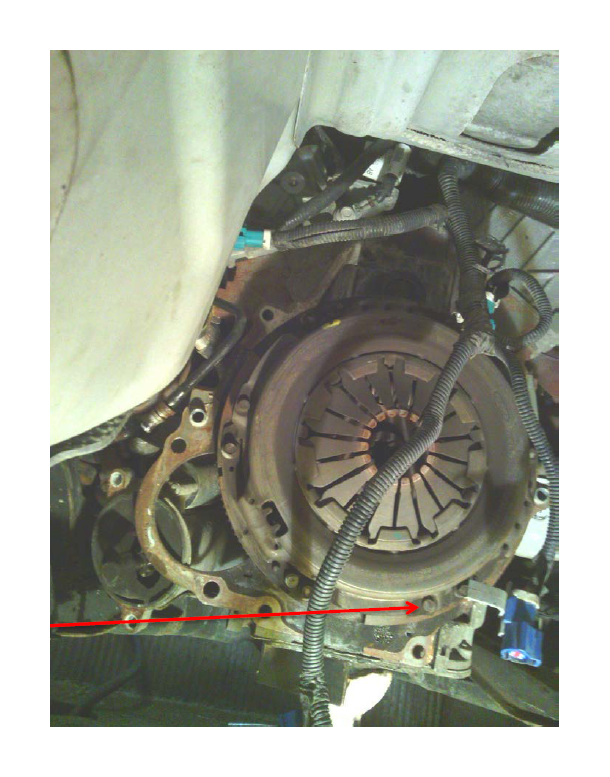
15: Removing the old flywheel.
a. Remove the 8 bolts using an E12 Torx socket.
b. Jam the flywheel to keep it from turning.
c. Be ready to catch the flywheel if it falls off.
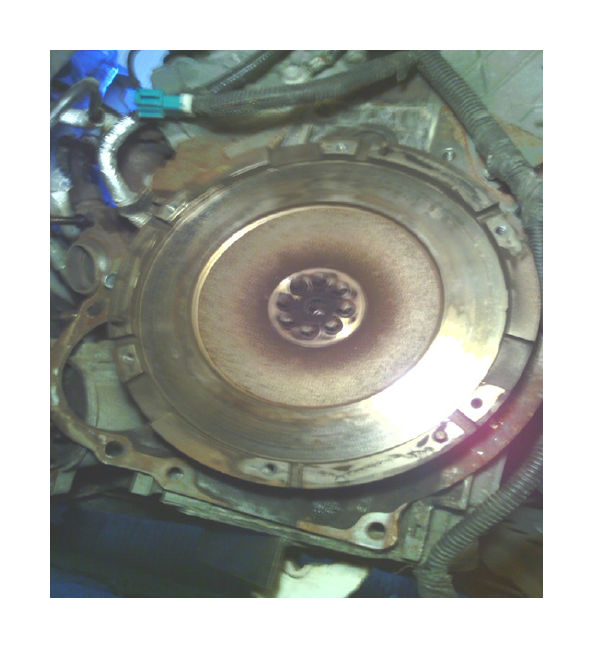
16: Installing the new flywheel.
* Use blue locTite
a. In a star pattern tighten the flywheel bolts* down to 10ft Lbs. of torque.
b. Finish tightening them down using the same star pattern to 52Ft Lbs.
c. Using break cleaner, clean the contact surface of the flywheel to make sure there is no dirt or residue.
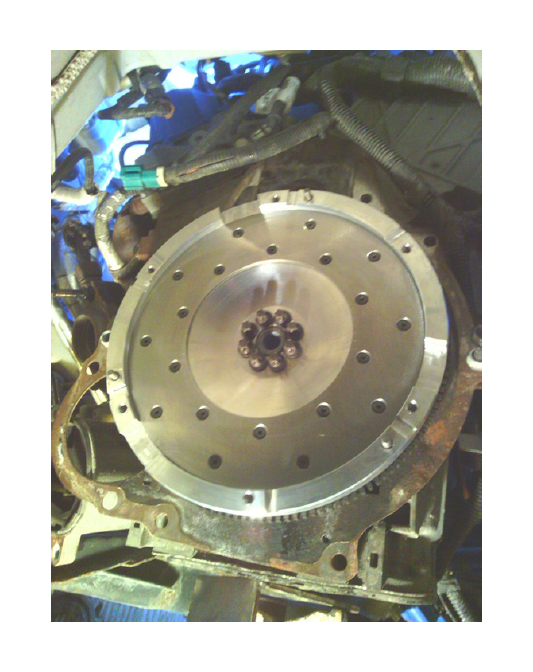
Step 17: Install the clutch.
a. Use the alignment pin that came with the clutch kit line up the friction disc with the flywheel.
b. Align the holes in the outer rim of the clutch with the pins that stick out from the flywheel.
c. Tighten down the clutch mounting bolts* to 26Ft Lbs. in a star pattern.
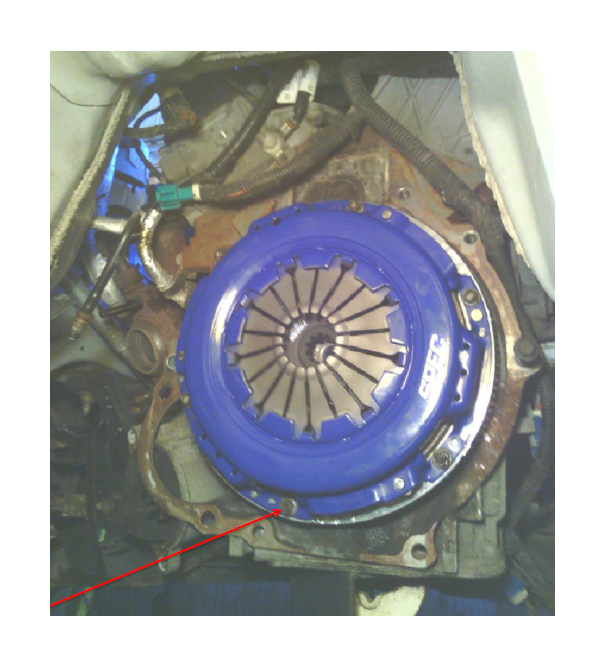
Step 18: Remount the Transmission.
A. Put the transmission in gear.
B. Jack it into place.
C. Slide input shaft in to clutch (you may need to rotate the output shaft to get the splines on the input shaft to line up with the clutch.)
D. Tighten down the bell housing bolts*. To 33Lbs. in a star pattern.
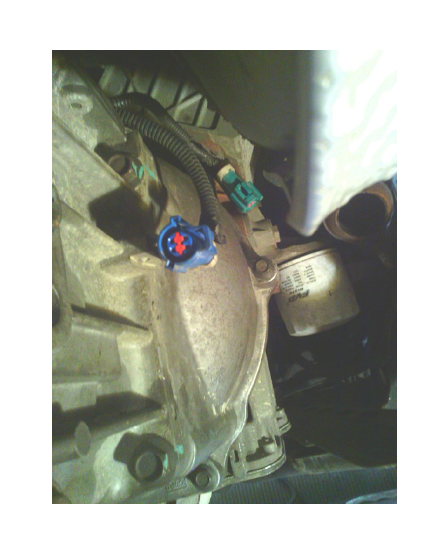
19: reinstall the rear support. Tighten these bolts* to 46 Lbs., and this one* to 52Lbs.
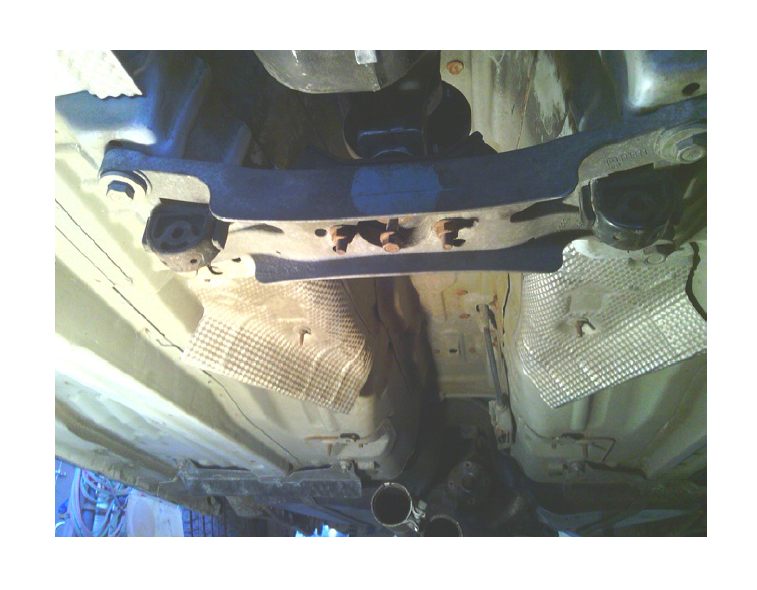
20: Remove the support from under the rear of the motor
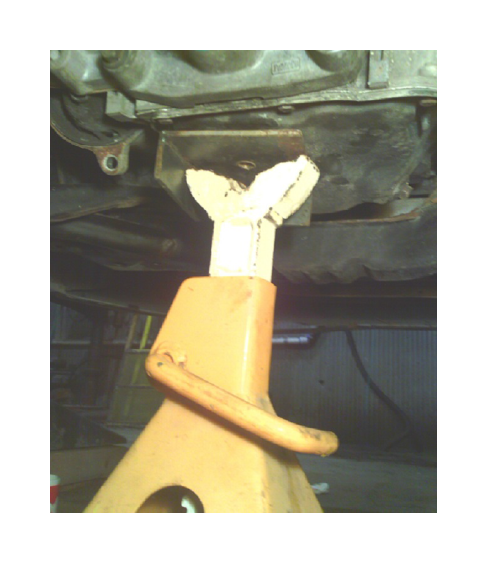
21: Reattach the wire harness to the transmission using zip ties, and plug the transmission sensors back in.
22: Hook the hydraulic line back up for the clutch.
23: Bolt the starter back into place.
23: Reinstall the drive shaft. Tighten the bolts* down to 76Lbs.
24: Reinstall the exhaust.
25: Hook the sensors back up on the converters.
26: Set the car back down.
27: Install the rubber shift grommet.
28: Install the shifter knob and boot.
29: Avoid any hard shifting for the first 500 miles until the clutch gets broke in.

