
Splice-In Mustang MIL Eliminators ('96-'04 GT) - Installation Instructions
Installation
1. Raise your car up with a jack or use ramps. Put the car into gear and apply the parking brake. If you use a jack, YOU MUST PROPERLY SECURE THE CAR WITH JACKSTANDS! If you use ramps, YOU MUST PROPERLY SECURE THE CAR WITH WHEEL CHOCKS!
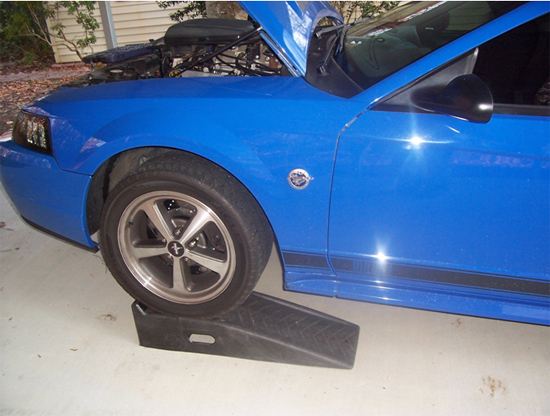
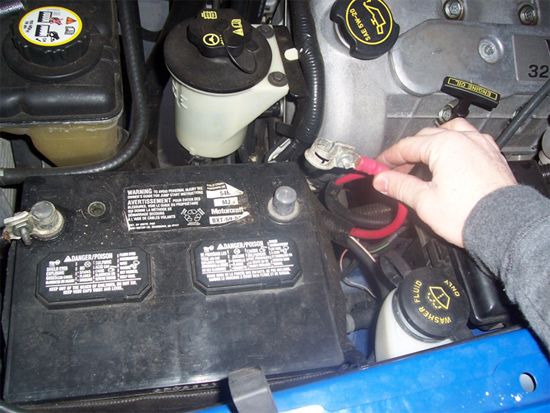
2. Pop the hood and disconnect the battery. We are going to be cutting into the vehicle’s electrical wiring and need to be as safe as possible.
3. After double-checking to make sure that the car is safe and motionless, crawl under the vehicle, just behind the front wheels.
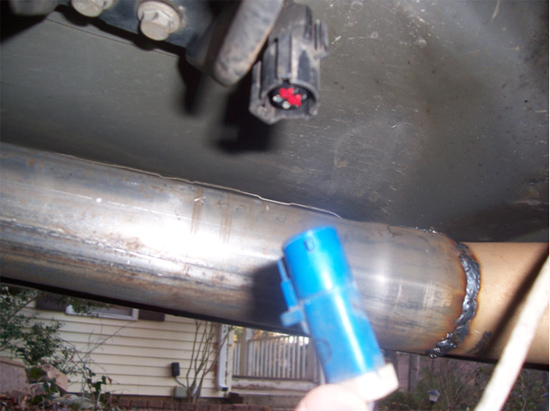
4. Find the one of the Oxygen Sensor harnesses coming from the front of the car to the mid-pipe. There will be four wires in a black plastic sheath coming from the front of the car, terminating at a black connector.
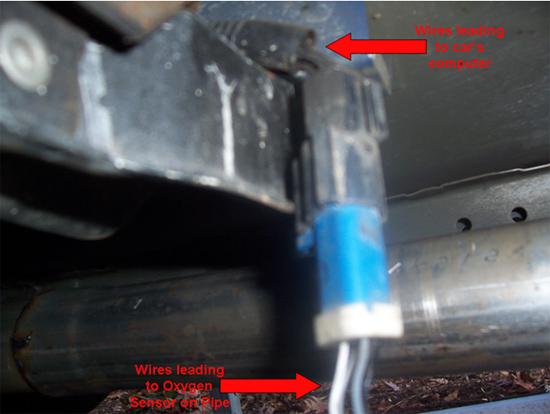
5. A blue (passenger side) or white (driver side) connector is attached to this. The four wires will run in a sheath to the Oxygen Sensor on the mid-pipe.
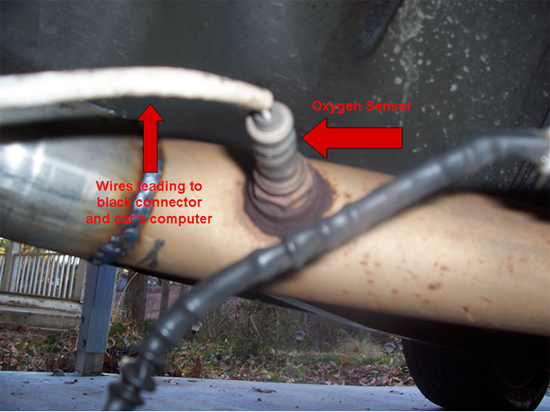
6. For convenience, disconnect the blue/white connector from the black one. The blue/white connector should now be dangling from your car’s mid-pipe.
7. Pull back the sheath from the blue/white connector. You will see two white wires, a black wire, and a gray wire. The black and gray wires are the ones we are concerned about. LEAVE THE WHITE WIRES ALONE. These wires go to the heater and don’t need to be modified.
8. Cut the BLACK AND GRAY WIRES ONLY. Cut them about 2 inches from the blue/white connector. We want to have a little bit of slack to work with and make the next step easier.
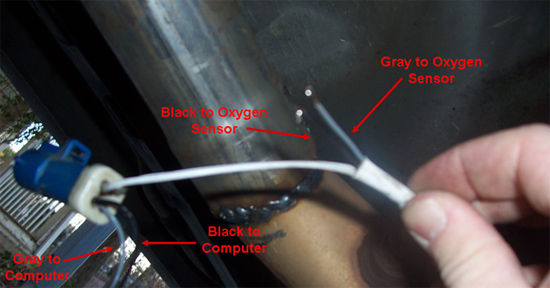
9. Use your wire stripper to take about a quarter inch of the cover off of the end of each black and gray wire (4 total, now that they’ve been cut). Do the same for each wire coming out of your MIL Eliminators.
10. Using the butt splices supplied by American Muscle and your wire crimper, connect the white wire from the MIL Eliminators to the gray wire going to the Oxygen Sensor. Connect the red wire from the MIL Eliminators to the gray wire going to thecar’s computer. Now connect the black wires from the MIL Eliminators to the two black wires left over.
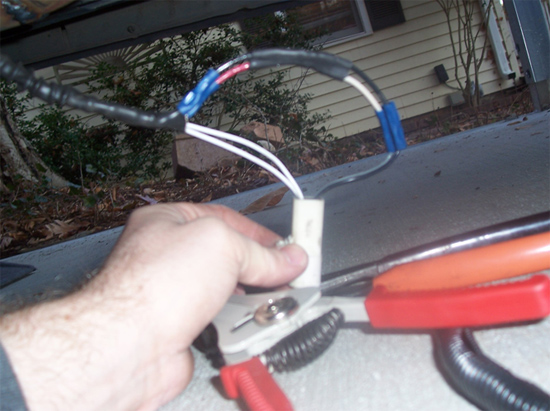
11. Use some electrical tape to wrap up all connections and loose wires. Then use the plastic sheathing provided by American Muscle to cover everything up nice and neat.
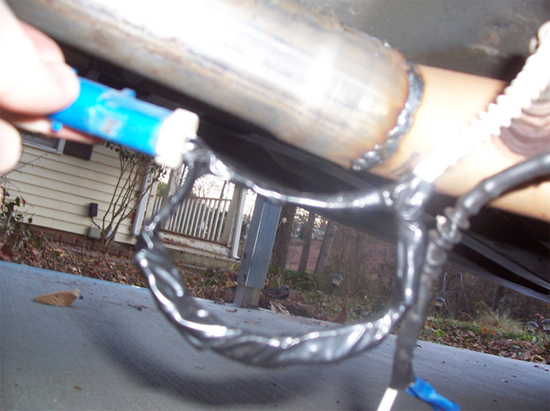
12. Plug the blue/white connector back into the black one. This side is complete!
13. Repeat steps six through twelve for the other side of the car.
14. Re-connect your battery, close the hood, and lower the car properly and safely.
15. Congratulations! You have successfully installed your new American Muscle MIL Eliminators! Your Check Engine Light should now be off and shouldn’t ever be triggered again by your off-road mid-pipe!
Installation instructions provided by AmericanMuscle customer Brian Becker 1.13.09

