
How to Install Sprint Booster V3 Power Converter (05-10 All) on your Ford Mustang
Installation Time
30 minutes
Tools Required
- Additional Zip-Ties (if necessary)
- Alcohol Wipes
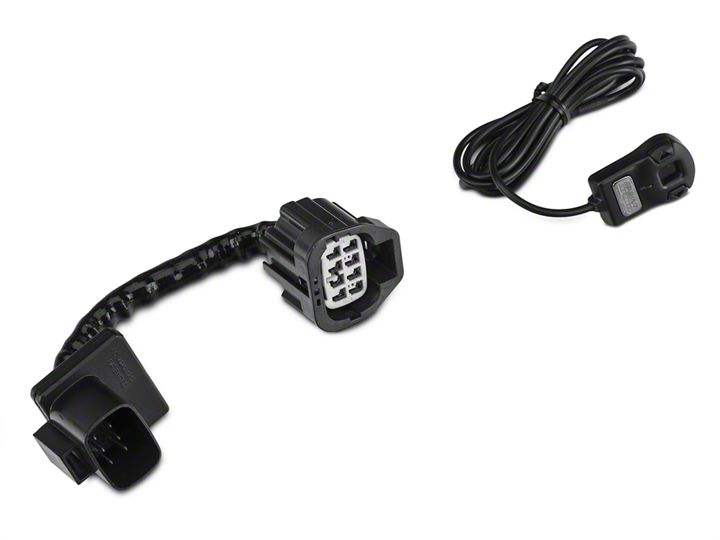
Shop Parts in this Guide
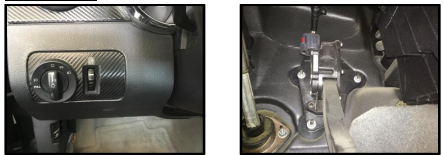
Before Pictures
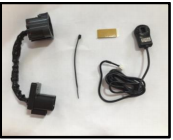
Sprint Booster V3 Power Converter Kit
Sprint Booster V3 Power Converter Installation Procedures:
1. Ensure the car keys are removed from the car.
2. Open the driver side door for 10-minutes prior to installation. Note – This step is Critical to allow the CAN bus system to complete the diagnostic testing in order to avoid the check engine light from illuminating.
3. Select the type of transmission (Figure A). On the right side of the selector, move the switch to one of the (2) positions, A/T (Automatic Transmission) or M/T (Manual Transmission).

Figure A: Transmission Type Selection Switch
4. Connect the Selector Switch to the Sprint Booster (Figure B).
a. Locate the white socket on the Sprint Booster.
b. Connect the white connector of the Selector Switch to the white socket of the Sprint Booster.
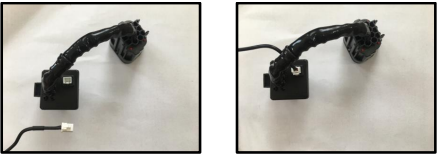
Figure B: Attachment of Selector Switch to Sprint Booster
5. Remove the harness connector from the pedal (Figure C).
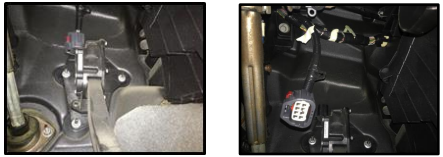
Figure C: Pedal Harness Connector
6. Connect the Sprint Booster to the pedal and harness (Figure D).
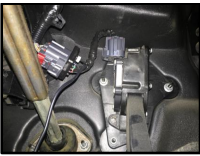
Figure D: Sprint Booster Connected to Pedal and Harness
7. Utilize the provided Zip Tie to ensure the pedal harness, Sprint Booster and Selector Switch cable have clearance from the steering column (Refer to Figure D for steering column reference).
8. Attach the Selector Switch to the dashboard.
a. Clean the back of the Selector Switch and dashboard with an alcohol wipe (Alcohol Wipe not provided).
b. Attach the provided double sided tape to the Selector Switch.
c. Attach Selector Switch to dashboard (Location to your discretion).
9. Acceleration Mode Settings (Figure E).
a. Off (No Light) – Stock Response
b. Sport (Green Light) – Up to 30% improved response
c. Race (Red Light) – Up to 60% improved response

Figure E: Acceleration Mode Settings (Off, Sport, Race)
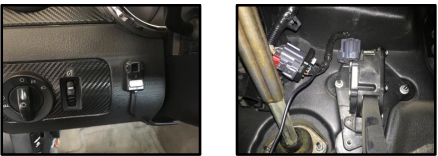
After Installation Pictures

