
Mustang 3rd Brake Light & Quarter Light Trim ('05-'09) - Installation Instructions

Shop Parts in this Guide
Installation
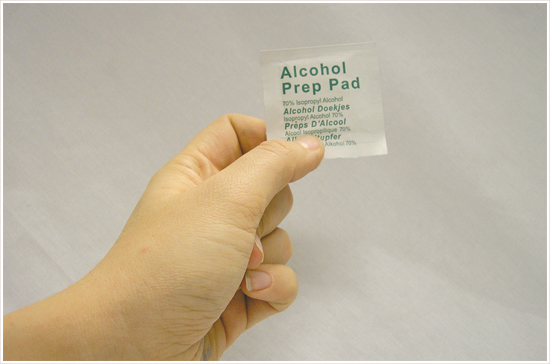
1. Use the alcohol swab included and clean the surfaces where the trim will be adhered to the light. Allow the car to sit in the shade for about 20 Mins to cool the surface before installation.
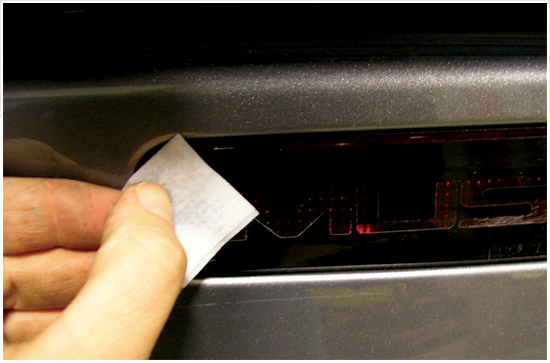
2. Before applying the trim, make sure all of the backing is completely removed from the 3M bonding tape.
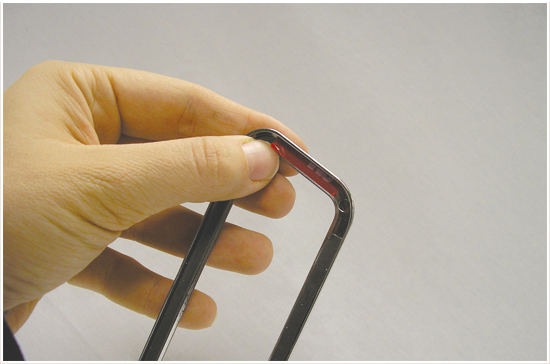
3. Once the backing tape is removed, carefully line the trim up with the outer edge of the light. Take care not to press down on the trim during this step.
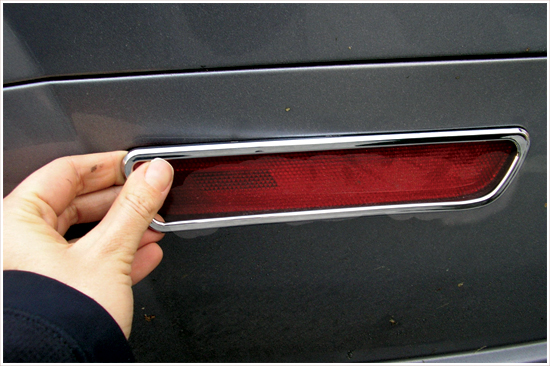
4. When you feel you have successfully lined the trim up with the grooves of the light, press firmly along the entire surface of the trim to ensure a complete and sturdy bond is made with your light.
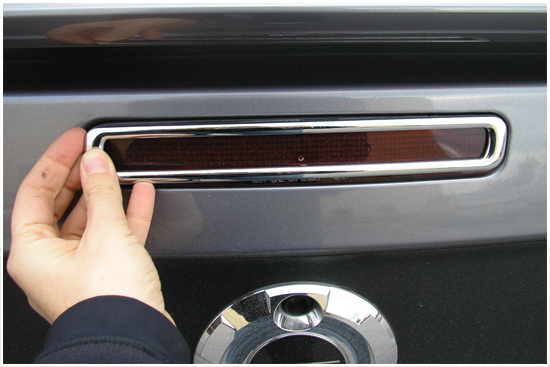
5. If applicable, repeat all three steps for the additional trim pieces on the remaining lights to finish installation.
Installation instructions provided by Manufacturer.
Related Guides
-
Installation
-
Installation
-
Installation
