Top Sellers in Mustang
How to Install SR Performance Adjustable Rear Toe Links on Your 2015-2016 Mustang
Installation Time
2 hours
Tools Required
- Ratchet
- Socket Set (18, 21, 22mm)
- Adjustable Wrench
- Wrenches
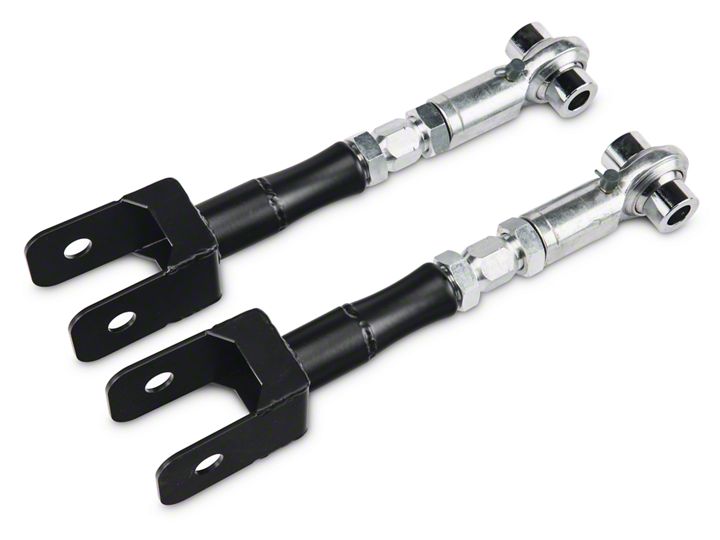
Shop Parts in this Guide

Contents:
(1) - Left Toe Arm
(1) - Right Toe Arm
(2) - Lock Nuts
(2) - Washers

**Important Notes:
It is HIGHLY recommended that you get a professional alignment after installation of toe arms.
Step 1:
On a level surface, raise and support the rear of the vehicle on jack stands. Remove rear wheels.
Step 2:
Locate the rear toe link.
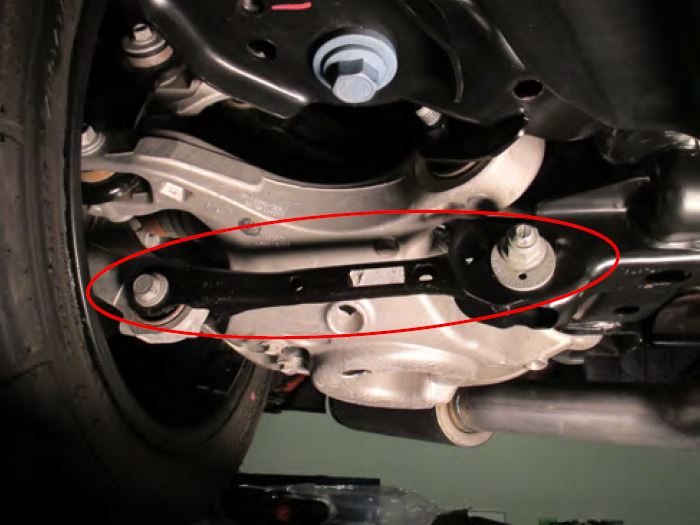
Step 3:
Mark the camber adjustment bolt washer so that you can reinstall the bolt in the same position. Mark the washer and the mount.
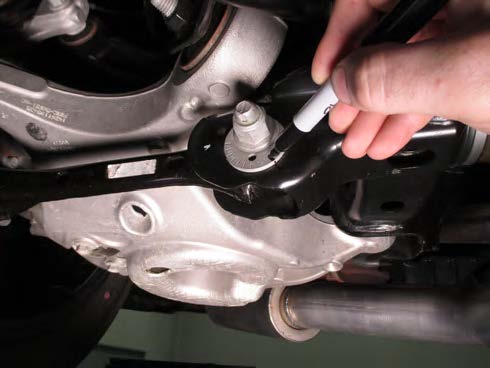
Step 4:
Remove the factory toe link. **Note: There is a slight bend to the arm, match the replacement arm with the appropriate side. Step 5: Align the new toe link with the factory toe arm, making sure they are the same length. **Note: This will help keep your alignment close to factory. A pofessional Alignment is highly suggested after the install.
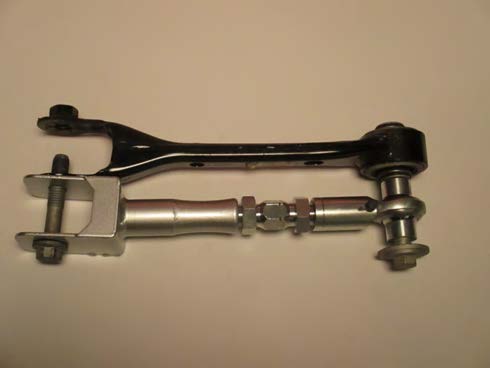
Step 6:
Reinstall in reverse order. Use the supplied washer and lock nut on the spindle side of the toe link. **Note: Make sure the grease fitting if facing down for ease of future grease application.
