Guaranteed Free Delivery by 12/24! available on most items - Details
How To Install a SR Performance Rear Shock Tower Brace- Black on Your 2005-2014 Mustang

Shop Parts in this Guide
Pre-Installation Notes:
• Removing the Spare tire is helpful in case you drop any tools
• Removal of the plastic screws on each side of the cloth interior is not needed
• Cutting of fabric is not required
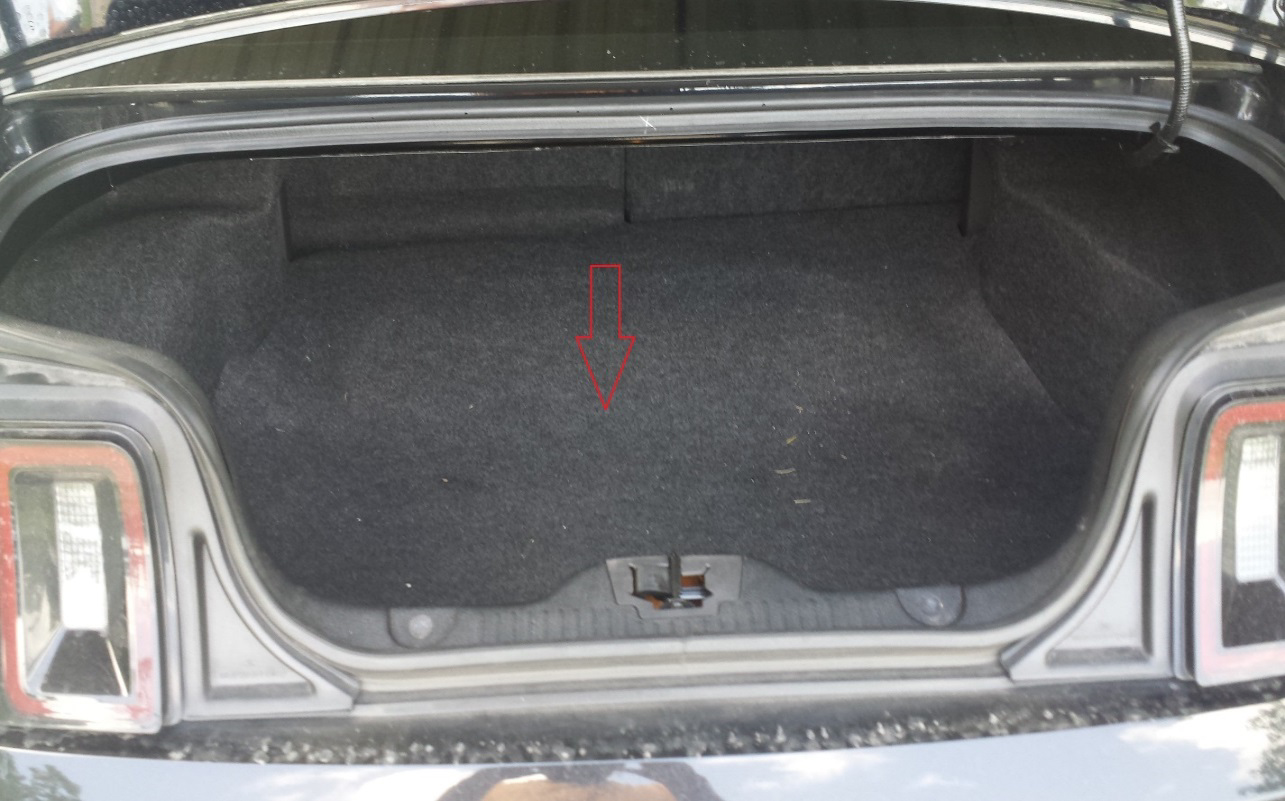
2. Removal of the plastic screws shown in Figure 2 is not necessary for installation, just move the fabric covers out of the way as shown in Figure 3 to show the nut and stud.
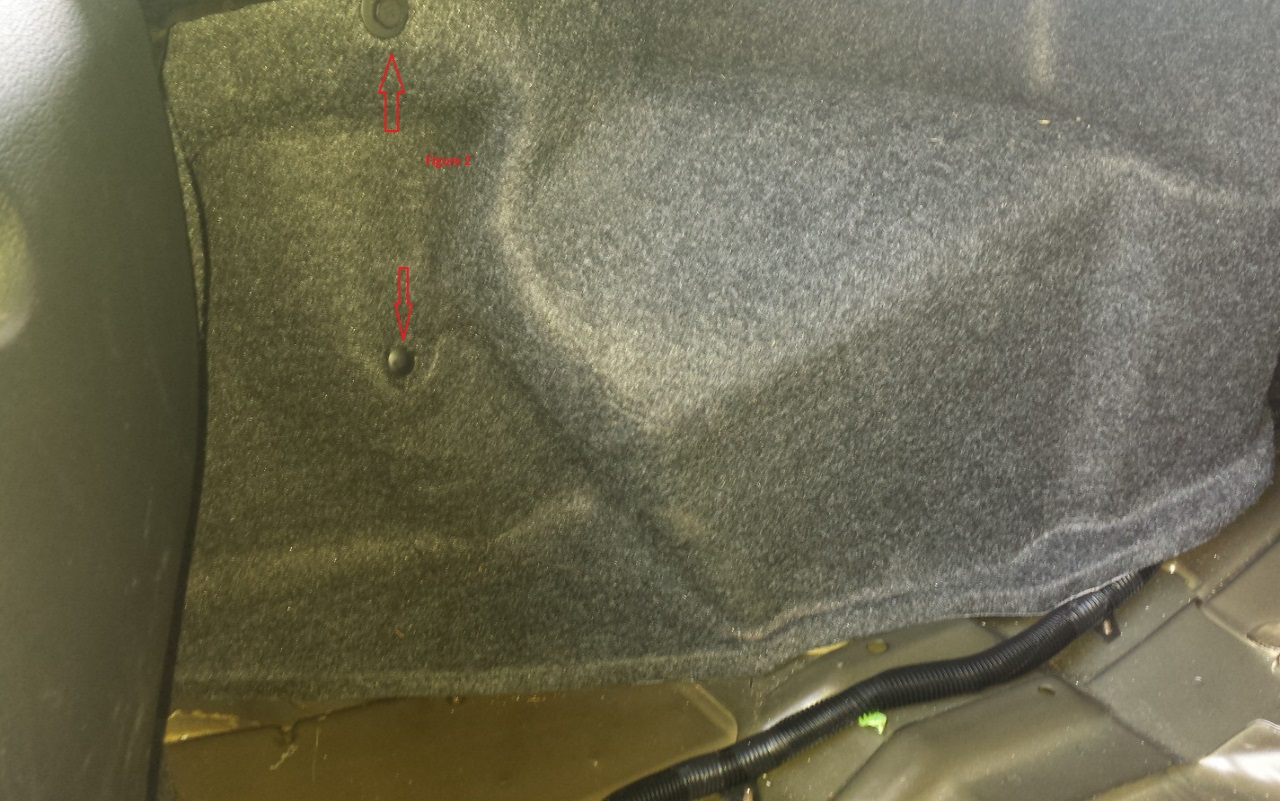
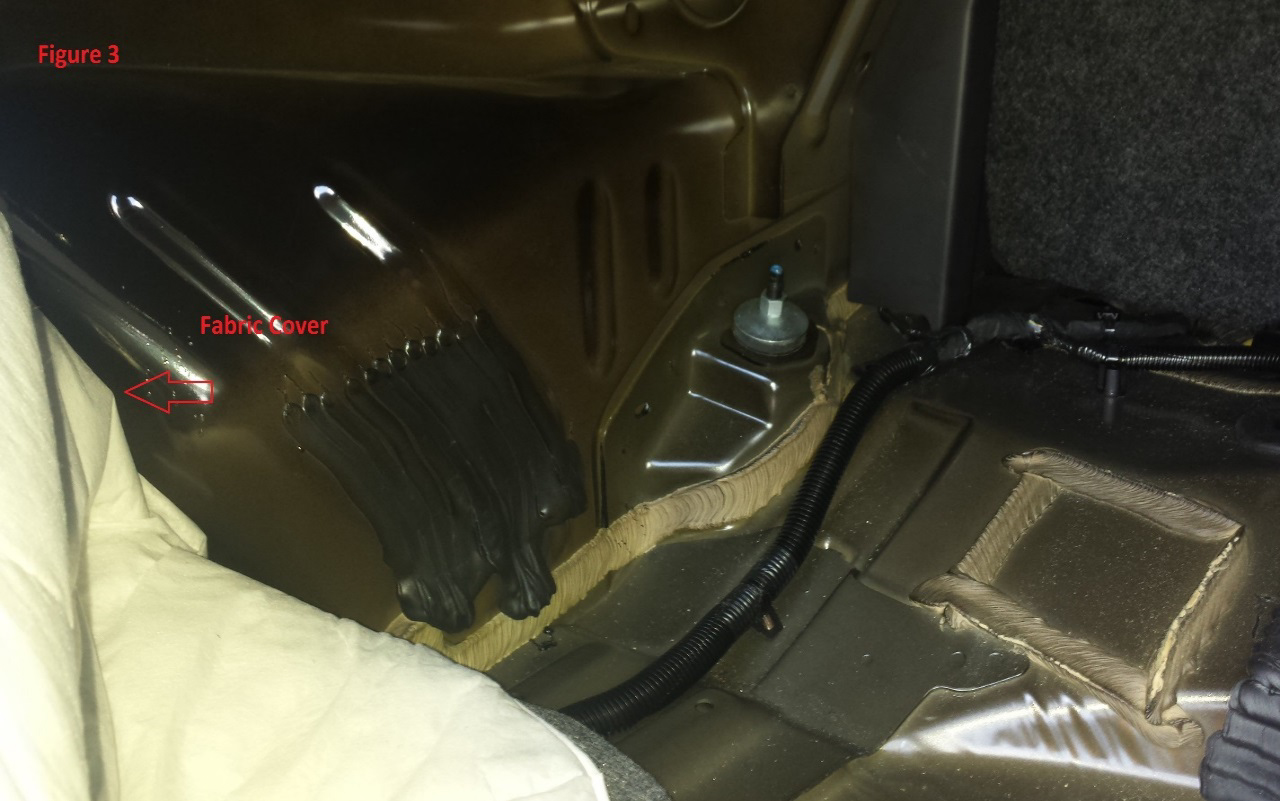
3. Use the 6mm wrench and adjustable wrench in Figure 4. On the driver side you will want to turn the nut towards the front of the care to loosen it. The 6mm wrench is used to keep the stud from turning.
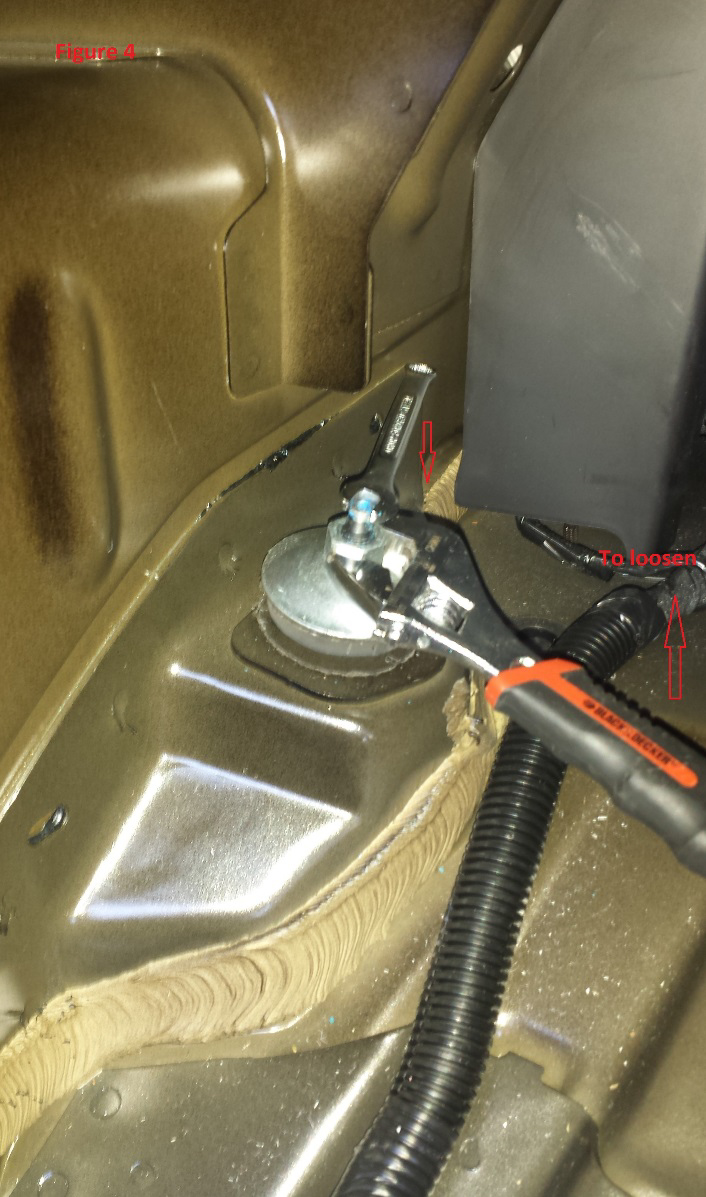
4. Perform the same operation with the 6mm and adjustable wrench on the passenger side. You will want to turn the adjustable wrench towards you and the 6mm wrench towards the front of the car. Remove both flanged nuts with rubber grommets and set aside
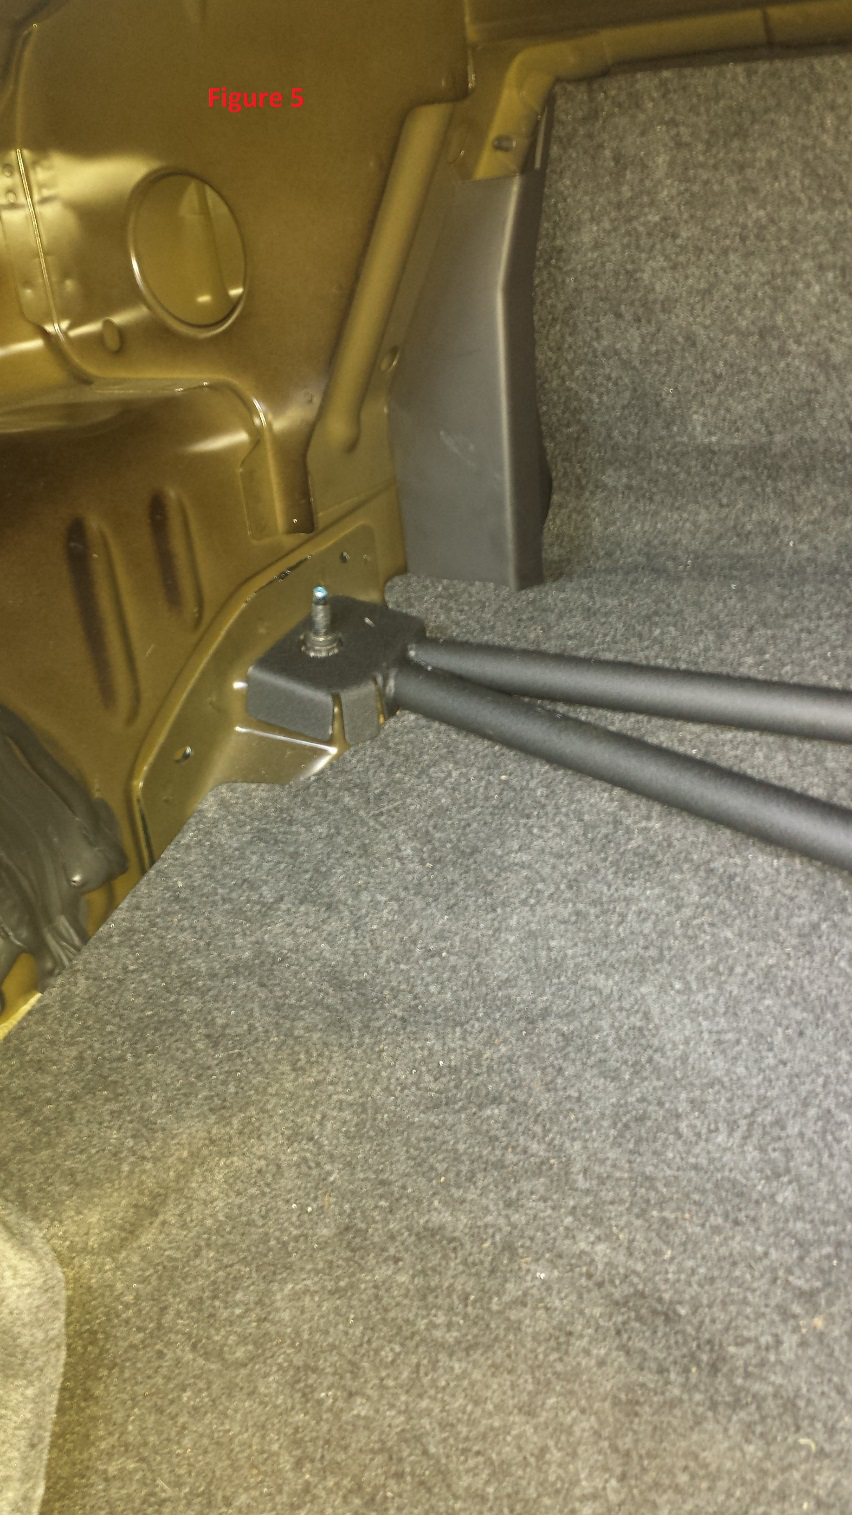
5. Replace the spare tire if removed, and put the spare tire cover back into place. Install the Shock Brace as shown in Figure 5.
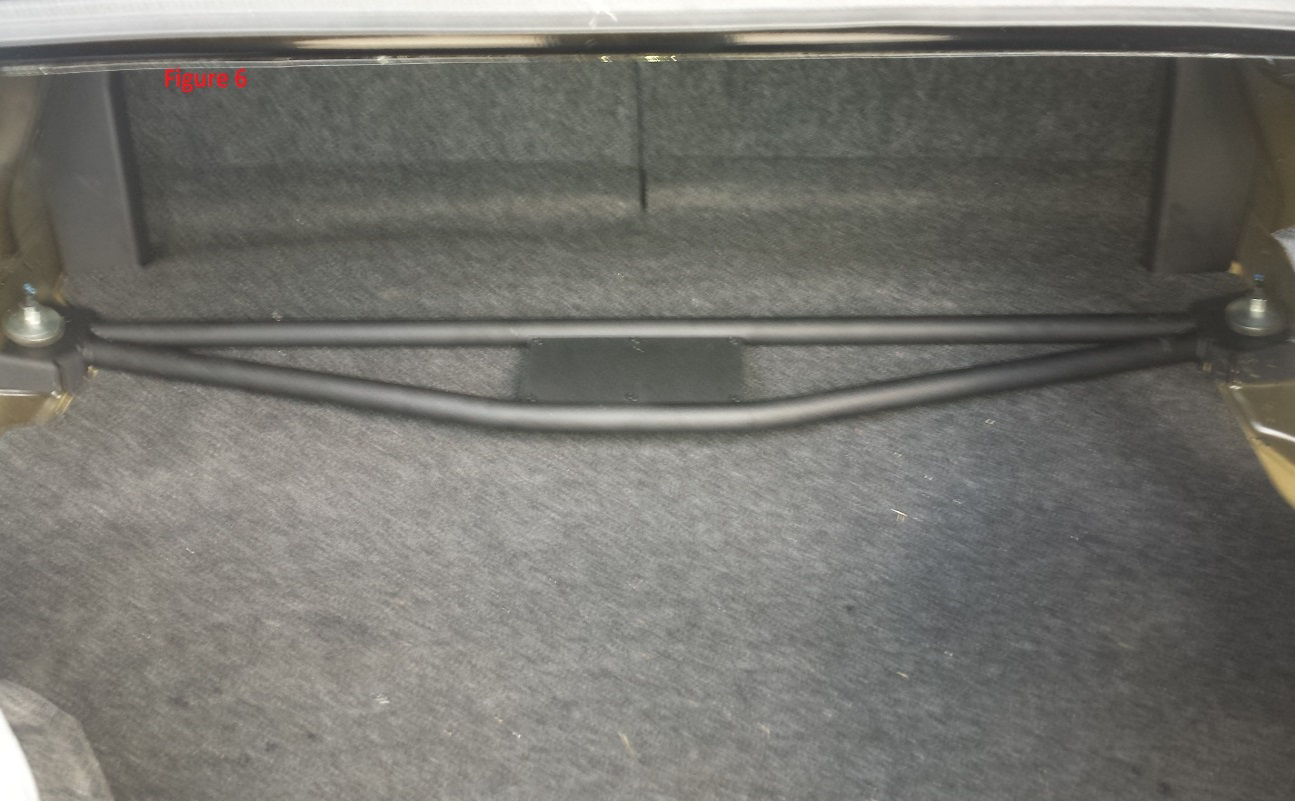
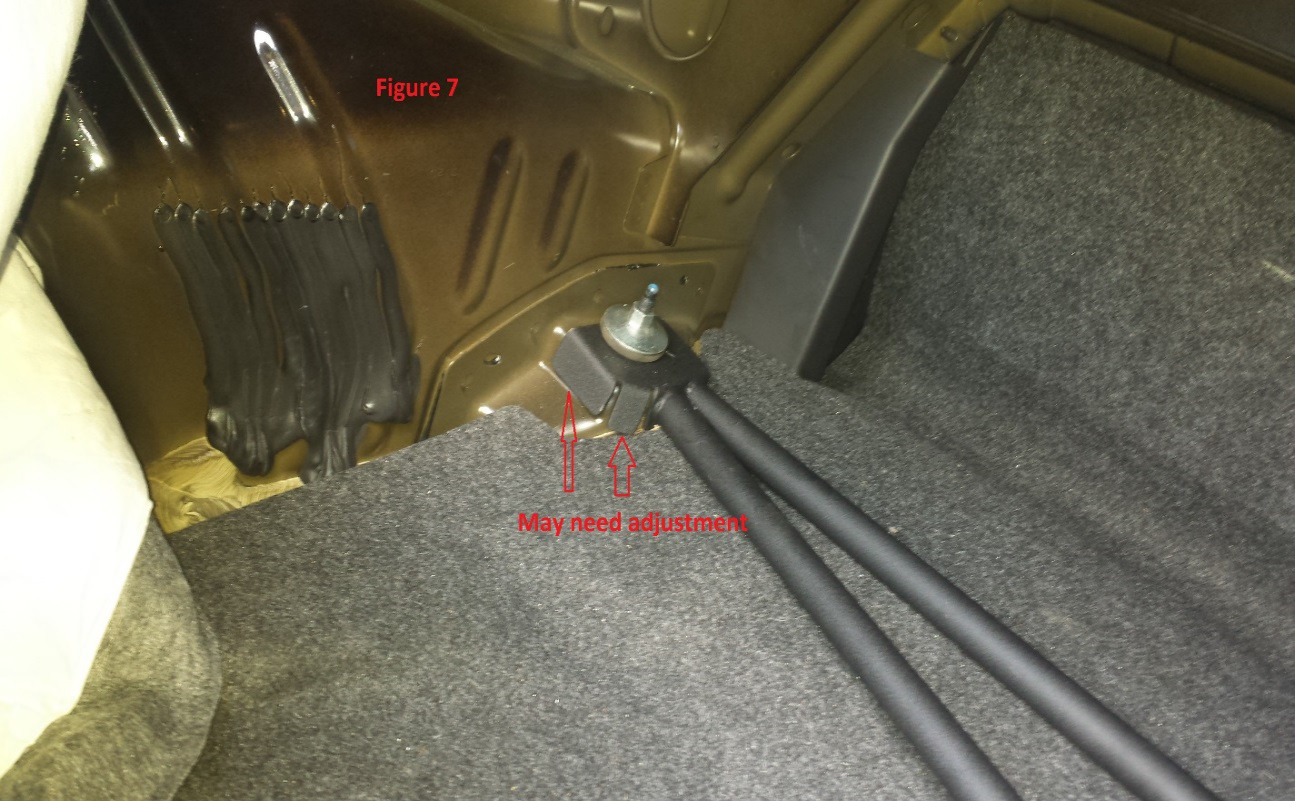
6. Install Flanged Nuts with rubber grommets back to the Studs as shown in Figure 6. ( Note, you may need to bend some of the fingers on the brace to allow it to sit right as shown in figure 7 )
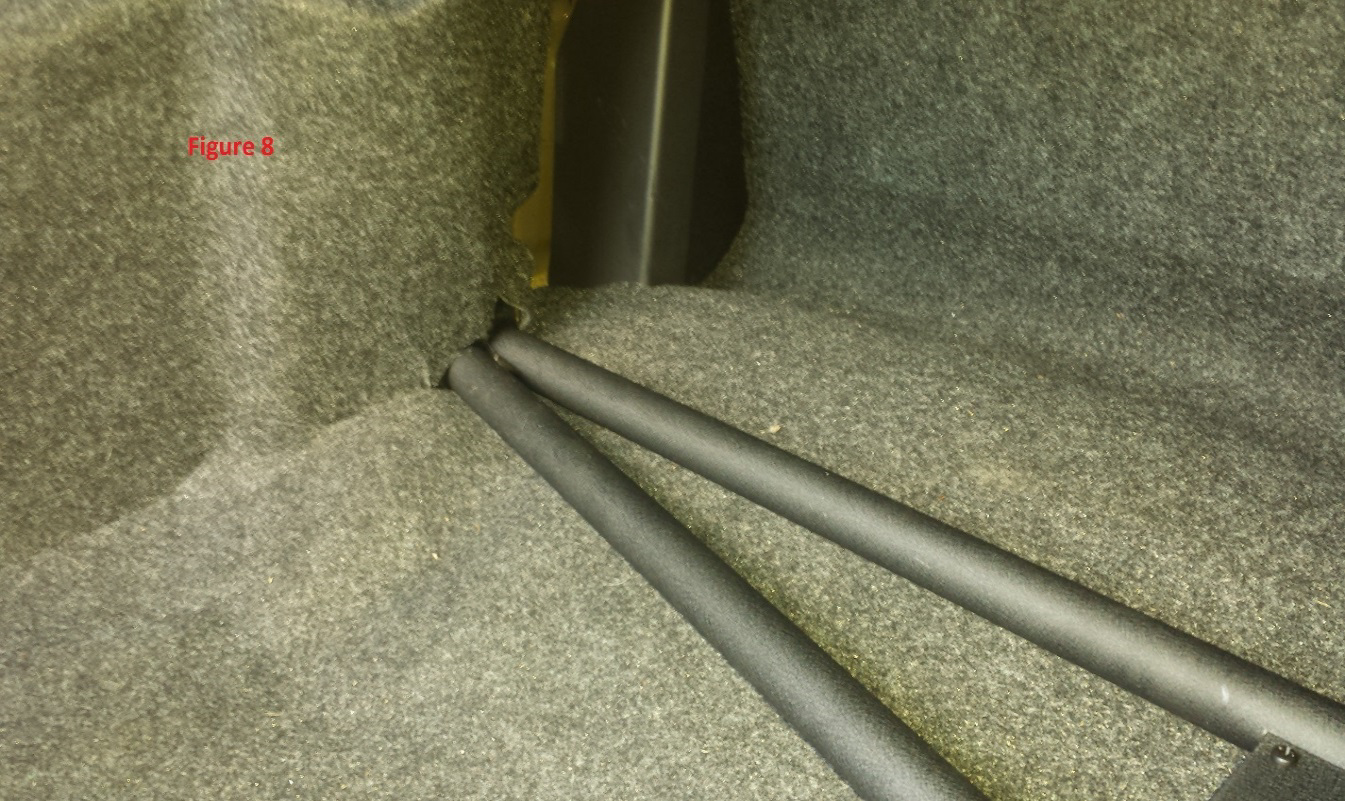
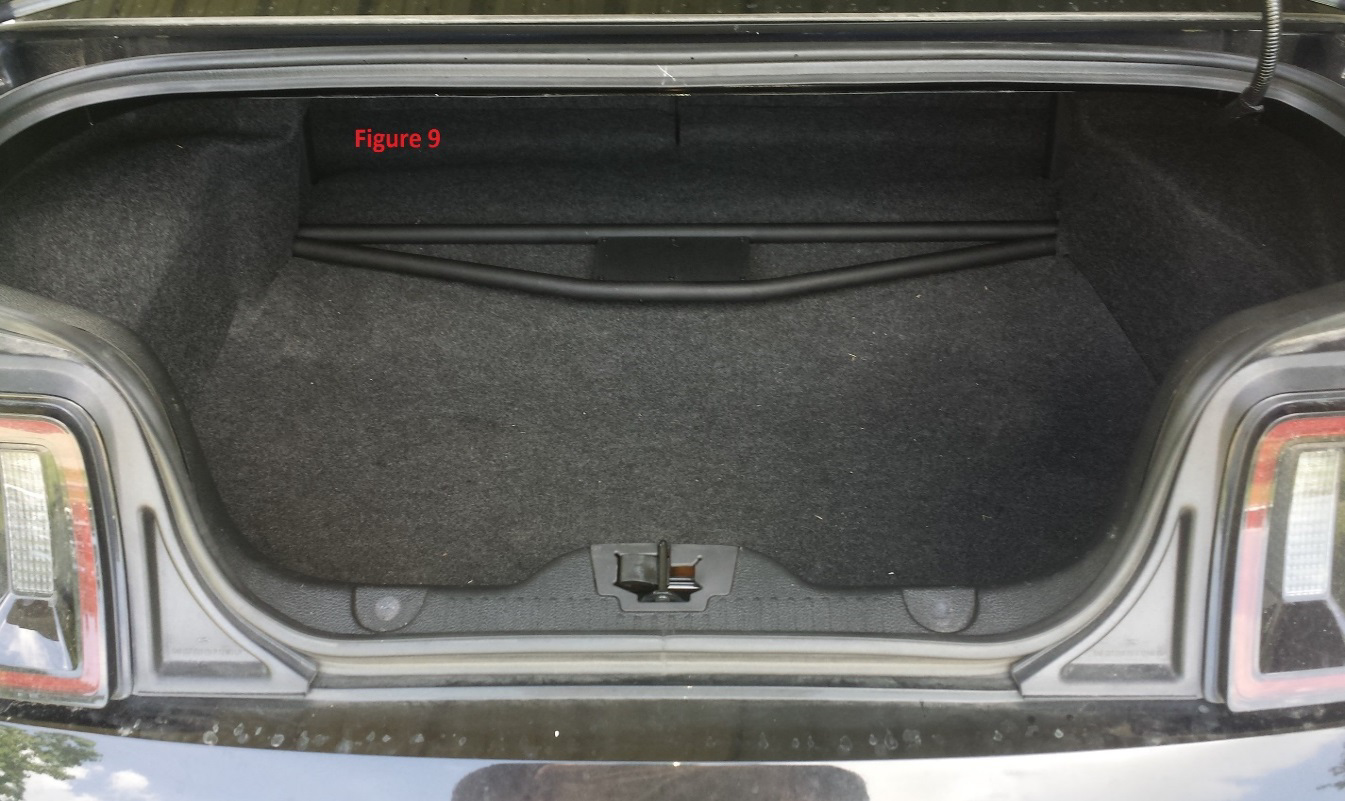
7. Push Fabric Cover back as shown in figure 8. You can cut some of the fabric away to allow a better fit as shown.
8. Complete Installation
Installation Instructions written by AmericanMuscle Customer Jordan Fontenot 8.25.2014

