Top Sellers in 79-93 Mustang
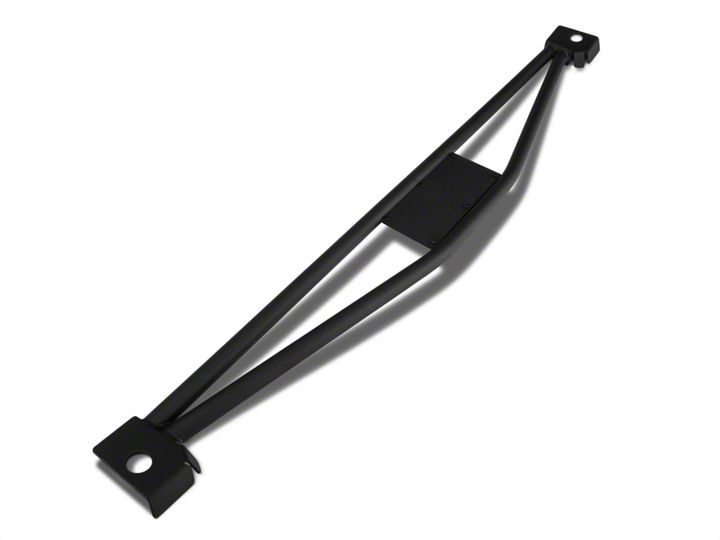
How to Install SR Performance Rear Shock Tower Brace - Black on your Mustang
Shop Parts in this Guide
Step 1:
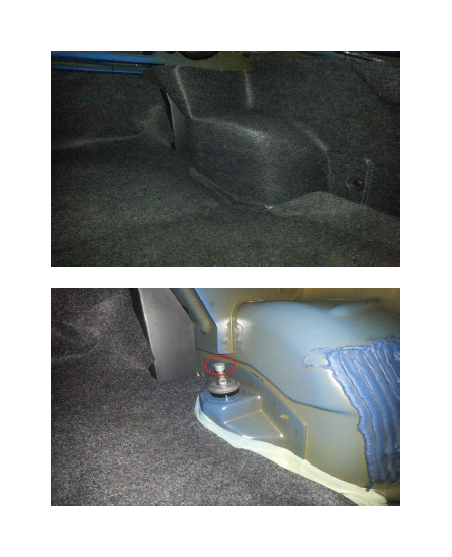
Remove the interior trunk trim to expose the upper shock mounting nuts. Remove the plastic cap from the threaded shock rod.
Step 2:
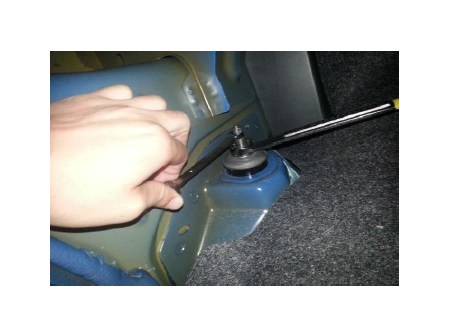
Using 8mm & 17mm wrenches, remove the shock retaining nut as shown.
Step 3:
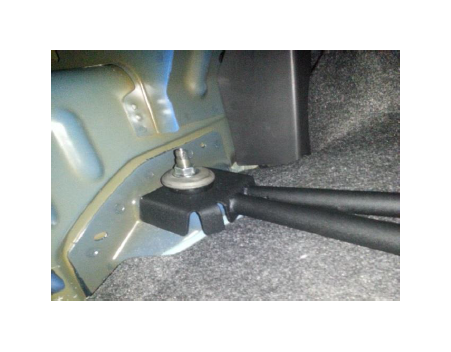
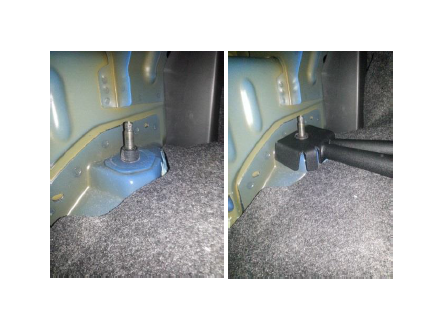
Remove the metal retainer and rubber bushings from the strut and install the new brace as shown.
Note: This brace is designed to work as either a bolt-in option or weld-in option. If a weld-in installation is desired, be sure to prep the body surface & brace surface properly before doing so. Bend the tabs of the brace to meet the body of the vehicle before welding. Make sure all welding/finish coating is complete before moving to Step 4.
Step 4:
Re-install the rubber bushing and metal retainer on top of the brace as shown. Tighten the retaining nut to factory specifications.
Step 5:
Re-install the interior trunk trim removed in Step 1 to complete the installation. If necessary, carefully cut out the trunk trim to clear the installed brace.
