Top Sellers in Mustang
How to Install a SR Performance Strut Tower Brace on your 1994-2004 Mustang
Installation Time
2 hours
Tools Required
- Power Drill
- Drill Bits
- Ratchet
- 7mm socket
- 15mm & 17mm wrench or sockets
- Marker -- that you can see on black plastic
- Flat-Head Screwdriver or pry tool
- Dremel Tool with Cutting Wheel or other tool that can cut plastic
- Tape Measure
- Putty Knife/ Scraper
Shop Parts in this Guide
Installation Instructions:
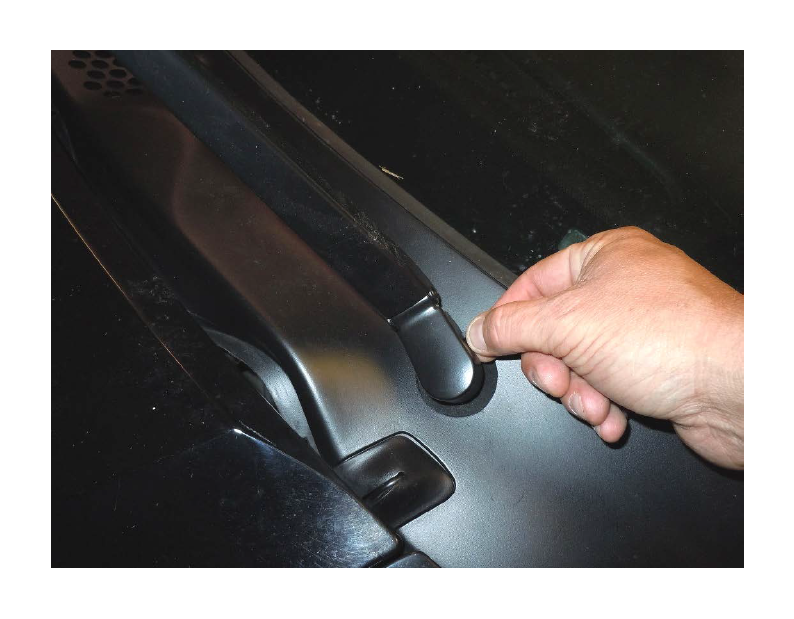
1. Remove the windshield wipers:
A. Pull the tab to release the lock and pull up on the wiper arm. Set the wipers aside.
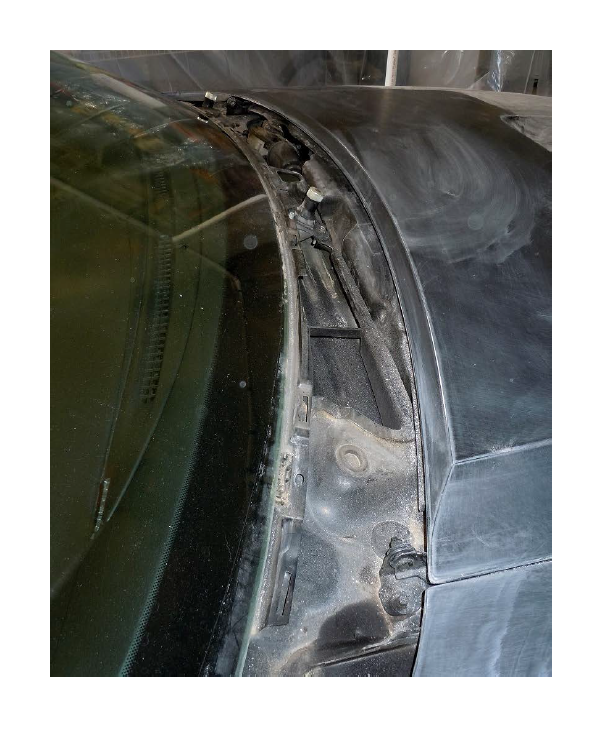
2. Remove the hood cowl:
A. Start on one side and start to lift up under the cowl from the windshield side. A putty knife or scraper can be used to get under the weather stripping. This will take a little force to pry the clips loose.
B. Go slow and work your way across the cowl to the other side, making sure to use pressure as close to the clips as possible. This will help to avoid breaking the cowl.
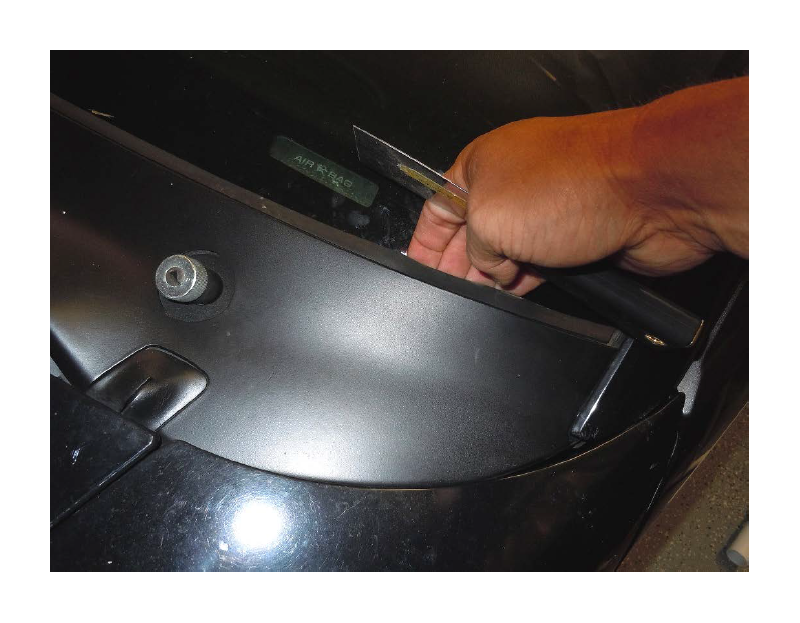
C. Once the cowl is loose, you will need to start to pry it out from under the A-Pillar covers.
D. Start by prying up in the middle of the cowl to cause the cowl to bow.
E. This will allow you to remove the cowl from under the A-Pillar cover.
F. Do one side at a time and t the cowl aside.
3. Mark the firewall plastic cover:
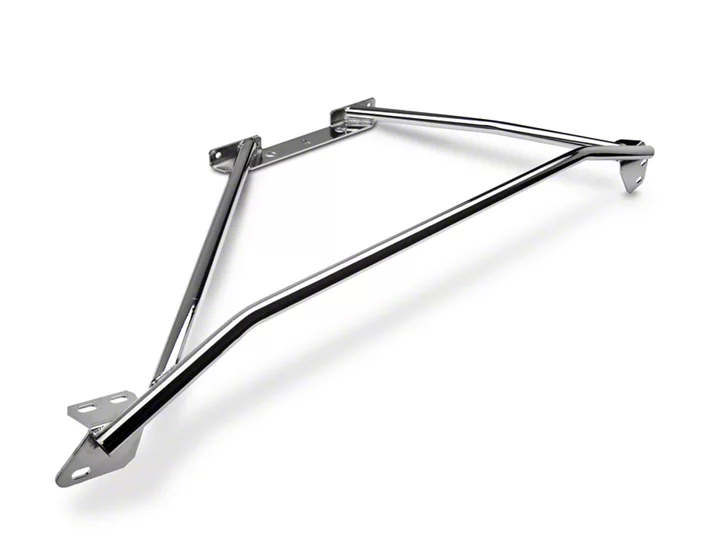
A. Set the strut brace on the firewall.
B. Using the tape measure, measure from the inner fender to the center hole on the brace; it should be about 23 inches.
C. Make sure the brace is sitting on the strut towers in the proper locations.
D. Also check to make sure the hood will shut in this position.
E. You may have to move the tower a little to get it to line up properly.
F. Press down on the brace at the firewall and mark out the brace using a marker that you can see.
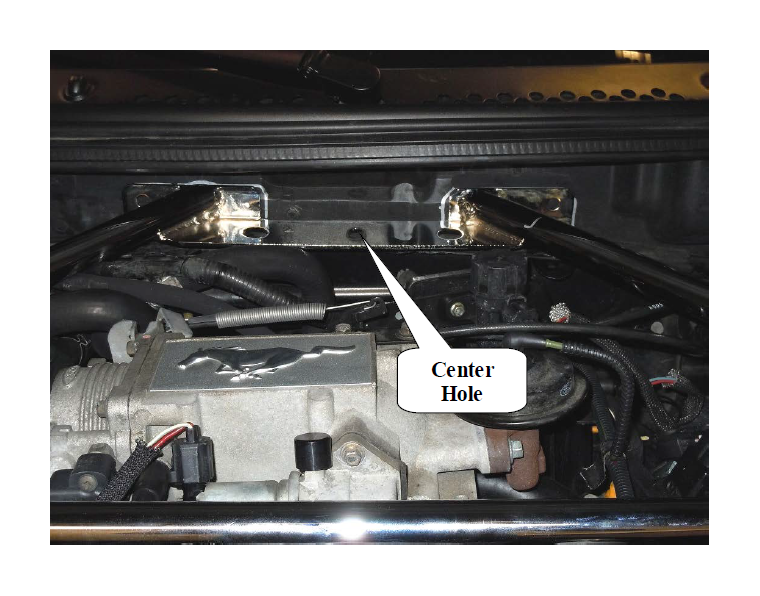
G. Remove the brace.
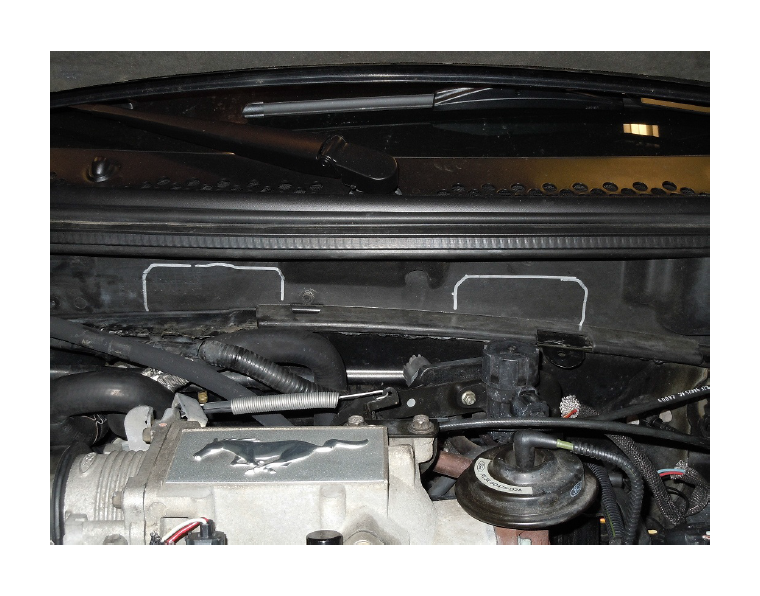
4. Remove the firewall plastic cover:
A. Use the 7mm socket to remove all the bolts holding the plastic on.
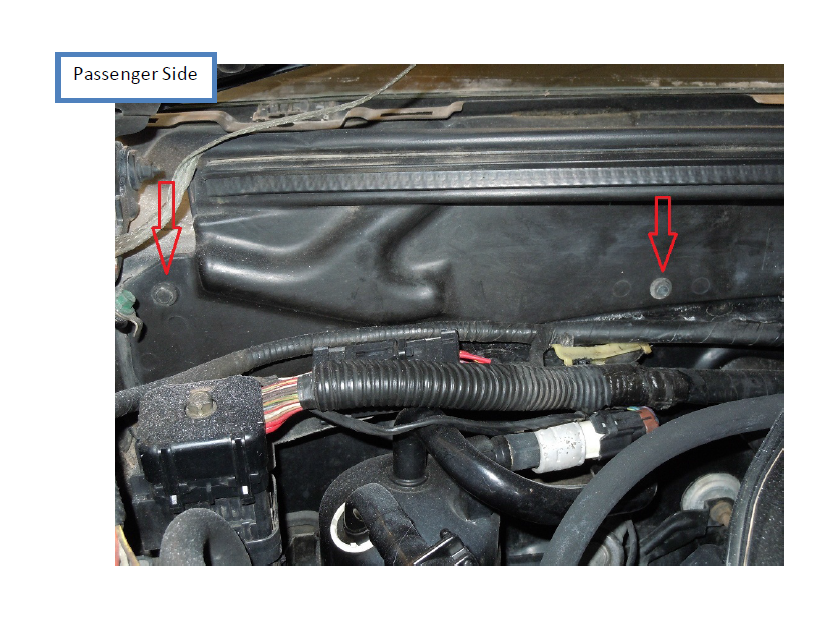
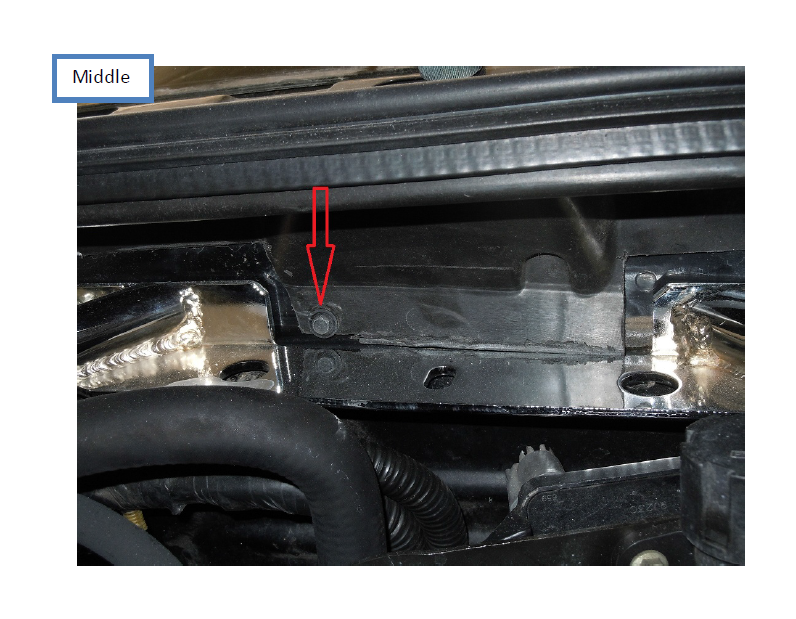
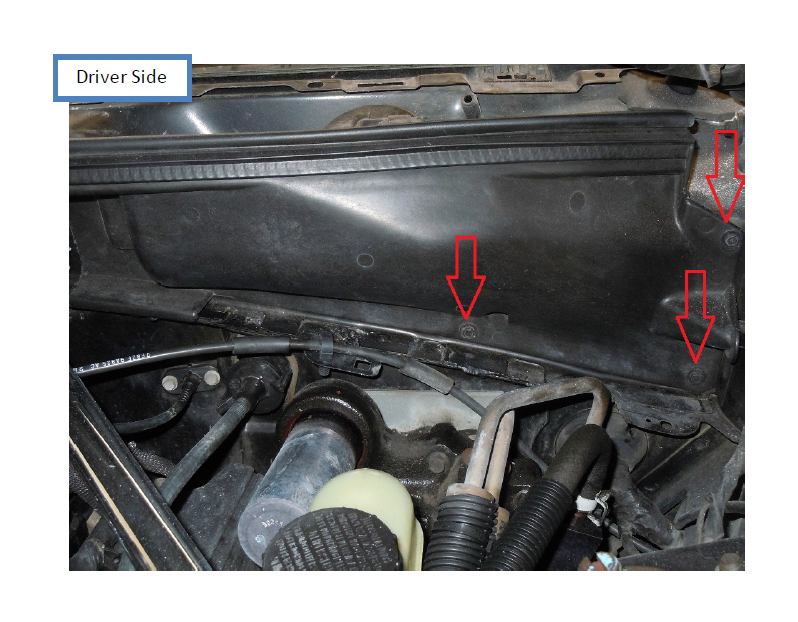
B. Remove the plastic piece.
5. Cut the firewall plastic cover:
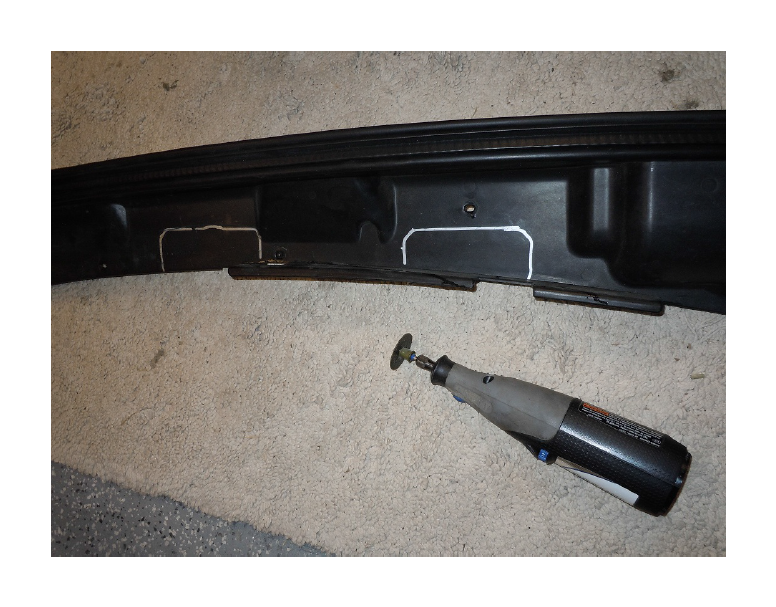
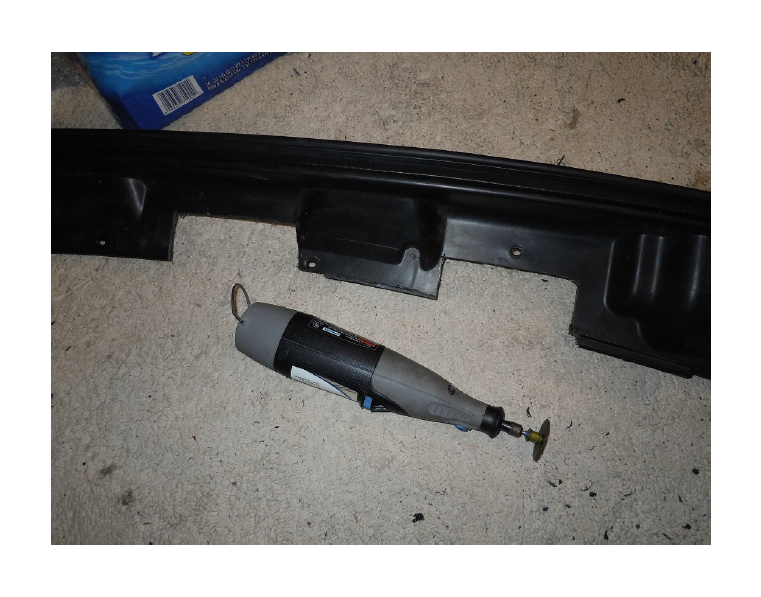
A. Using your cutting tool, cut out the areas that you marked in step 3. If you use a large marker and cut out the lines, this will help with any trimming later on.
6. Drilling firewall and strut tower holes:
A. Set the brace back on the firewall and measure the correct placement again: 23” from center hole to inner fender.
B. Mark the holes with a marker.
C. Center punch and drill the holes.
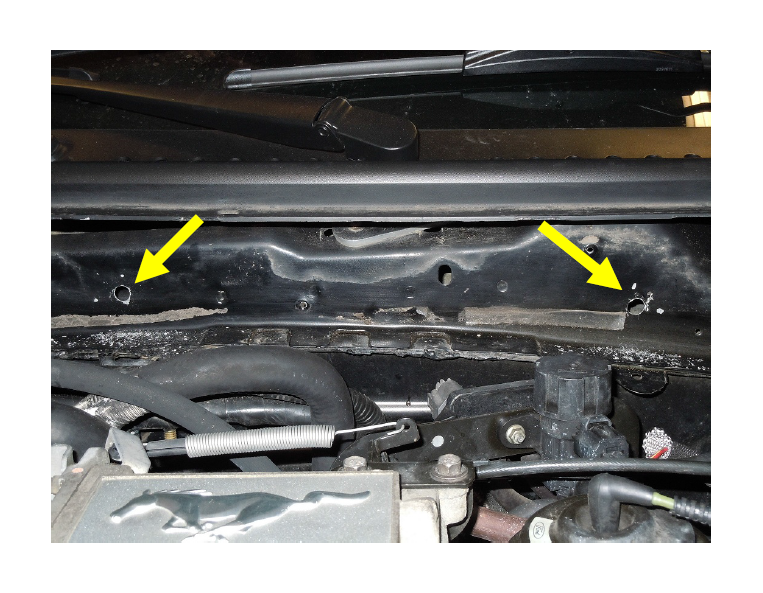
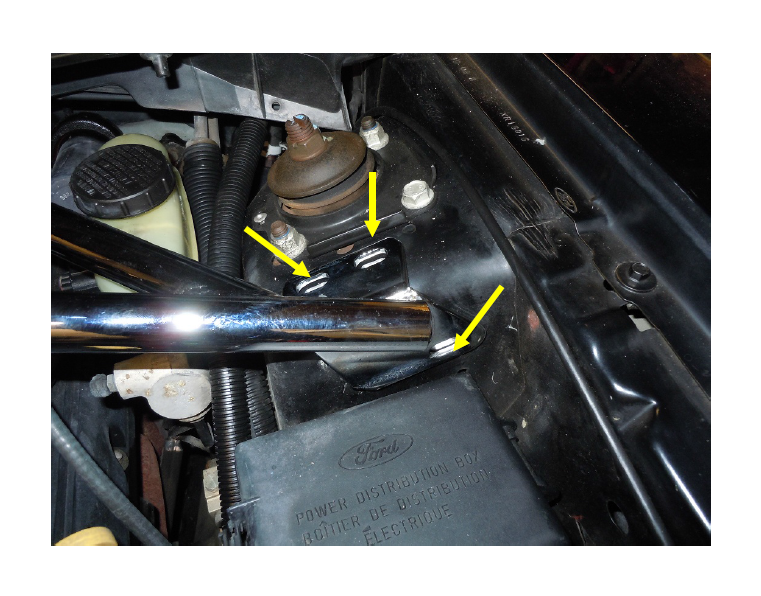
7. Installing the Brace:
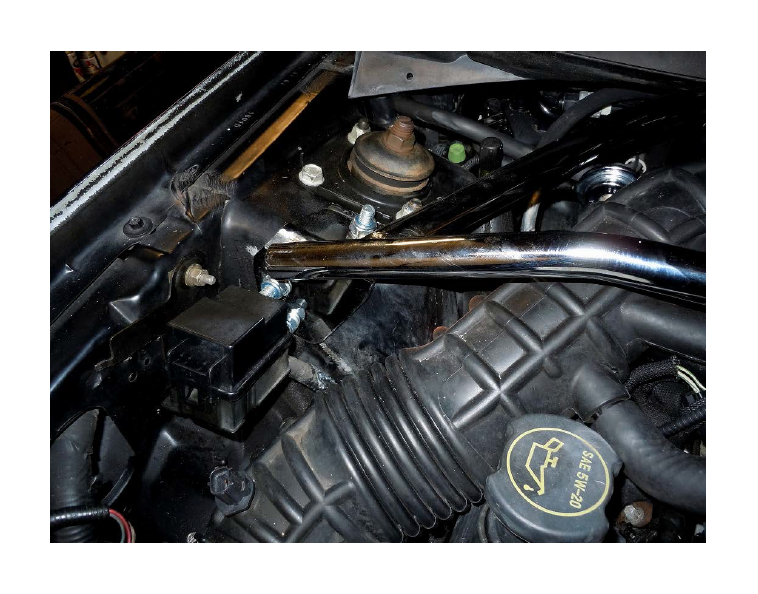
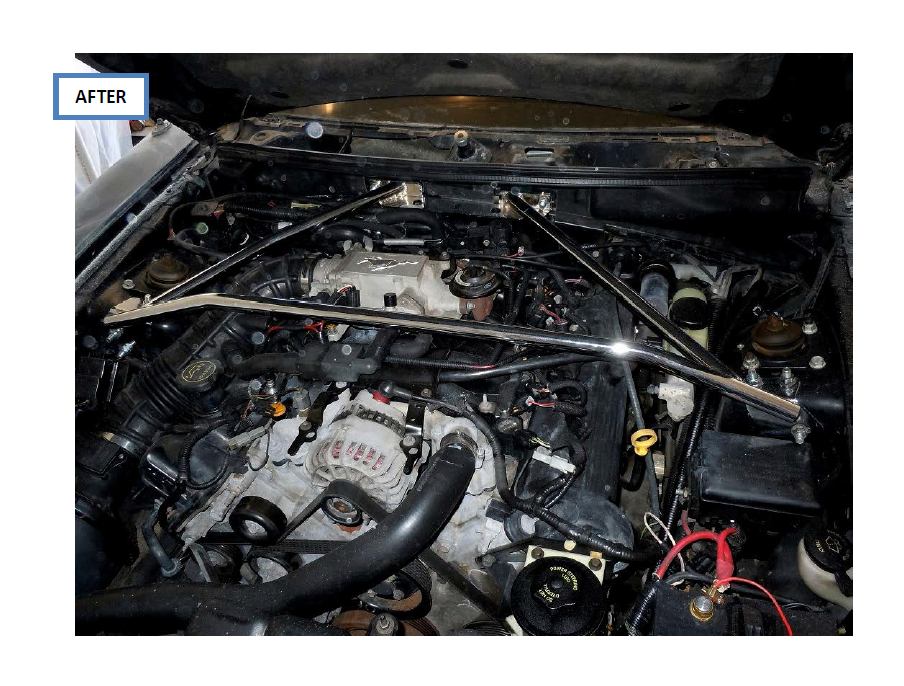
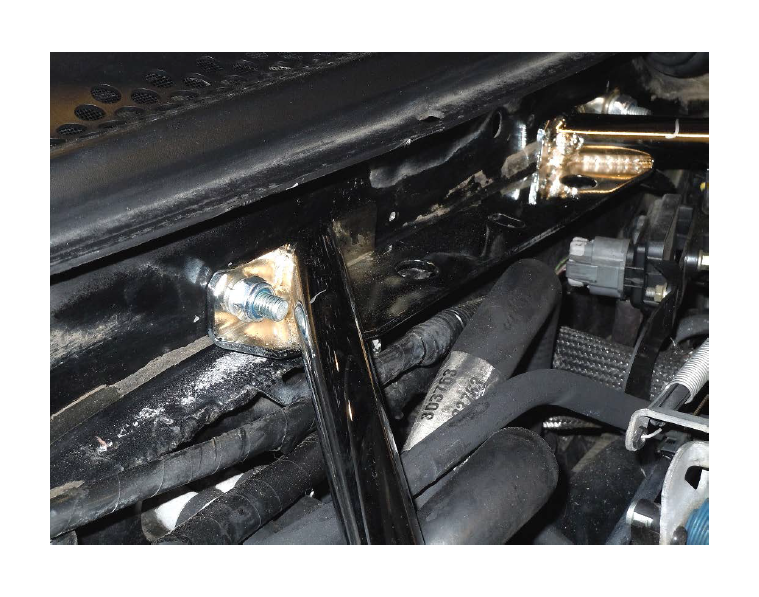
A. Install the strut tower brace with the supplied hardware using 15mm and 17mm wrenches or sockets.
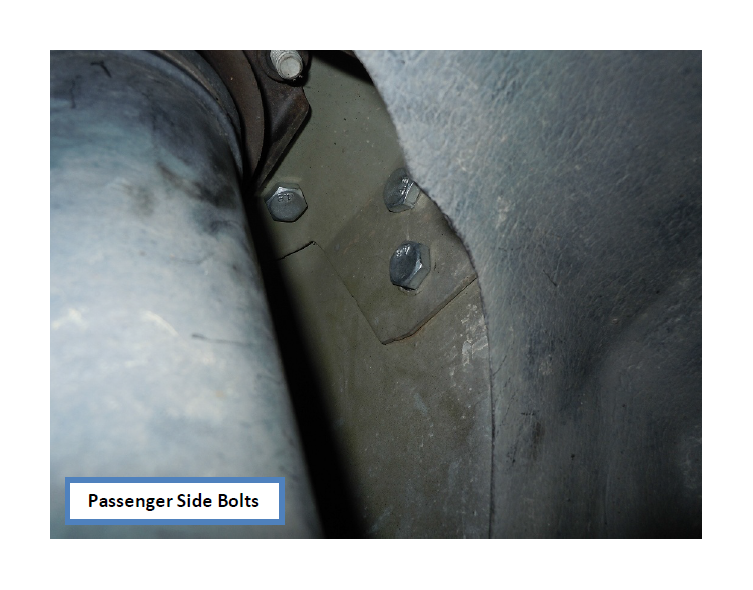
B. Use the large washers on the back side of the firewall for support.
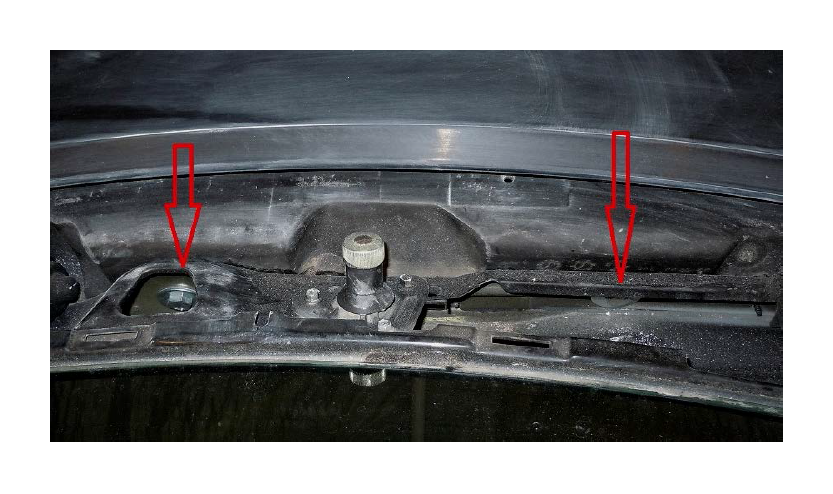
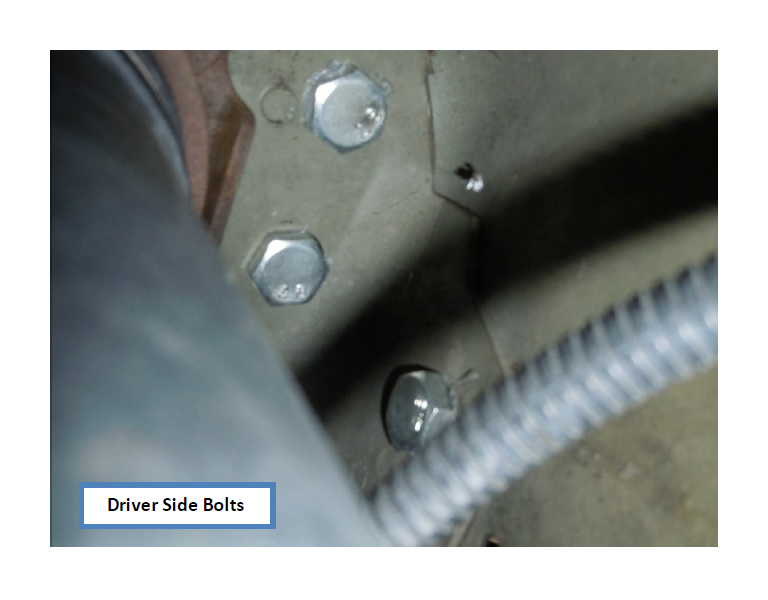
C. For attaching the base to the strut tower, the best option is the squeeze you arm in between the wheel and hold the bolts in place while tightening. This will help ensure that you have proper alignment when complete. Do not raise the car if you can help it. This could cause the body to twist and then once the brace is tight, you could have a misalignment with the body, hood or even steering. If you have to jack the car, try to jack it on even amounts on both sides. Do not do one side at a time.
