
Best Sellers
How to Install an SR Performance Adjustable Rear Sway Bar on Your 2015-2016 Mustang
Installation Time
2 hours
Tools Required
- Ratchet
- Socket Set (10, 13, 18mm)
- Allen Key set
- Wrenches
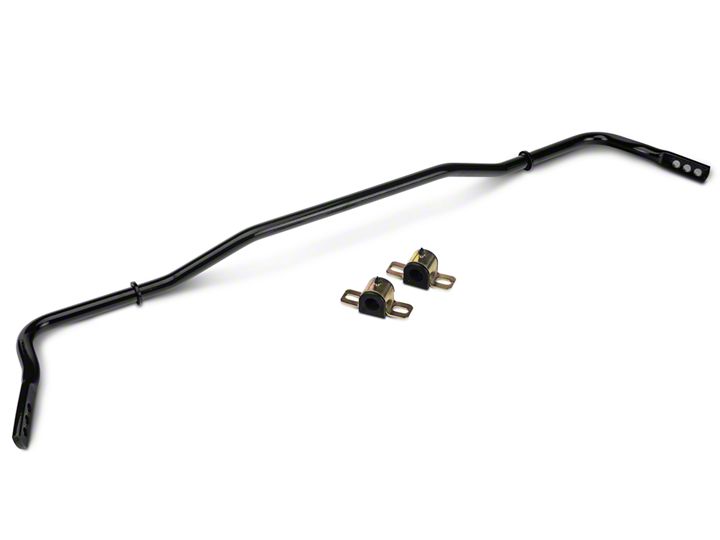
Shop Parts in this Guide

Contents:
(1) - Sway Bar
(2) - Bushings
(2) - Sway Bar Brackets
(4) - Washers
(2) - Brake Line Bracket Spacers

**Important Notes:
It is recommended that you start in the middle position, the hole closer to the enter of the vehicle makes the bar stiffer. Further from the center makes the bar less stiff.
Step 1:
On a level surface, raise and support the rear of the vehicle on jack stands. Remove rear wheels.
Step 2:
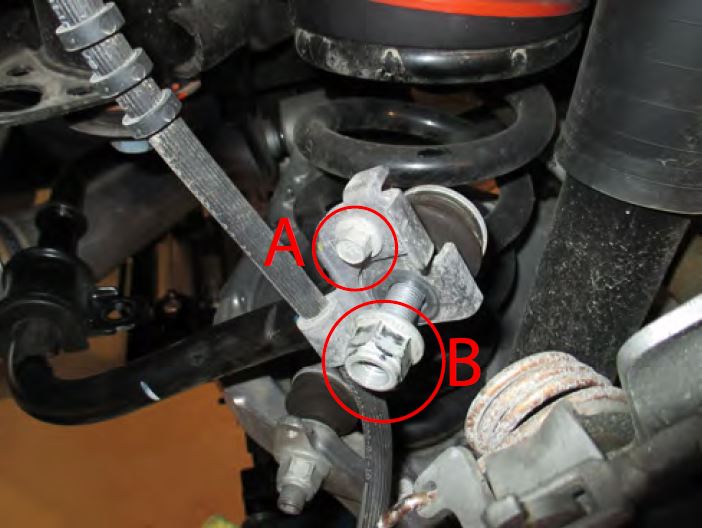
Remove the 10mm bolt that holds the brake line bracket to the sway bar end link bracket. (Labeled A below)
Step 3:
Remove the bolt holding the sway bar end link to the sway bar. (Labeled B above)
Step 4:
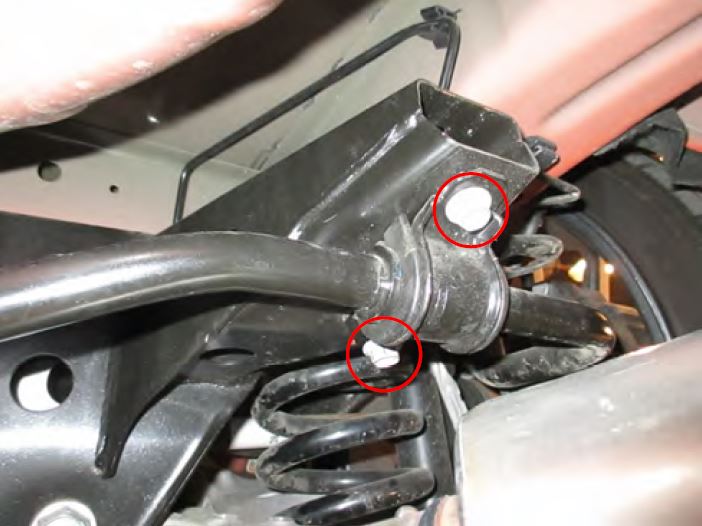
Remove the bolts holding the sway bar bracket to the frame. (Circled above) **Note: Keep track of the orientation of the sway bar when you remove it from the vehicle. The new sway bar will go back in the same way.
Step 5:
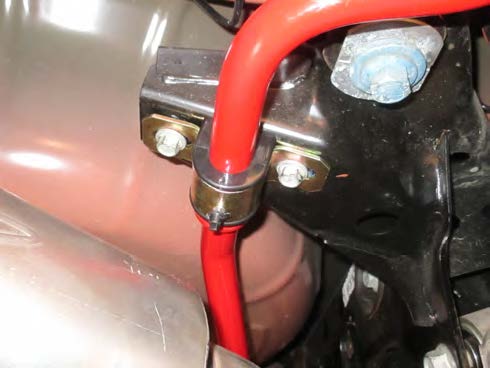
Install the supplied bushing over the sway bar, and then slide the new sway bar bracket over the bushing. Reinstall the sway bar using the factory hardware.
Step 6:
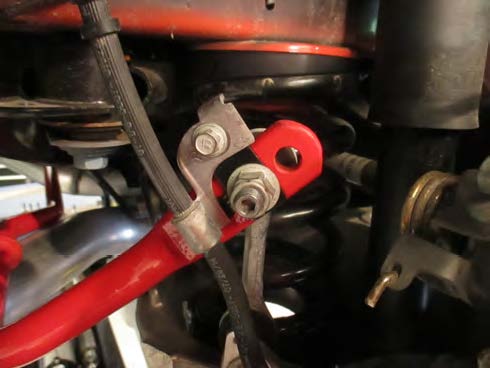
Bolt the brake line bracket to the supplied replacement bracket. Insert the sway bar end link into the sway bar and then the brake line bracket over the end link. Tighten the sway bar end link nut.
Step 7:
Using the grease fittings on the sway bar brackets thoroughly grease the bushings.


