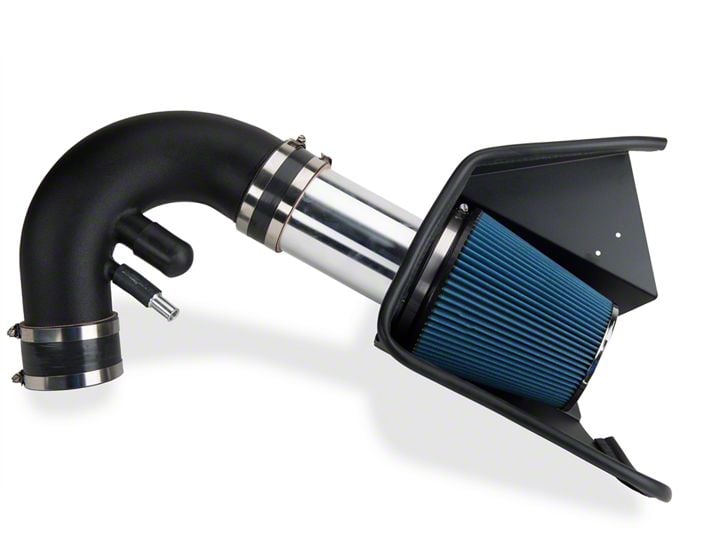
How to Install a Steeda Cold Air Intake - Manual on your 2011-2013 Mustang GT

Shop Parts in this Guide
Installation
***NOTE*** This kit is only to used on cars that have been tuned.
Using this kit without a tune can cause serious damage to your engine.
Steeda will not be held liable for use without a tune. ***NOTE***
Removal of factory air intake system
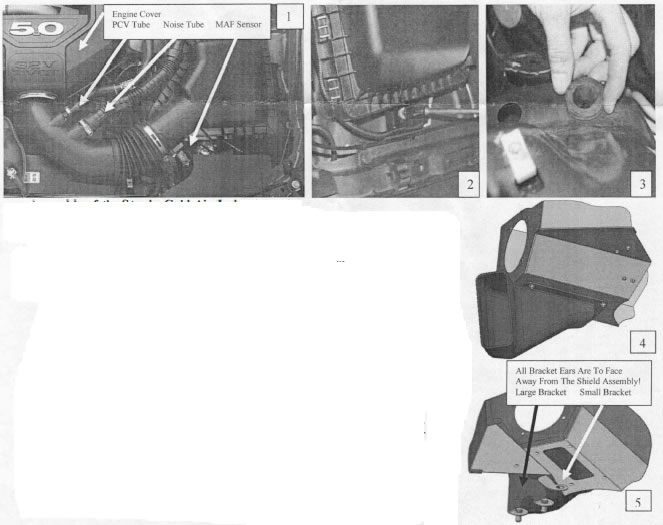
1. Remove the factory intake assembly by first removing the engine cover. To do so, lift up on the cover in any corner. It is held in place simply by rubber grommets. Set the cover aside for now. Next loosen the hose clamp securing the intake tube to the throttle body. Also disconnect the hoses for the sound tube and pey system. These hoses are indicated in figure 1.
2. Disconnect the electrical connector for the mass air flow sensor. Unbolt the lower half of the airbox from the fender as seen in figure 2. Gently pull up on the airbox and dislodge the rubber grommets from the holes in the fender. Then pull the intake tube off of the throttle body and lift out the entire assembly in one piece.
3. Remove the rubber grommets from the bottom of the airbox and insert them into the holes where they were originally located in the inner fender as shown in figure 3.

Assembly of the Steed a Cold Air Induction Kit
4. Remove the pey liner from the back of the shield.
5. Bolt the lower air duct to the shield with the provided #10 x 1/2" button head Allen screws and associated lock nuts and washers as seen in figure 4. Bolt the brackets to the shield with the supplied # lOx 5/16" button head Allen screws as seen in figure 5. The ears are to face away from the shield upon installation. The bracket with the large hole in it needs to have the grommet and bolt used on the factory airbox transferred over. Also, screw the provided aluminum dowels into the bottom of the larger bracket, as also seen in figure 5, with the supplied 1/4" x 5/8" Hex head bolts and 1/4" flat washers.
6. Attach the mass air flow sensor pipe to the shield assembly by passing the pipe through the hole in the shield and orient it as seen in figure 6. Bolt it together with the provided 1/4" x 3/8" button head Allen screws and 1/4" flat washers.
7. Install the rubber trim around the edges of the shield as shown in figure 7. The larger trim with the bulb should go around the top of the shield to seal against the hood liner and the smaller trim should go around the lower part of the shield.
8. Then attach the supplied cone air filter to the velocity stack by sliding it over the outer flange and securing it with the attached hose clamp as seen in figure 8.
9. Remove the mass air flow sensor from the factory airbox lid by removing the two torx screws securing it. Now carefully transfer the sensor into the aluminum mass air flow sensor pipe in the same orientation as it was in the factory airbox lid. Use the two provided #8 x 5/16" button head Allen screws to secure it to the pipe.

