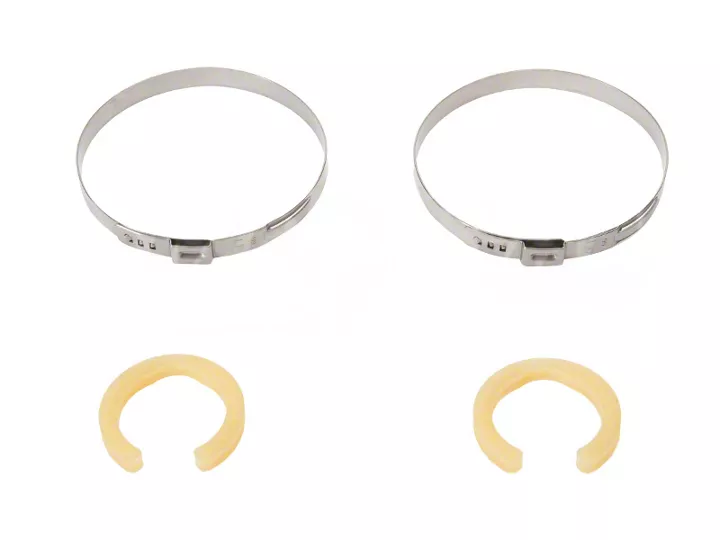
Roush Mustang Steering Rack Stops (2005-2011) - Installation Instructions

Shop Parts in this Guide
Installation
1. Using a 5.5 mm socket, ratchet and extension, remove the four (4) bolts, circled, and the Oil Service Belly Pan. Refer to Figure 1. Once all four (4) bolts are removed, slide the belly pan rearward to remove.
2. With the wheels in the straight ahead position, remove the two (2) inboard Oetiker clamps on the tie rod dust boots by cutting with side cutter pliers. Refer to Figure 2. (Left side shown, right-side similar.)
3. Slide back the dust boot as shown. Carefully press the open end of the 5 mm Spacer onto the steering rack. Slide the spacer outboard and against the factory spacer. Refer to Figure 3. Do Not remove the factory spacer. (Left side shown, right side similar.)
4. The Oetiker Clamps have an integrated catch to allow the damp to be opened With no tension on the clamp, it can be easily opened by grasping the inner band as shown and gently pulling downward. Refer to Figures 4.
5. Reinstall the dust boot onto the steering rack body and install a new Oetiker clamp. Using a small screw driver, ensure the clamp is fully closed and the three (3) hooks are engaged. Refer to Figure 5. (Left side shown, right side similar.)
6. Using Oetiker Clamp Pliers, Crimp the Oetiker Clamp to secure the dust boot to the steering gear housing. Refer to Figure 6. (Left side shown, right side similar.)
Note:If you don't have the correct clamp crimping tool, you can carefully use a side cutter pliers to tighten the clamps.
7. Repeat Steps 2-6 to install the right side 5 mm spacer.
8. Referring back to Figure 1, reinstall the Oil Service Belly Pan. Slide the front end of the pan into position and install the four (4) bolts. Torque the four bolts to 18-20 In-Lbs (2-2.2 Nm).
Installation instructions provided by Roush

