
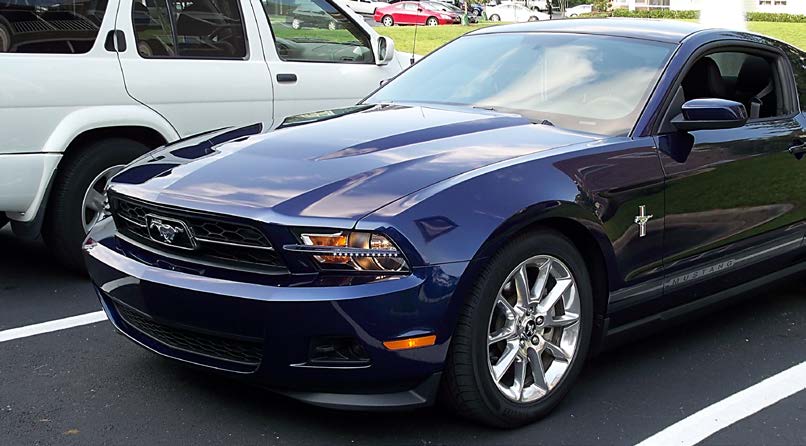
How to Install a Stillen Chin Spoiler on Your 2010-2012 V6 Mustang
Installation Time
1 hours
Tools Required
- 1/4" Ratchet
- 7mm socket
- Grease and wax remover with cloth
- Drill with Bit and Phillips Head Bit
- Wheel Chocks
- Jack & Jack stands

Shop Parts in this Guide
Installation
Installation Instructions:
1. Begin by securing the vehicle on jack stands, remember to apply the parking brake and put a chock behind your wheels for safety. Once the vehicle is secure, test fit the chin spoiler.
2. Now that you have checked the fit, you may take the spoiler off and remove the 7mm bolt from each side on the fenderwell using the ¼” ratchet and 7mm socket. The passenger side bolt is pictured below.
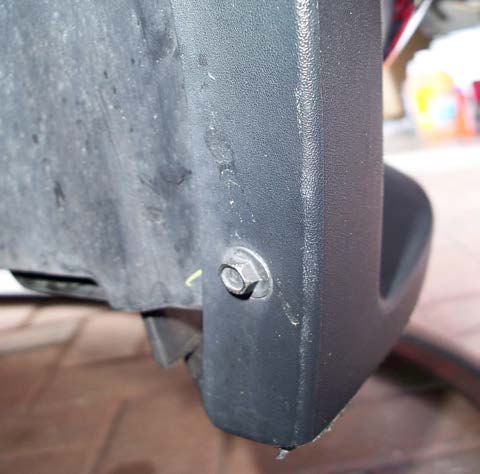
3. After you remove the (2) fenderwell bolts (one from each side), clean the surface of the bumper where the double-sided tape will lay with Grease and Wax Remover.
4. Pull the red backing off of the double-sided tape as pictured below to expose the grey tape.
5. Now you can install the chin spoiler. Begin installing it on one side and move across to the other. Be sure to apply pressure along the way so the tape will stick. Some of it may pop back off, but once you use the screws, it will sit well.
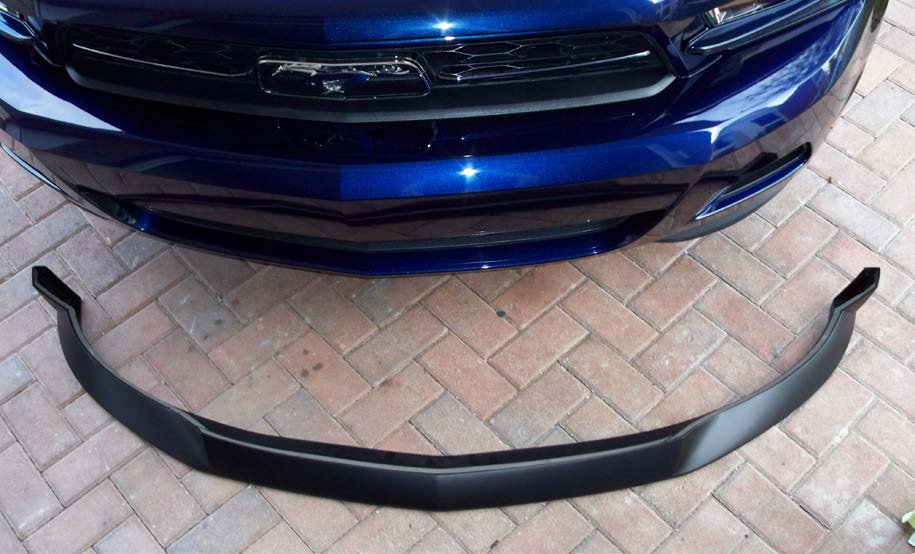
6. You can now install the (2) 7mm fender bolts that you removed earlier.
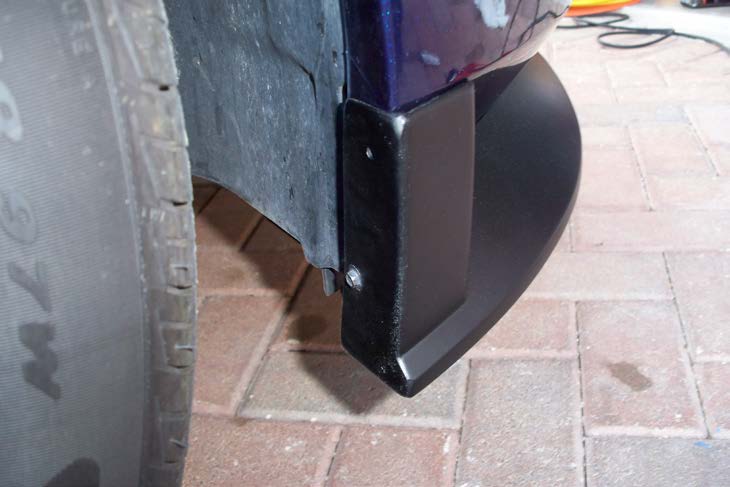
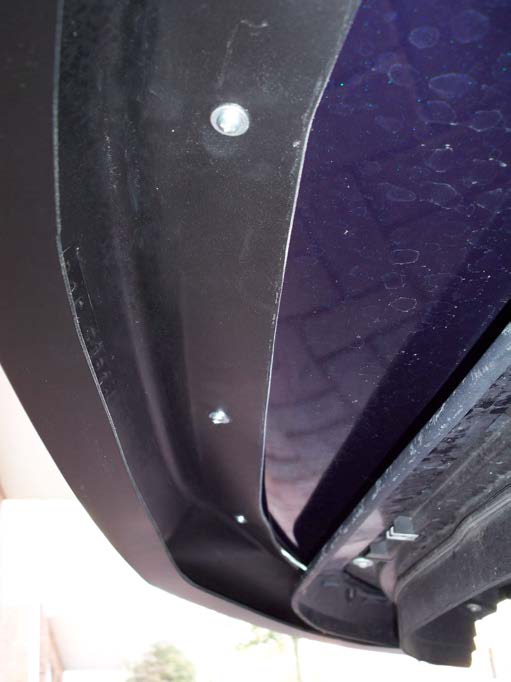
7. The spoiler is now installed using the tape. Now you will need to finish the installation with the screws provided by Stillen. Start by drilling holes in the bottom of the bumper that line up with the holes in the Stillen Chin Spoiler; there are (5) of them.
8. Once you have drilled the holes, take the self-tapping screws provided and drill them through the holes in the bumper and chin spoiler. Remember to do all five!
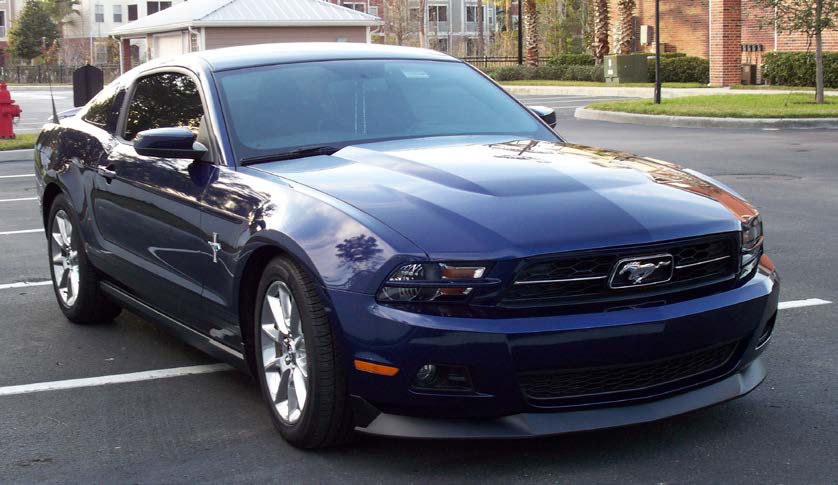
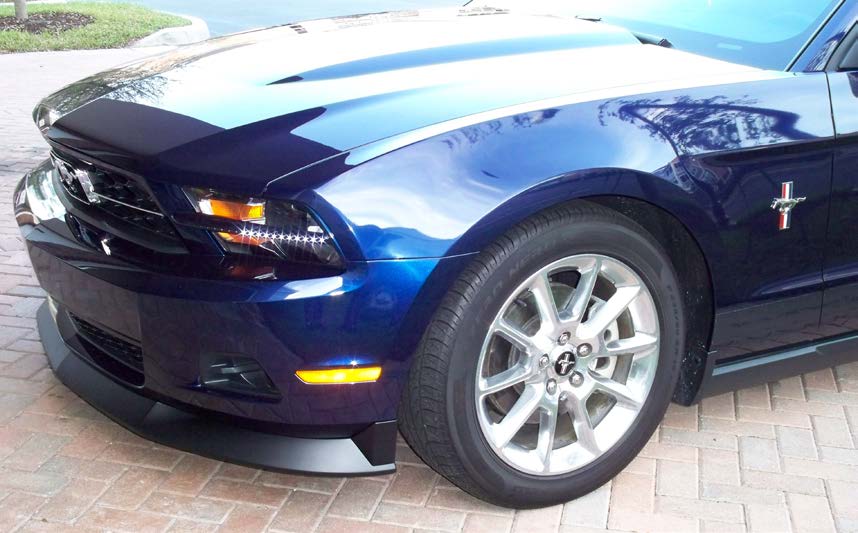
Congratulations! You are now finished with the installation of your brand new Stillen chin spoiler. Now you can lower the car from the jack stands and enjoy the newly aggressive look of your Pony.
Installation Instructions written by AmericanMuscle customer Courtney Hampton 3.23.12

