
How to Install StopTech Sport Cross-Drilled Rotors - Front Pair on your Mustang
Installation Time
2 hours
Tools Required
- 13mm socket/wrench
- 15mm socket/wrench
- Breaker Bar
- Jack and Jack Stands
- Brake Compressor Tool
- Rubber Mallet
- Brake Cleaner
- Penetrating Oil
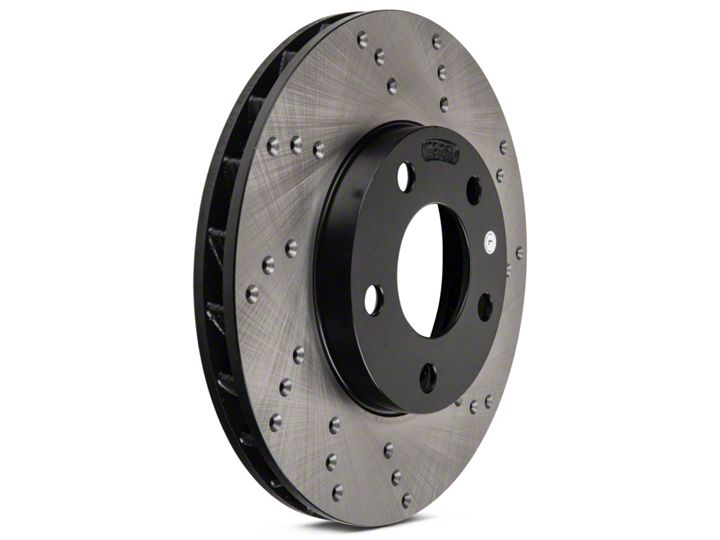
Shop Parts in this Guide
Note: It is recommended to change brake pads when you install new rotors for increased life of the rotor and pads.
Installation Procedure:
Note: This procedure is being done on the front passenger (Right) side.
Step 1:
1. Loosen the five lug nuts (21 mm) on the front wheels with a breaker bar. Make sure to not remove them yet.
2. Jack the car up one wheel at a time or lift the whole front end up at the same time and place jacks underneath.
3. Once the vehicle’s wheels are off of the ground, remove the five lug nuts on each wheel and remove the wheel itself.
Step 2:
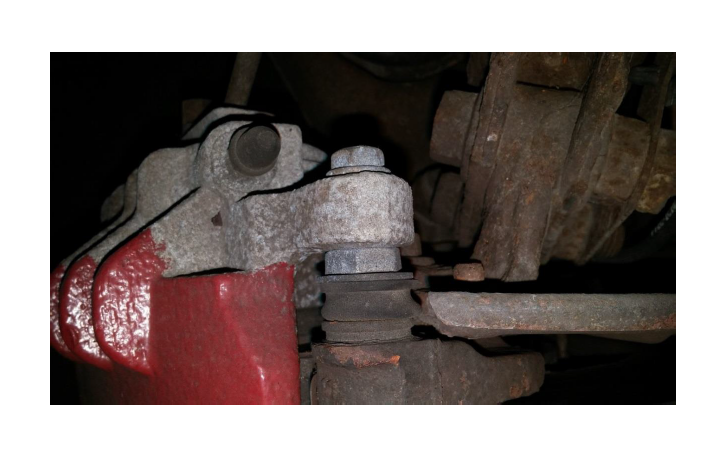
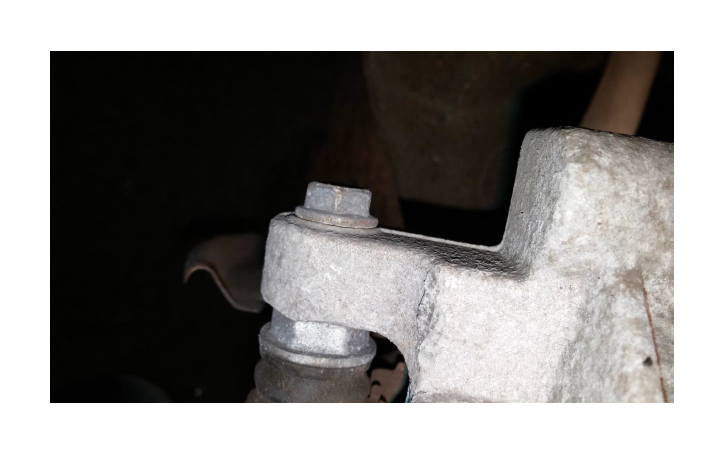
1. Remove the caliper from the caliper bracket by removing the two 13mm bolts. See the first and second pictures below.
2. Pull the brake pads out of the caliper and set them off to the side somewhere if you are going to re-use them otherwise you will be using new brake pads.
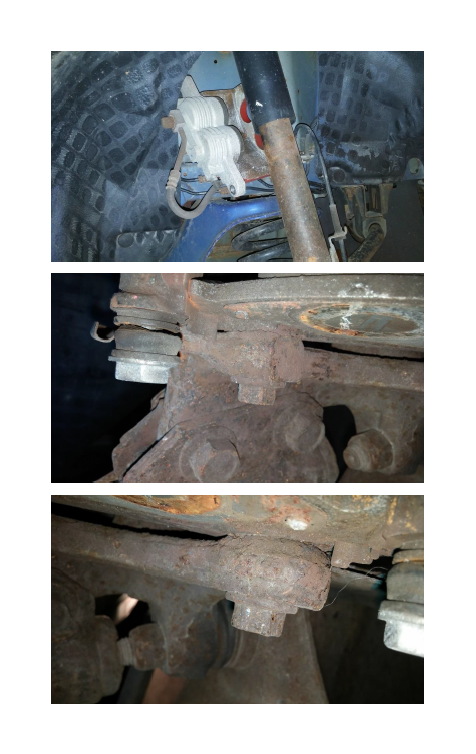
3. Place the caliper up or over somewhere safe where the brake line will not be pulled. See the third picture below.
4. Remove the caliper bracket from the spindle by removing the two 15 mm bolts. See the fourth and fifth picture below.
Step 3:
1. Remove any rotor retainers that are around the lug nut studs.
2. Remove the rotor. You may need to hit the back side of the rotor with a rubber mallet if the old rotor has been on for a large amount of time. Some kind of penetrating oil and heat can help as well.
3. Clean the surface of the wheel hub that the old rotor was touching. Use brake cleaner and shop rags until the surface is flat and clean.
4. Use brake cleaner to clean you new rotor on all surfaces to assure there is no residue on it.
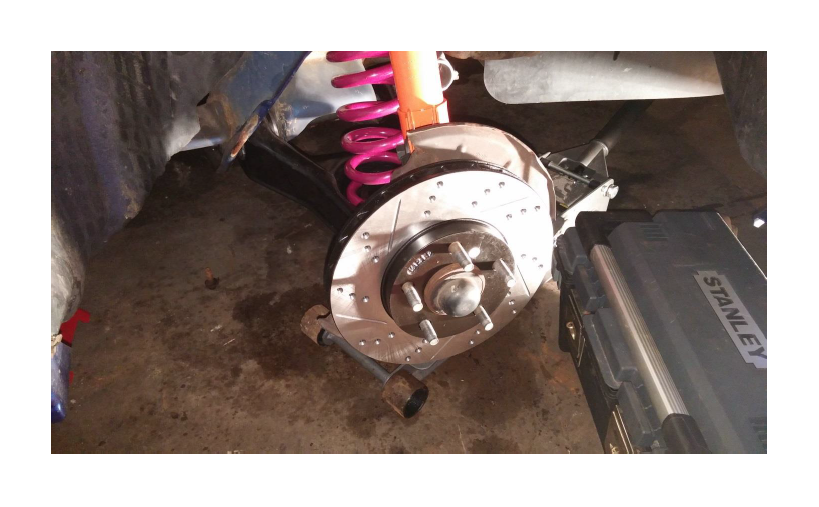
5. Place your new rotor onto the hub.
a. Make sure you place the correct rotor onto the correct side of the car. There is a sticker marking which rotor goes on which side. The rotors I got actually had the wrong sticker on the rotor.
b. The rotor in the first picture below should be the left (driver) rotor but in the picture, the rotor is on the right (passenger) side since the stickers were wrong.
c. Looking at the top of the rotor there are black painted cooling fins. The tip of those fins at the top of the rotor should point towards the front of the car.
Step 4:
1. Connect the caliper bracket back onto the spindle with the two 15 mm bolts.
2. Compress the caliper pistons back into itself with a brake compressor tool.
a. If your rotor and pads were wearing down, you may have added more brake fluid to the brake fluid reservoir. As you compress the caliper back, check on the brake fluid reservoir to make sure it does not overflow. If it starts filling up over the top limit, use a turkey baster or other similar device to remove some of the fluid. Keep the area clean as you do this to prevent getting dirt and grime into the brake lines.
3. Drop your used or new brake pads into the caliper bracket.
a. Use proper prepping techniques for putting brake pads into a caliper.
4. Slide the caliper itself over the brake pads and secure it in place with the two 13 mm bolts.
Step 5:
1. Put your wheel back onto the vehicle and hand snug all five lug nuts.
2. Move onto the other side of the vehicle and repeat the previous steps.
3. Torque down all of the lug nuts in a star pattern once each wheel is completed and on the ground.

