
How to Install a Swarr Bar 8.8in Rear Support on your 1986-1904 GT, 5.0L, Mach 1; 1993-1998 Cobra
Installation Time
30 minutes
Tools Required
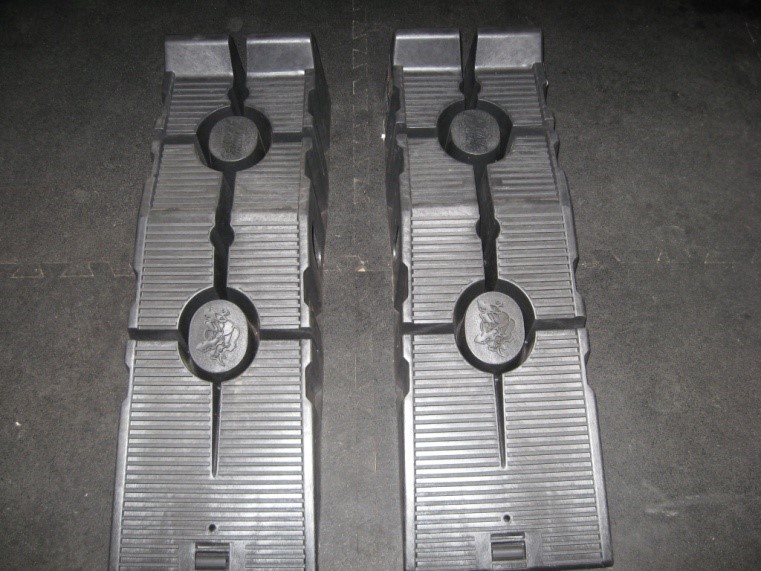
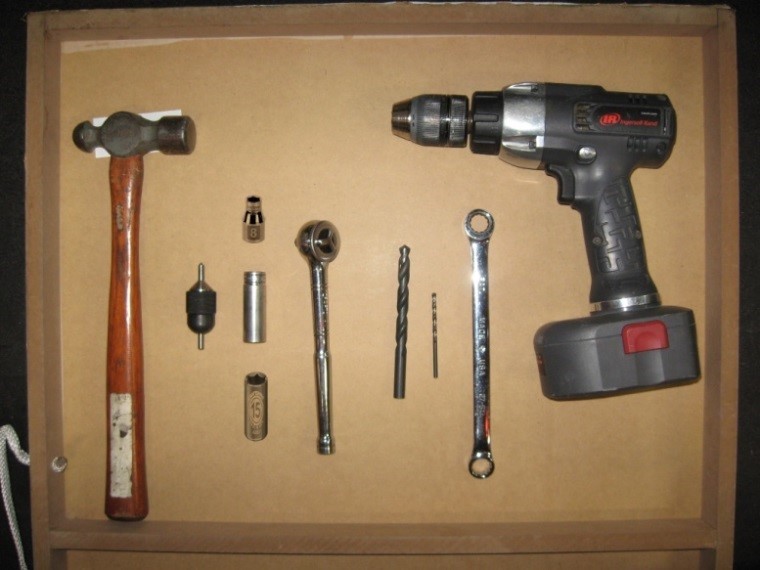
- Hammer Self aligning center punch 3/8 drive ratchet 9/16 deep- well socket 9/16 wrench Cordless drill 8 mm socket 15 mm socket 1/8 drill bit 25/64 drill bit Ramps
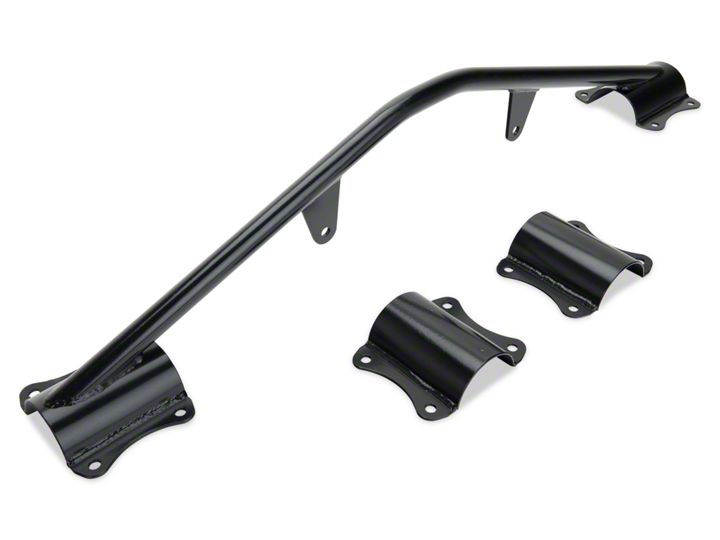
Shop Parts in this Guide
Installation
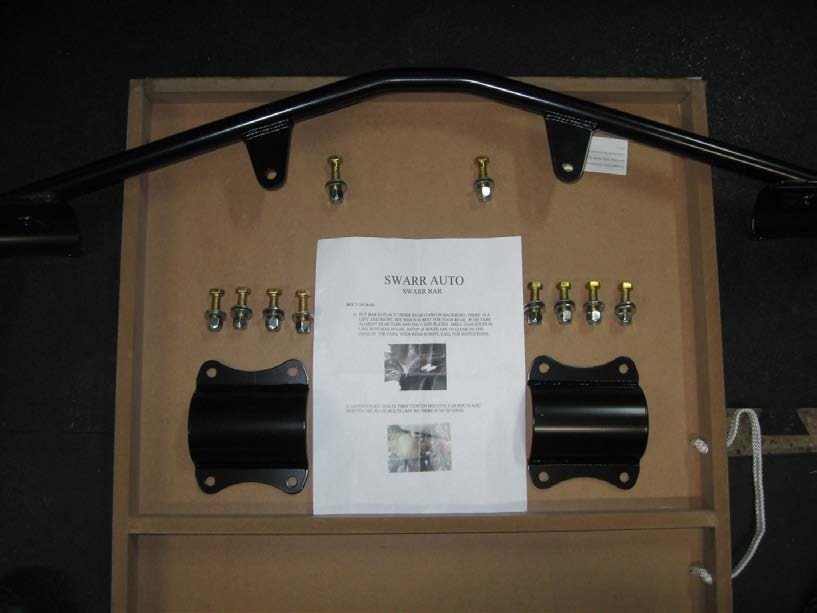
Swarr bar Axle Brace Kit
1. Place car on the ramps and set parking brake.
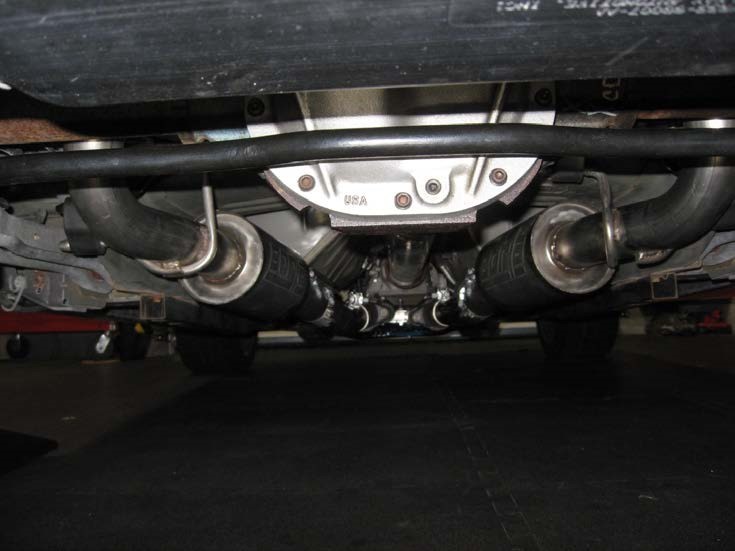
2. Removal of the rear stabilizer bar
(This will make it easier to center punch your holes and drill the mounting holes)
The stabilizer bar bolts into the rear control arms on both sides of the axle (there are two 15 mm bolts per side) you will also have to remove this bracket (there is one 8 mm bolt per side)
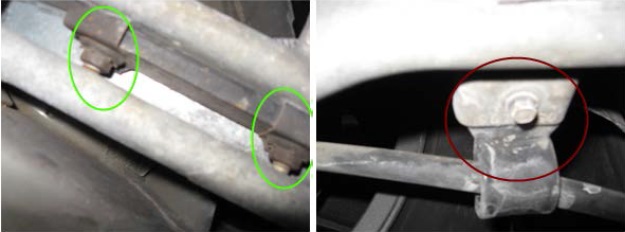
3. Remove the 8 mm bracket bolts then move on to the 15 mm stabilizer bolts; you can now lower the stabilizer bar out of the way.
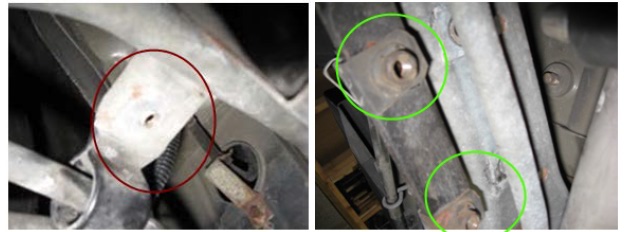
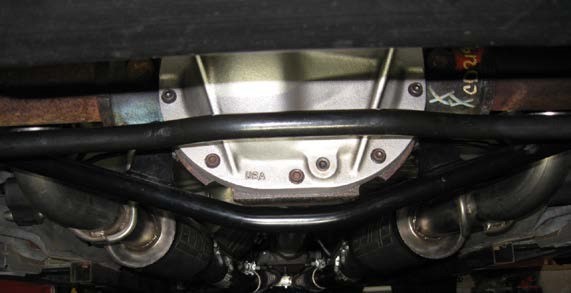
4. Using the supplied 3/8 bolts washers and lock nuts loosely place the Swarr bar on the rear axle.
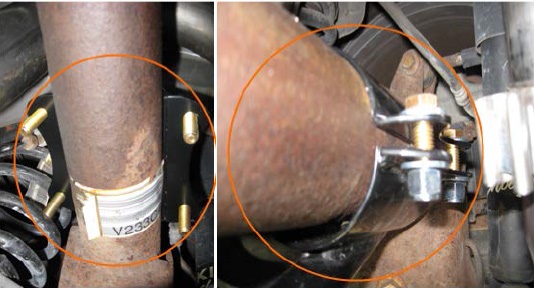
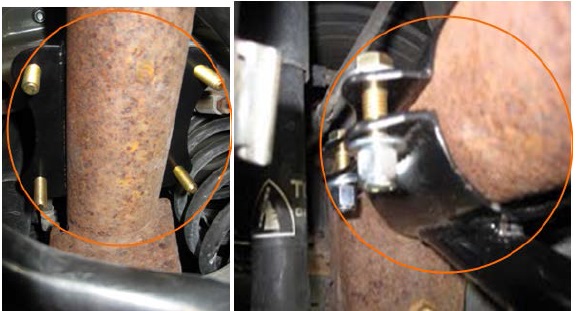
5. Now center the mounting tabs of the Swarr bar to the tabs on the differential housing.
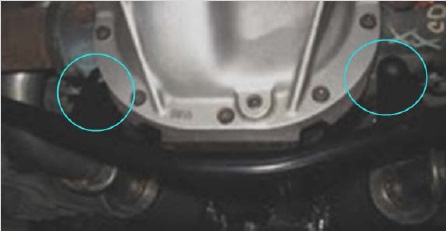
6. Then snug the Swarr bar in place using the 3/8 ratchet 9/16 deep-well socket and 9/16 wrench make sure the tabs stay centered on the differential housing tabs.
7. With a self-centering center punch mark the center of the tabs on each side of the differential housing.
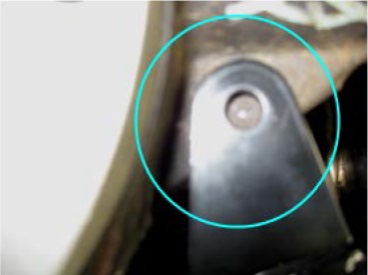
8. Now with the 1/8 drill bit and drill, make a pilot hole for each tab.
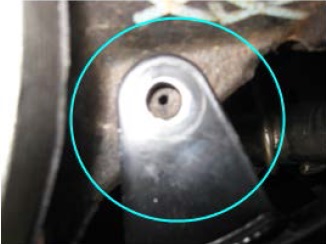
9. Next with the 25/64 drill bit enlarge the holes.
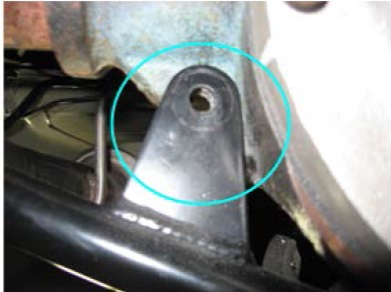
10. After enlarging the holes insert the supplied 3/8 bolts into the tab holes install washers and lock nuts then snug up the bolts ,check the alignment on the axle .
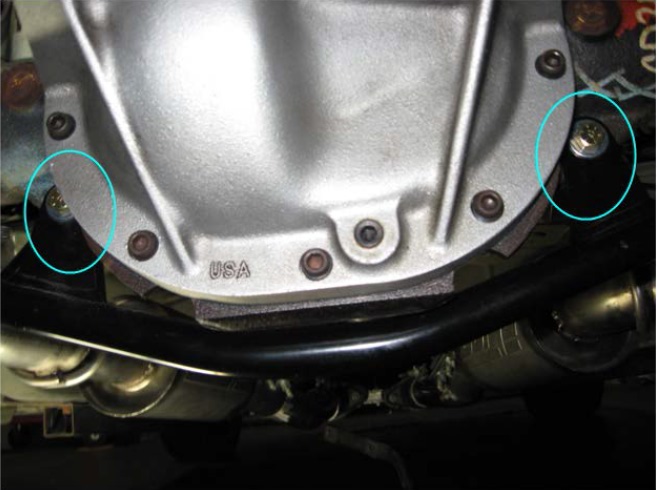
11. Tighten up the tab bolts first using the 3/8 ratchet, 9/16 deep-well socket and 9/16 wrench.
12. After tightening up the tab bolts proceed to tighten the saddle bolts using the same tools as used for the tabs, be sure to tighten them evenly as you go until both sides of the saddles meet.
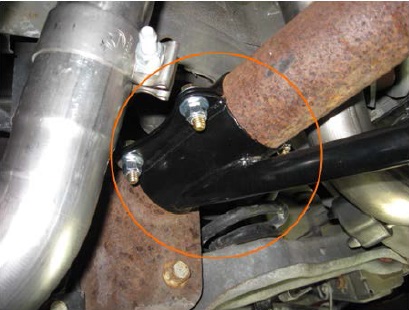
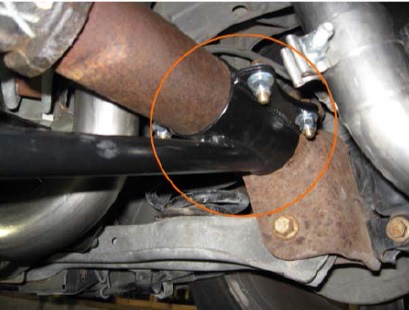
13. Now reverse Step Two and reinstall the stabilizer bar and bracket be-sure to check that everything is tight, this completes the installation take your car off the ramps and enjoy your swarr bar rear axle brace.
Installation Instructions Written By AmericanMuscle Customer James Waldorf 5/5/2013

