
How to Install Raxiom Smoke Tail Lights on your 2005-2009 Mustang
Installation Time
1 hours
Tools Required
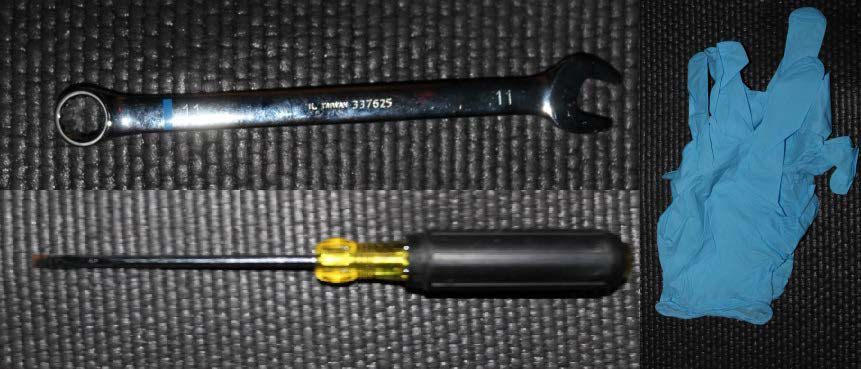
- Flat Head Screwdriver
- 11mm Socket or Wrench
- Rubber Gloves (optional)
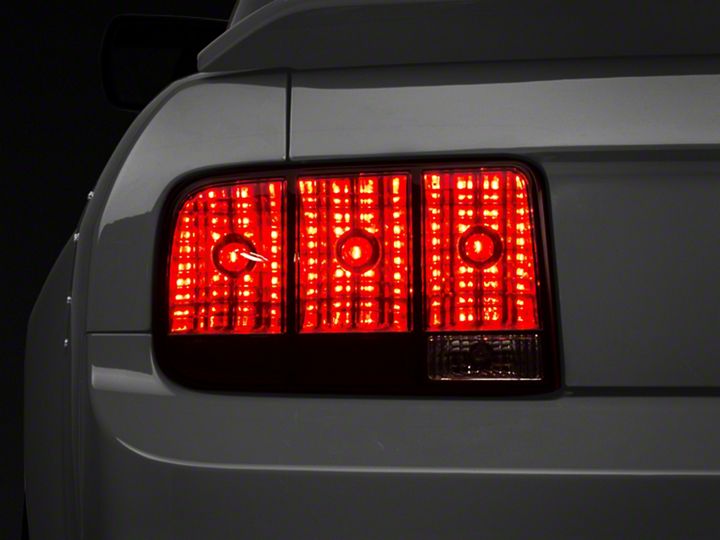
Shop Parts in this Guide
- Raxiom Tail Lights; Black Housing; Smoked Lens (05-09 Mustang)
- Raxiom Coyote Tail Lights; Black Housing; Smoked Lens (05-09 Mustang)
- Raxiom Coyote Tail Lights; Chrome Housing; Red/Clear Lens (05-09 Mustang)
- OPR Stock Replacement Tail Light; Black Housing; Red/Clear Lens; Driver Side (05-09 Mustang)
- OPR Stock Replacement Tail Light; Black Housing; Red/Clear Lens; Passenger Side (05-09 Mustang)
Tools required:
• Flat-Head Screwdriver
• 11mm Socket or Wrench
• Rubber gloves (optional)
Installation Instructions:
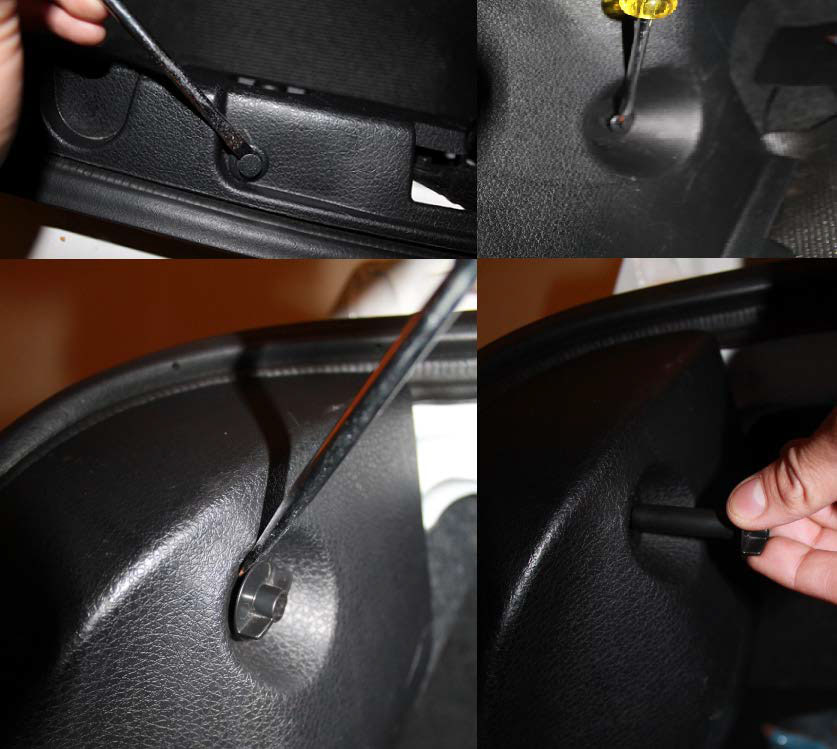
1. Inside your trunk, locate the 4 clips and 2 screw covers holding your plastic trim in place.
2. Wedge your flat tip screw driver between the gap in the clips to pry them out of your trunk plastic trim and finish pulling them out by hand.
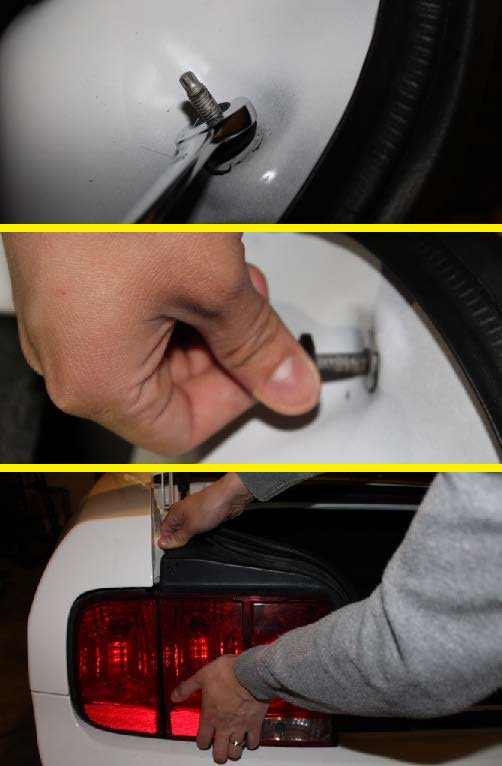
3. Remove plastic trim cover and locate 3 nuts holding each tail light to the vehicle.
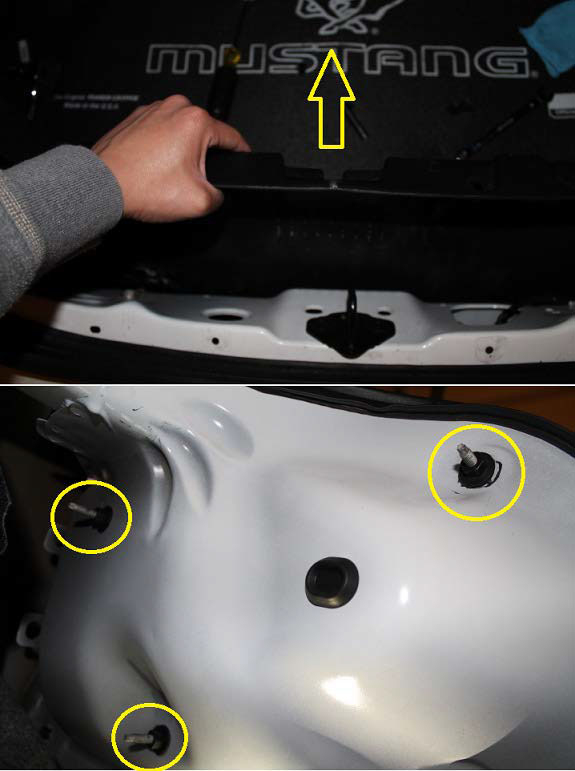
4. Use your 11mm socket wrench to remove 3 nuts holding the tail light to the vehicle.
5. Remove the tail light housing.
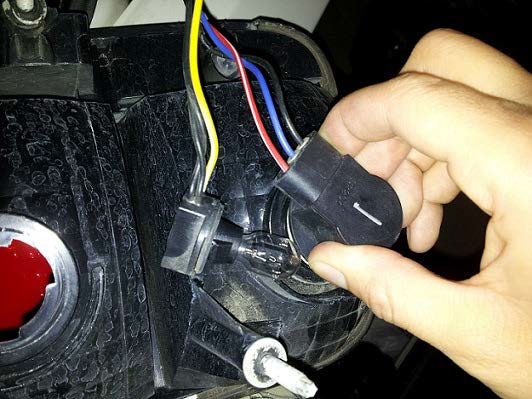
6. Remove the light bulbs by turning them counterclockwise.
7. Replace the light bulbs into your new tail light housing, turning clockwise.
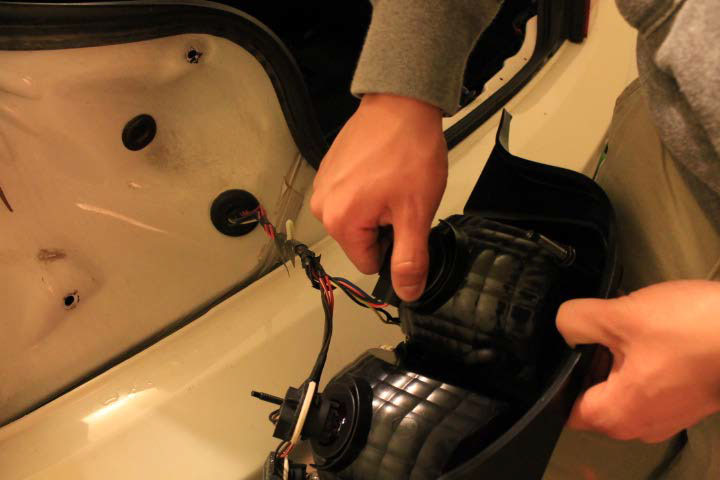
**Using gloves to handle the bulbs is optional, just make sure you do not touch the glass bulb itself as your natural body oils may heat up on it, causing your bulb to burn out faster.**
8. Testing your lights out is recommended before you completely reinstall your tail light housing onto the vehicle.
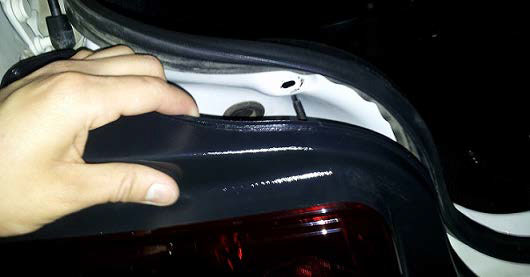
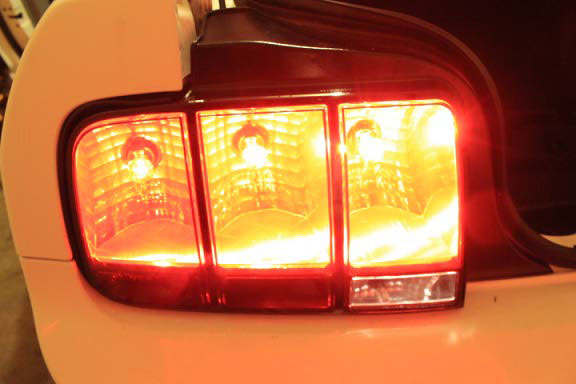
9. Repeat steps 4-8 for the opposite side.
10. Use your 11mm socket to re-attach the light at it’s mounting points. Replace plastic trim, clips, and screw covers.
Installation Instructions Written By AmericanMuscle Customer Jose Sanchez 3/20/2013

