
How to Install Raxiom Smoked Tail Lights on your 1999-2004 Mustang GT, V6, Mach 1 And Cobra
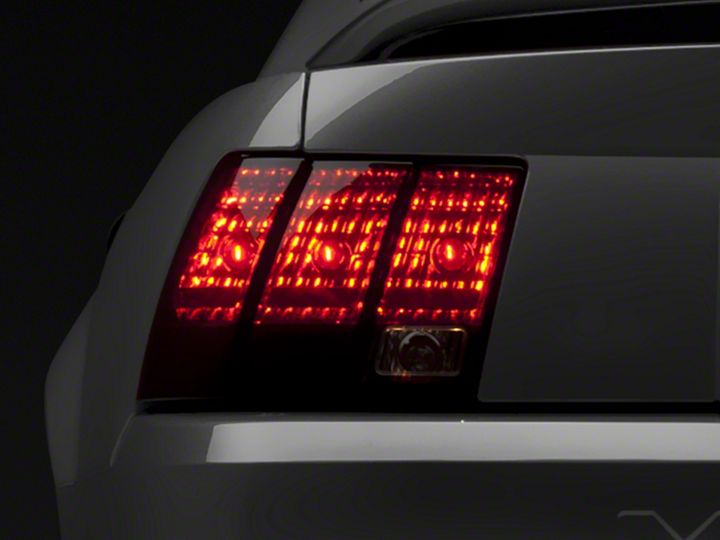
Shop Parts in this Guide
Tools Required:
11mm Socket and Wrench
Installation Instructions:
1. Remove the plastic trim around the trunk hinge by pulling out the anchors.
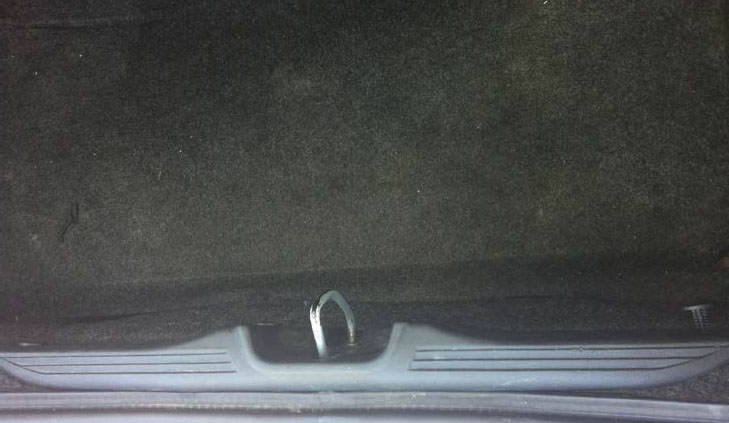
2. Remove the plastic caps (one on each side) on the liner, located behind the tail light, by twisting them off.
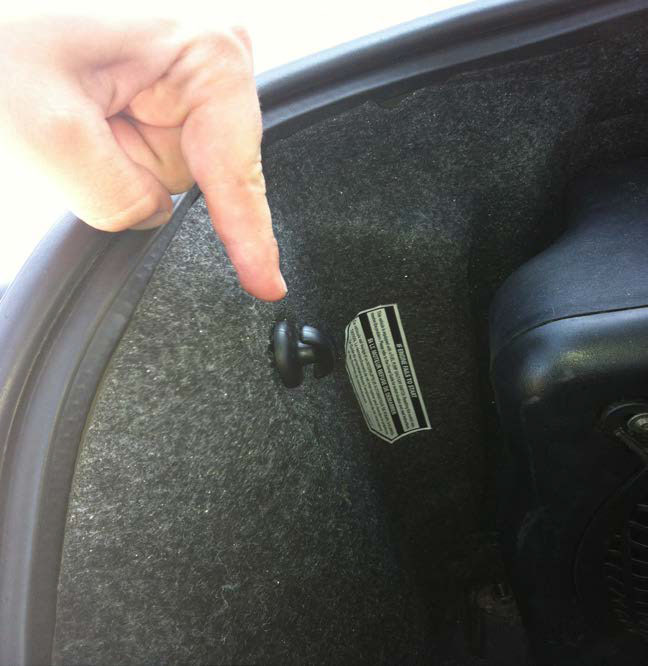
3. Now the liner will come out in one whole piece and you are able to see the screws and nuts to your tail light.
4. Loosen and remove all the nuts on one tail light using a 11mm wrench
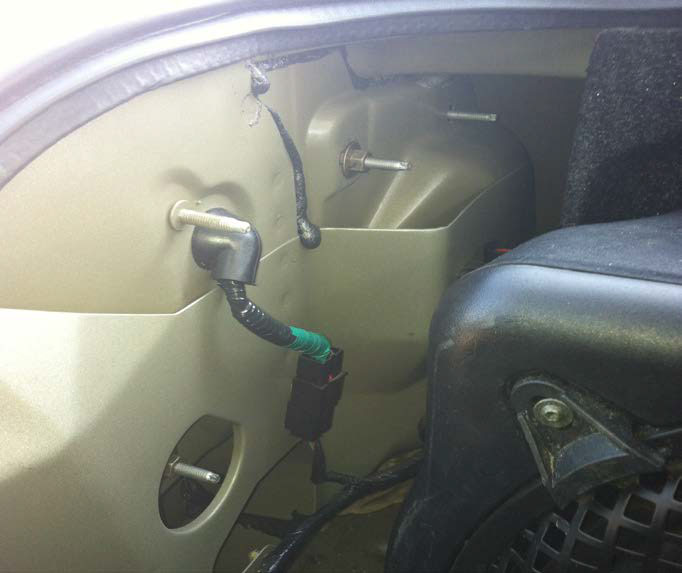
5. Pull the tail light out so you are able to remove the bulbs (mark bulbs to reduce confusion). The wire is anchored in two spots on the tail light; simply pull them out.
6. Remove the tail light (be careful to not scratch your bumper while removing the tail light)
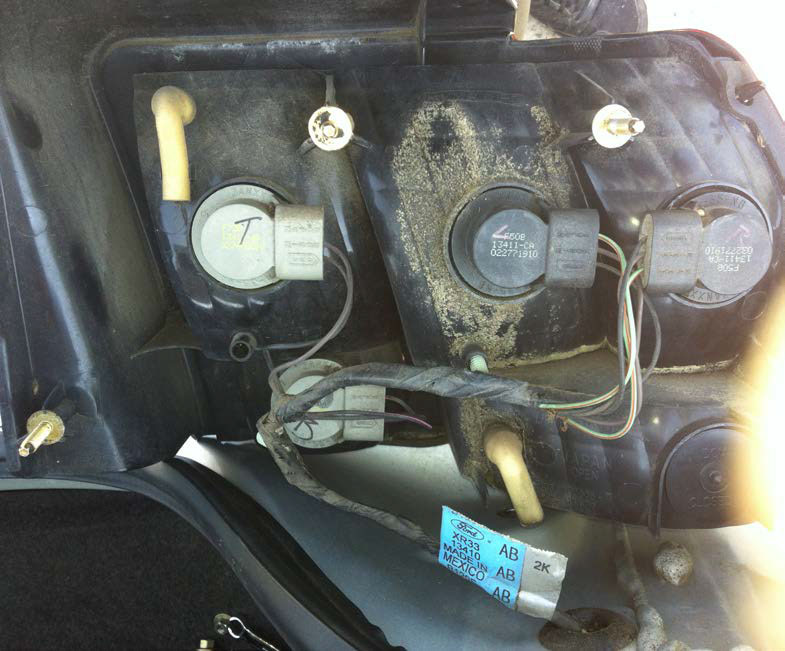
7. Now, reinsert the bulbs in the same positions in the new tail light.
8. Slide the screws of new tail light into the holes that the old tail light fit into.
9. Put the nuts back on all the screws (do not fully tighten, leave snug for adjustment)
10. Repeat steps 4-9 for other taillight.
11. Now close the trunk and adjust the lights until they look even (width from the top and side of the trunk). This may take a couple times to get perfect.
12. Once everything is even, tighten all the nuts on the lights.
a. Wouldn’t hurt to add a dab of thread locker to the bolts to reduce the chance of vibration loosening the bolts
13. Reinsert the liner, twist the caps on and reinsert the plastic trim by pushing the anchors into the holes.
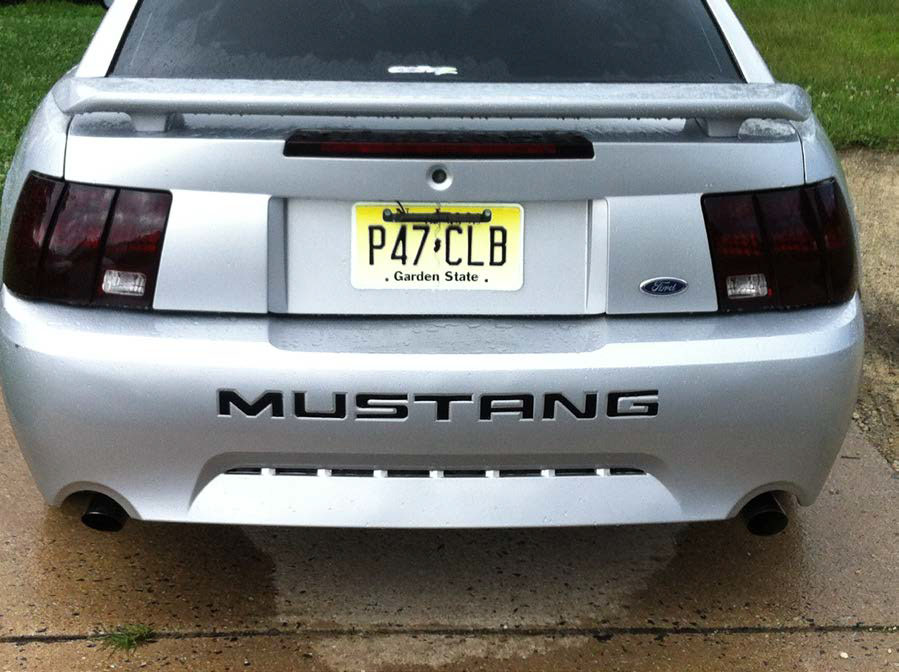
Installation Instructions written by AmericanMuscle customer Dylin Hobbs-Fernie 9/26/2012

