
3-Light LED Tail Light ('99-'04) - Installation Instructions
Installation Time
2 hours
Tools Required
- 7/16" Nut Driver or Deep Socket Ratchet
- Towel or Shop Rag
- Optional: Small Tube of Silicone Sealer.
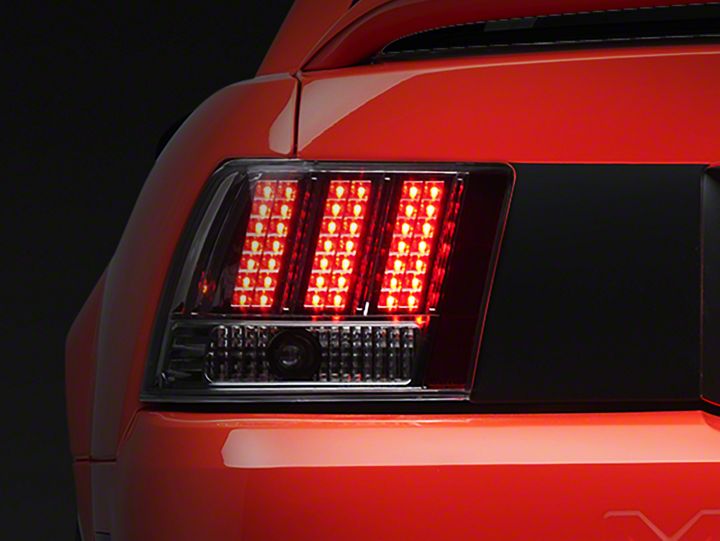
Shop Parts in this Guide
Installation
1. First remove the stock Mustang tail lights with a 7/16” nut driver or deep socket ratchet. Keep the nuts, because you will need them for installing the new lights. You will need to open the trunk and remove the trunk liner to access the nuts on the stock tail light bolts. (Note: The Mustang pictured here has a custom sound system and other custom features that may look a little different from the appearance of a factory trunk.)
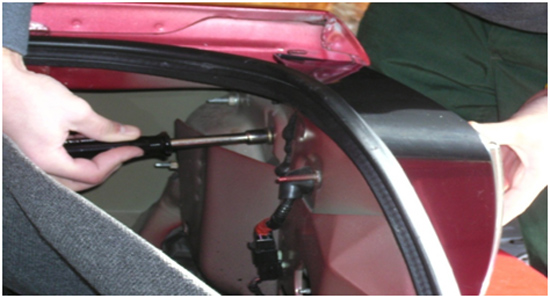
2. Drape a towel or shop rag over the bumper to avoid scratching either the bumper or the stock tail light assembly. Once the nuts have been removed, slide the tail light assembly out and place it on the towel on the bumper of the car.
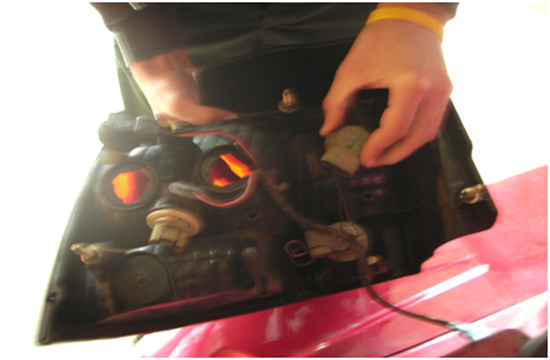
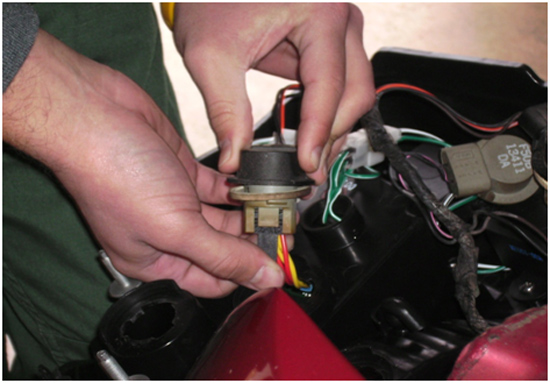
3. Now remove the bulb plugs from the stock tail light assembly. Twist the lights about a quarter turn, counter-clockwise, to remove the bulb and plug from the assembly. Remove the three upper bulbs from the plugs, as they will not be needed in the new tail light assembly. Leave the reverse light bulb plugged into the wiring socket, as it will be used in the new tail light assembly. It’s a good idea to mark the center wire with tape or a twist-tie. (This is the wire that will plug into the LED light fixture.)
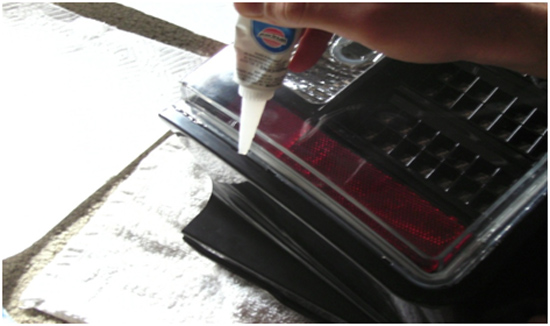
4. Before installing the new tail lights, it’s a good idea to seal the joint where the clear plastic lens connects to the tail light assembly. This will help to prevent moisture from getting into your new tail lights. Just run a bead of clear silicone along the edge of the clear plastic, making sure not to get the silicone on the outside of the lights. Silicone windshield and glass sealer can be found at any auto or RV supply store and works well for this application. You should allow an hour to an hour and a half for the silicone to dry, or just until the silicone is no longer sticky.
5. Remove the stock tail light assembly from the work area, and place the new tail light assembly on the bumper. Now it’s time to use that center wire that you marked earlier. The LED fixture has a wire socket that inserts into the wire plug from the center brake light, the same way that the light bulb was plugged in. Install the reverse light bulb and plug it into the bottom hole of the new tail light assembly (This is a good time to replace an old bulb with a fresh one.) Twist clockwise about a quarter turn, until it locks securely in place. Now install the two remaining wire plugs (without the bulbs) into the two empty holes in the new tail light assembly. Test the new LED lights to make sure that they work before you go any further. Make sure that the brake lights, turn signals, and reverse lights work properly. Also make sure that all of the LED lights illuminate properly.
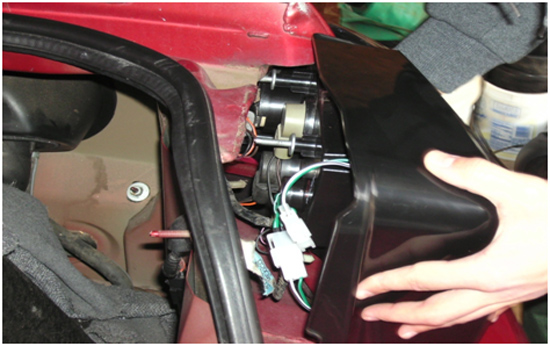
6. Align the bolts on the new tail light assembly with the holes in the car body, and push the light assembly into place. Install the nuts that came off of the stock tail lights from inside the trunk compartment. You should only hand-tighten the nuts at this time. Now close the trunk and check the spacing between the lights. If the lights are not spaced the same, you can adjust them before fully tightening the nuts. Once the spacing of the tail lights is completed, tighten the inner top nut, then the outer bottom nut and finally the other two tail light nuts using the 7/16” nut driver or ratchet. The lights should fit snugly, but remember the light assembly is plastic, so don’t over tighten the nuts. Now re-secure the trunk liner to complete the installation process.
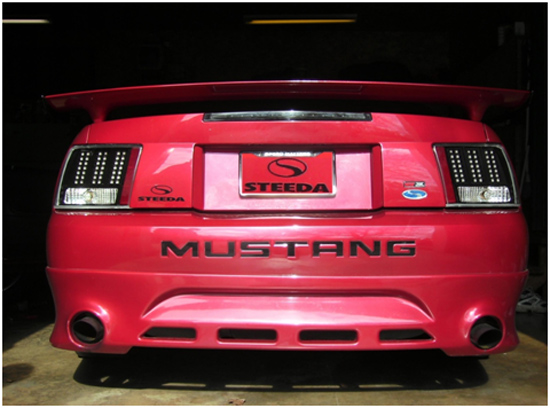
7. Stand back and admire your new LED tail lights. Remember that this is the view that all your friends will see the most anyway! Think about it!!!
Installation instructions provided by AmericanMuscle customer Levi Hallman 1.30.09

