Top Sellers in Camaro
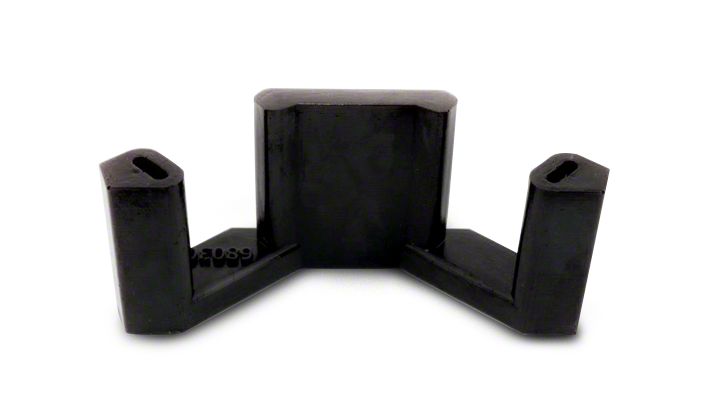
How to Install Whiteline Positive Shift Transmission Mount Bushing Insert on your Mustang
Shop Parts in this Guide
Installation Instructions:
1. Safely support the car on Jack stands or car lift. Be sure to block the rear wheels if jack stands are only used on the front. The transmission cross member is between the mid-pipe section of the exhaust.
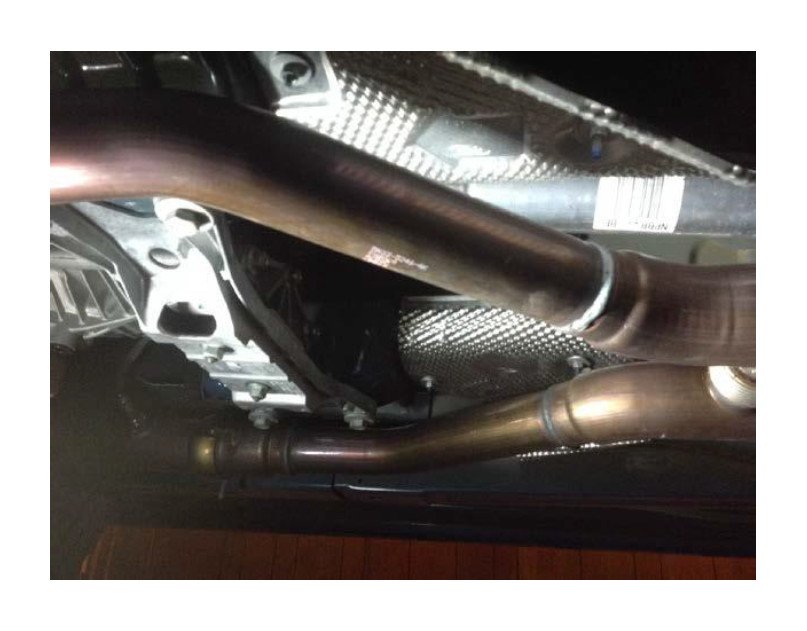
2. Support the transmission before removing any of the cross member bolts (use the pole jack /transmission jack if using a car lift.)
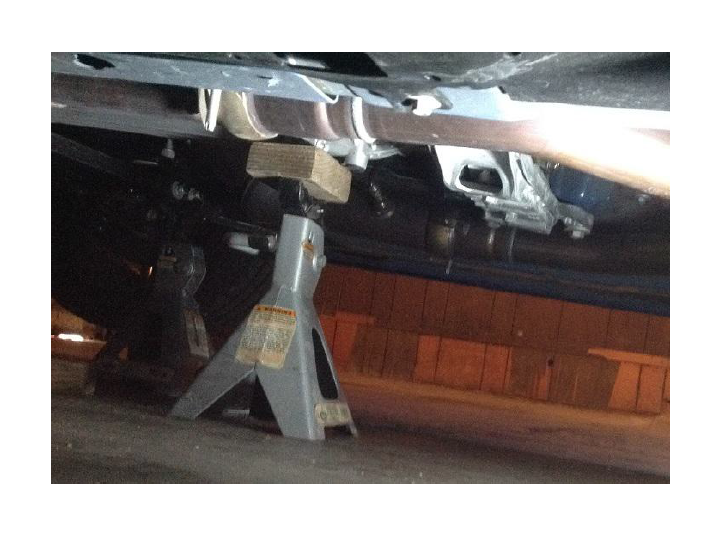
3. Before loosening any bolts, you can add reference marks on the body and cross member to help you line up the cross member during reinstallation. With the car and transmission safely supported, remove the four outer bolts holding the transmission cross member to the car with an 18mm socket and ratchet.
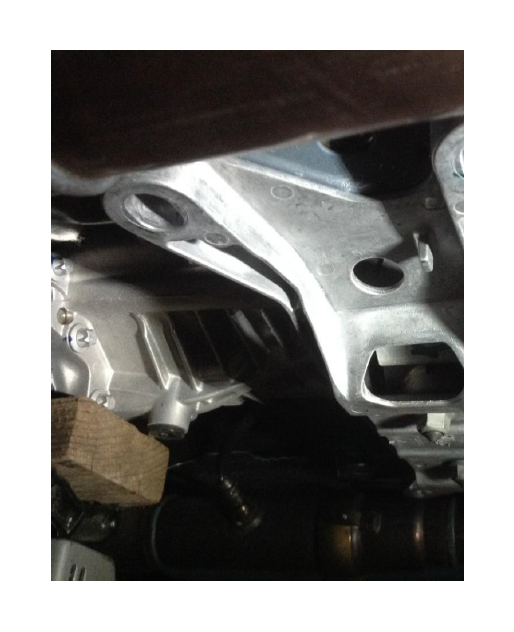
4. Next, remove the two nuts holding the cross member to the transmission mount using a 15mm socket and ratchet. These two nuts are the only thing holding the cross member on the car. Safely remove the cross member to expose the transmission mount.
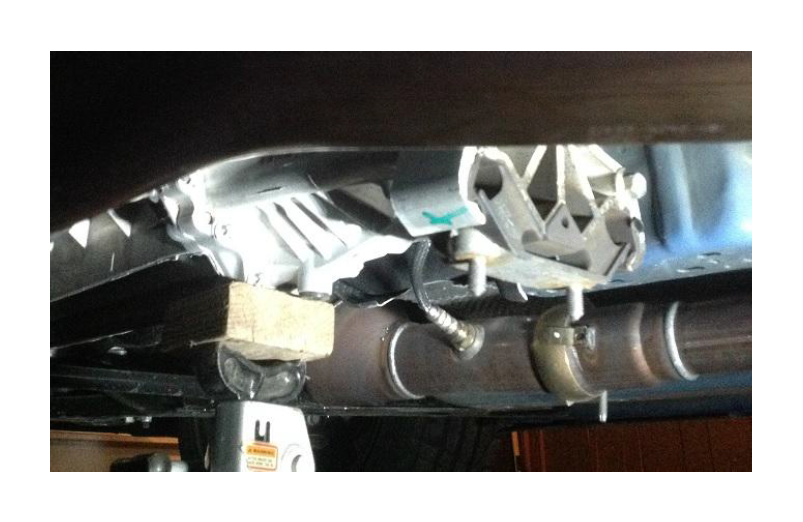
5. My insert did not come with grease or instructions to use grease, but I put a little on the ends of the mount to facilitate placement of the transmission mount insert. Simply slide the insert into the transmission mount from the front of the car towards the back and push it all the way into place.
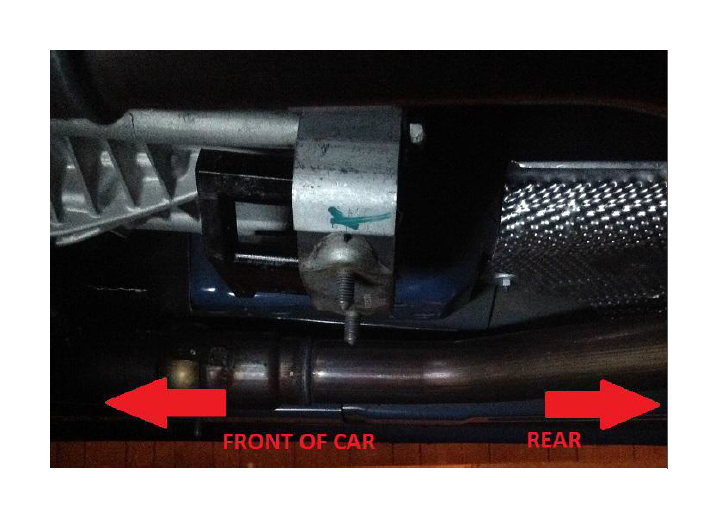
6. With the insert seated into place, secure the transmission cross member back on the car using the two nuts. Tighten them hand tight.
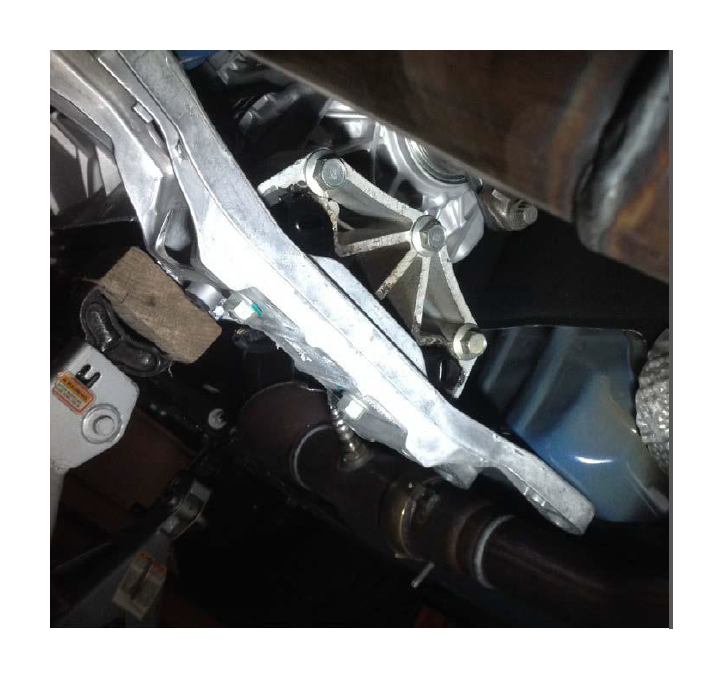
7. Replace the four bolts to secure the cross member to the car. Tighten them hand tight first, then tighten them with the 18mm socket and ratchet. Tighten the four outer bolts first, then the two nuts.
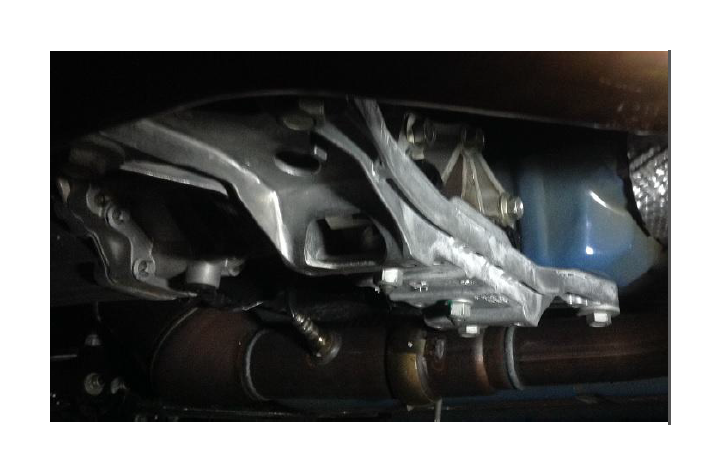
That’s it! Safely remove the support from the transmission and lower the car.
Some people have reported some increased n/v/h with the insert installed. There are various methods people use to combat this if it seems to be a bit excessive. Here are the most common remedies I’ve read about:
1. Use a hole saw to cut a hole in the large flat part of the insert.
2. Cut some or all of the bottom part of the insert off. I recommend cutting small sections off, about 3/8” or so at a time, until the n/v/h is down to an acceptable level.
Modify the insert at your own risk - it is not guaranteed to reduce the n/v/h.


