
How to Install Raxiom Yellow Foglights on your 2005-2012 Mustang GT
Installation Time
1 hours
Tools Required
- 9/32" Nut Driver
- Flat-Tipped Screwdriver (small)

Shop Parts in this Guide
Time Necessary: Approximately 45-60 minutes
Tools Required:
• 9/32” nut driver
• Flat-tipped (Standard) screwdriver, small
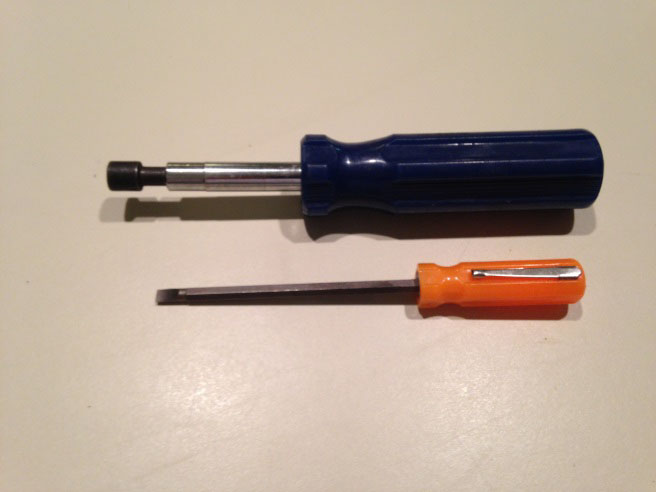
Stock Fog Light Removal:
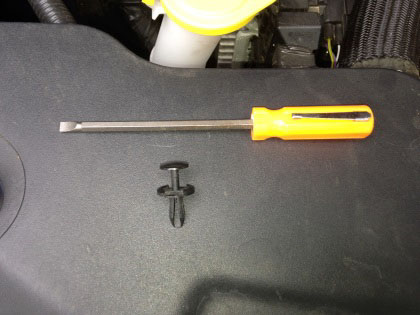
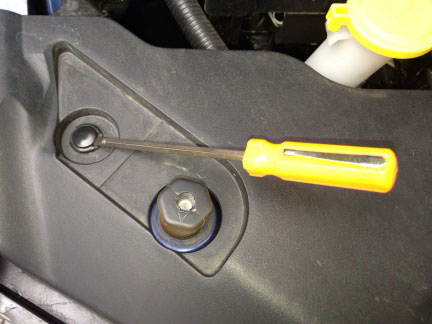
1. Carefully use a flat-tipped screwdriver to gently lift the center head portion of the 8 plastic retainers that hold the plastic radiator shroud in place. Once the center portion of the head is raised (approximately ¼”), the retainer assembly comes out. Save for re-use.
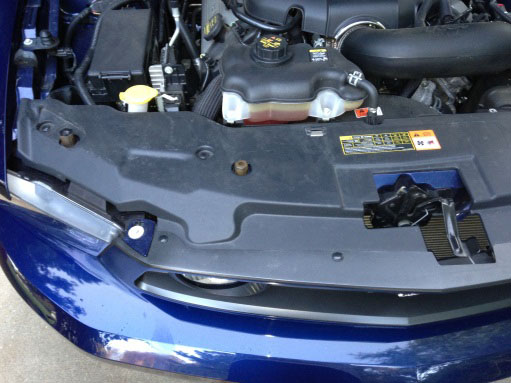
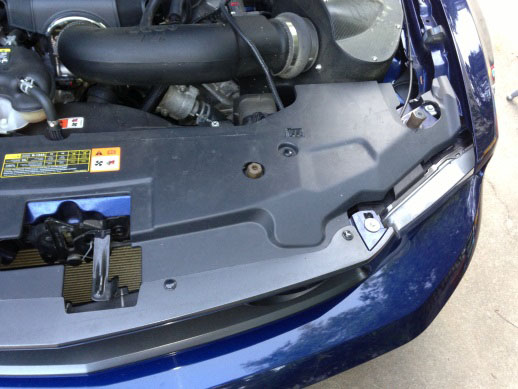
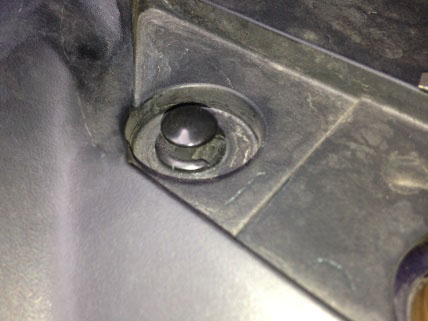
2. Starting with one side of the grill, firmly pull it forward to loosen the tabs from their retainer slots to gain access to the fog light electrical connectors.
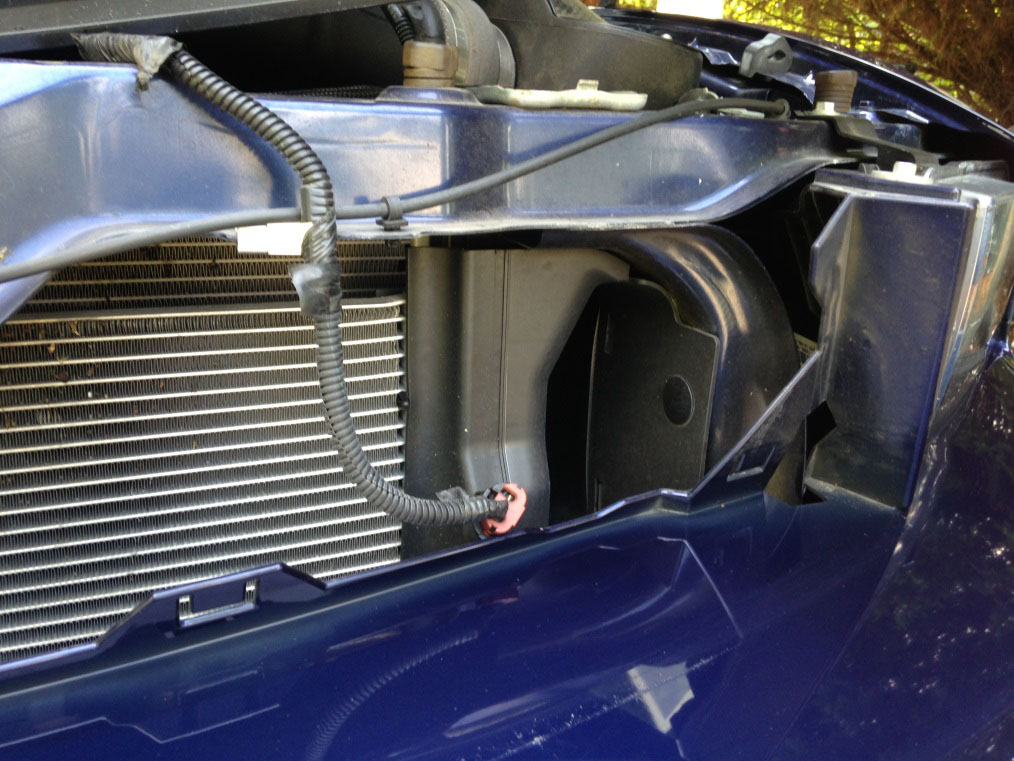
3. Disconnect fog lights from their electrical connectors. Passenger light shown below.
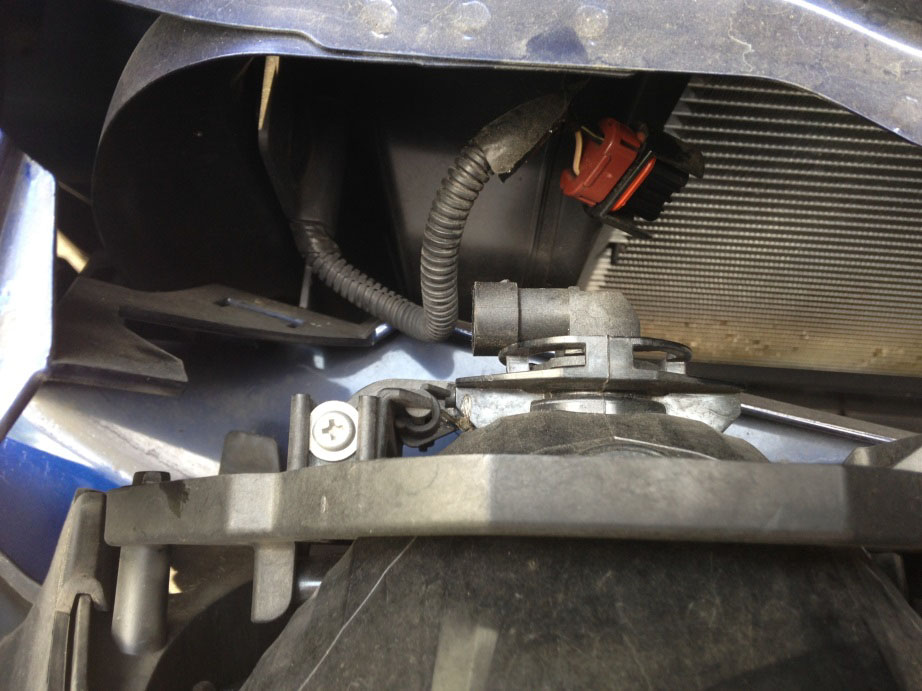
4. With both lights disconnected, the grille can now be removed. Now is a good time to clean the bumper area behind the grille.
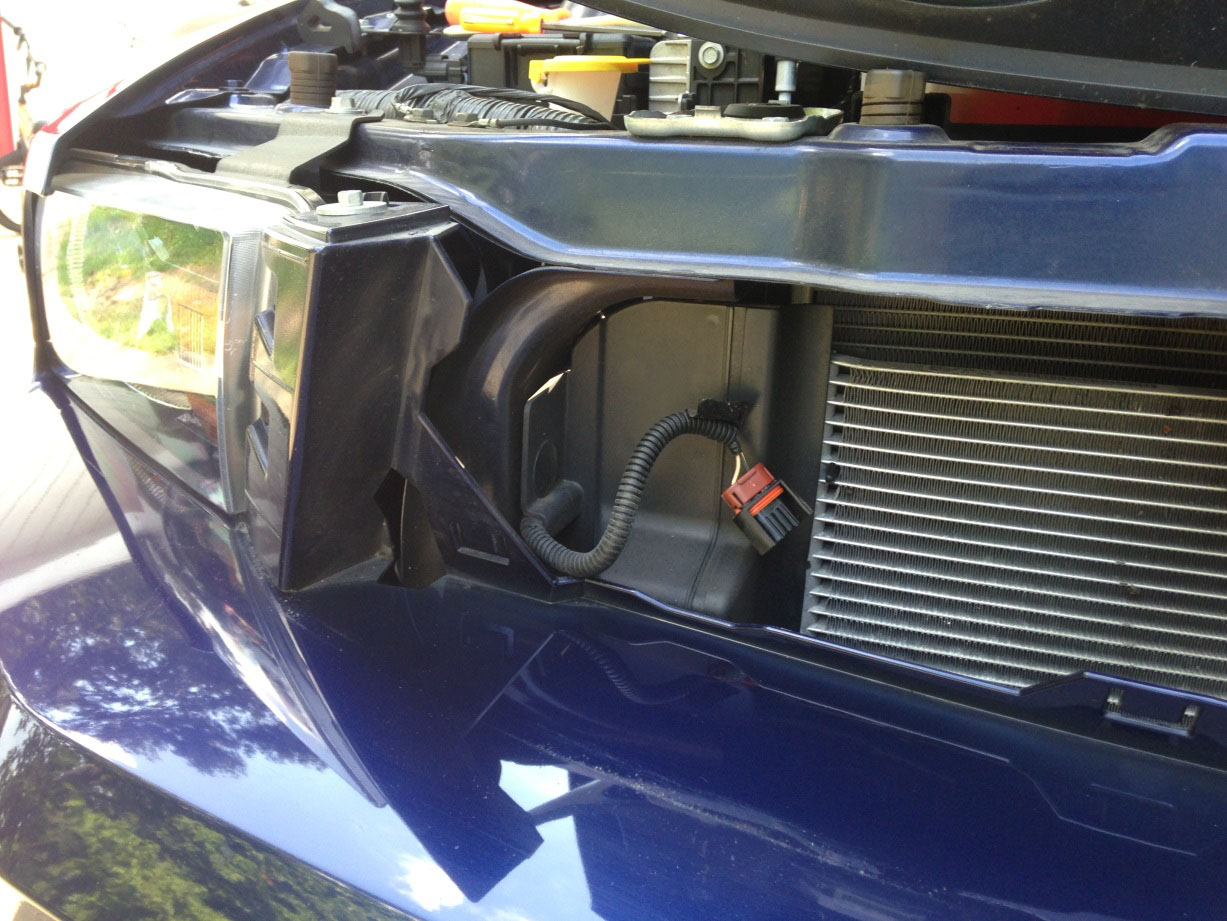
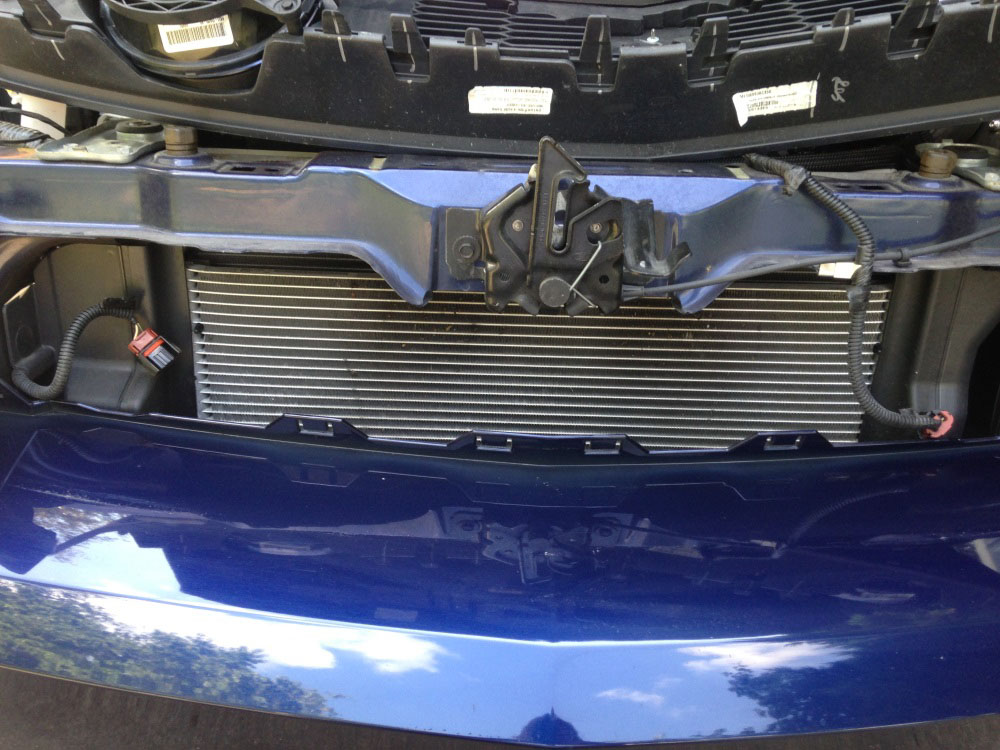
5. Here is the grille and fog lights assembly removed:
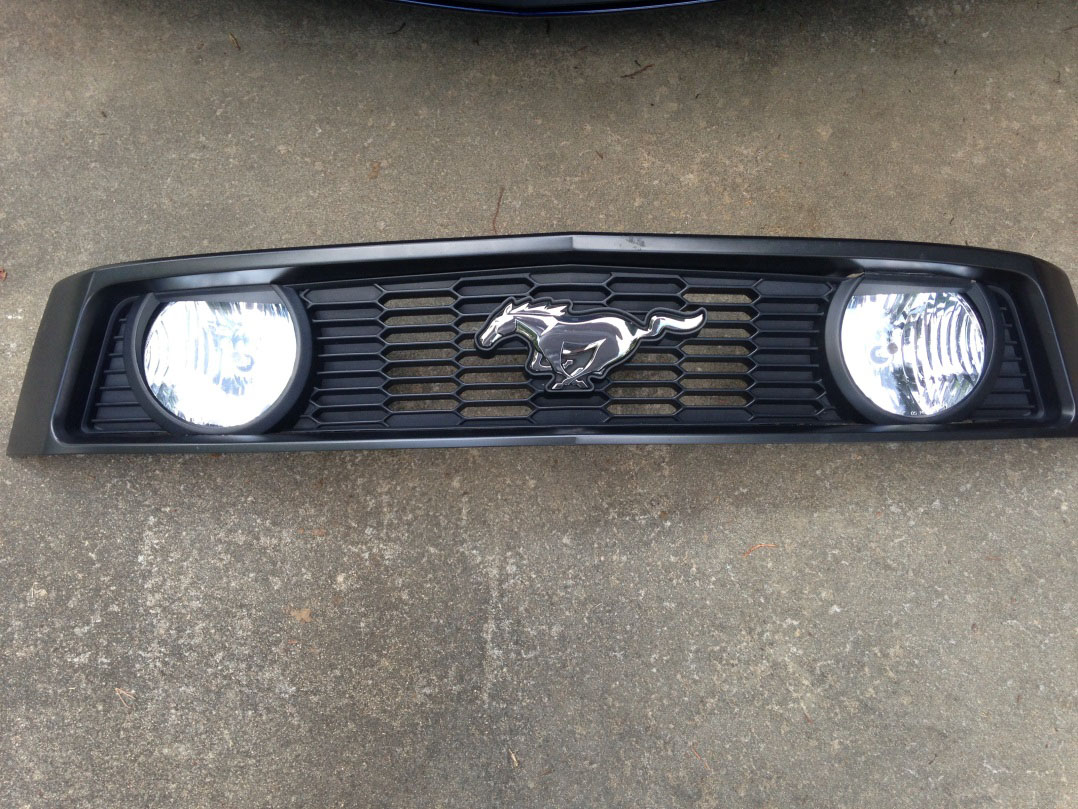
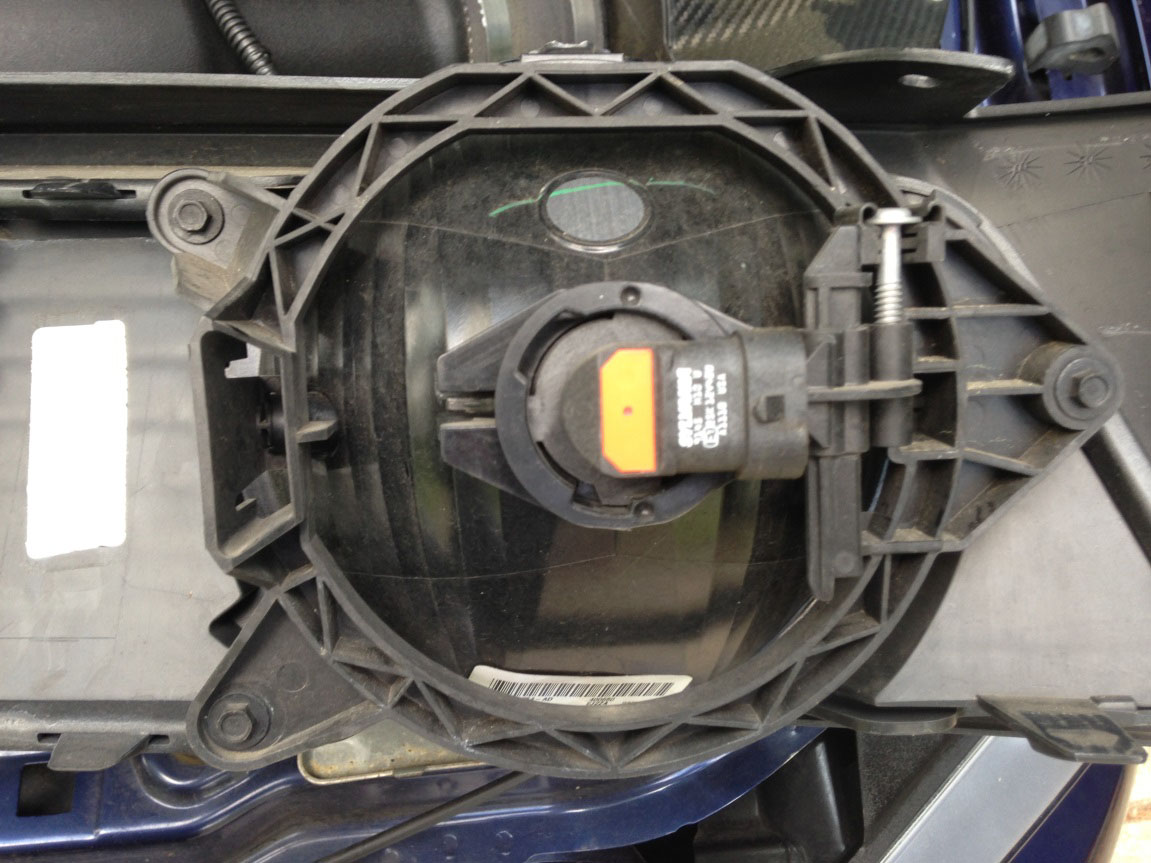
6. Use the 9/32” nut driver (or metric equivalent) and remove the six screws (identified with red circles) retaining the fog light and bracket assemblies to the grille. Don’t drop the fog light with bracket assemblies!
Driver’s side fog light shown below (upper image); passenger’s side shown in lower image
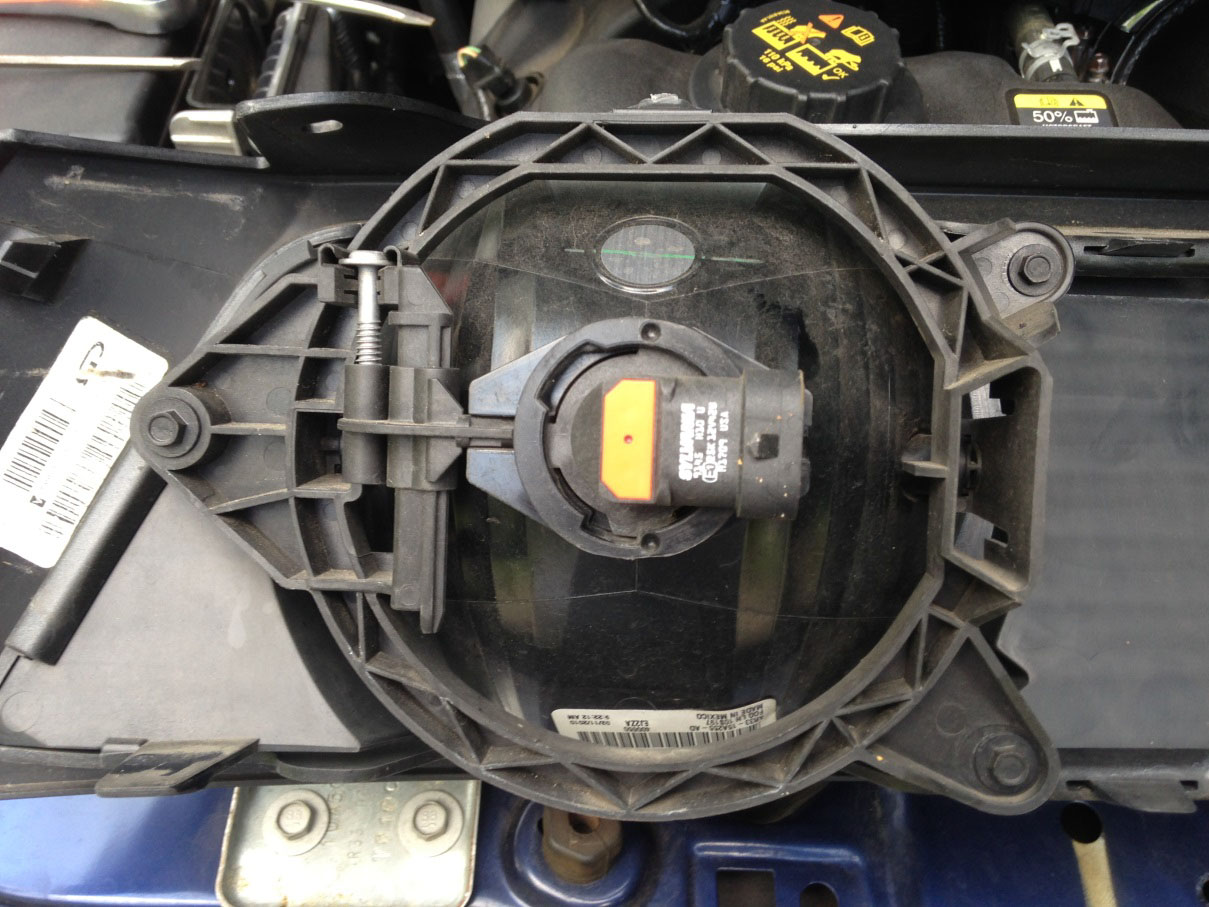
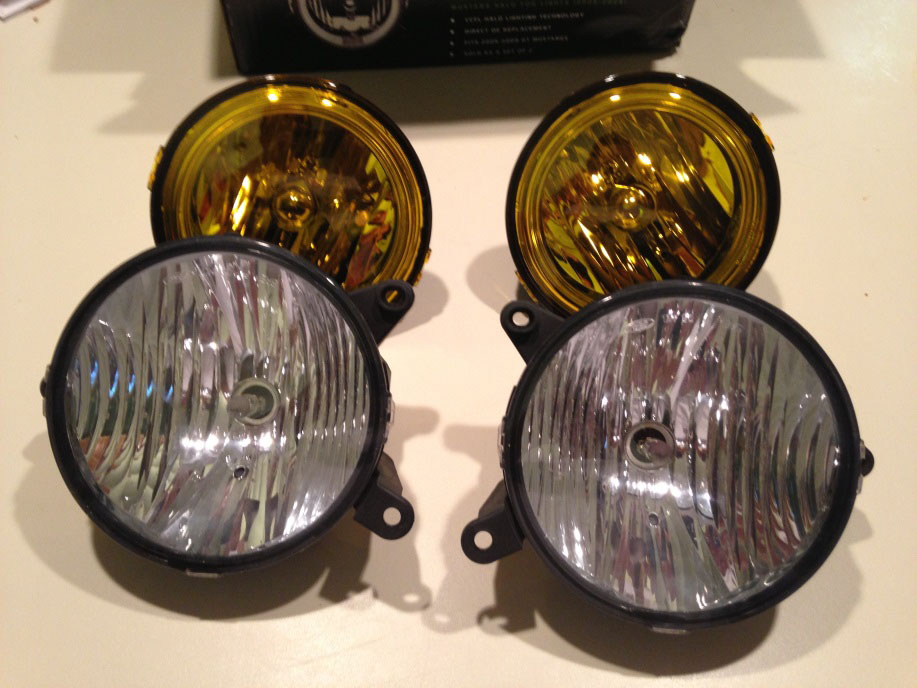
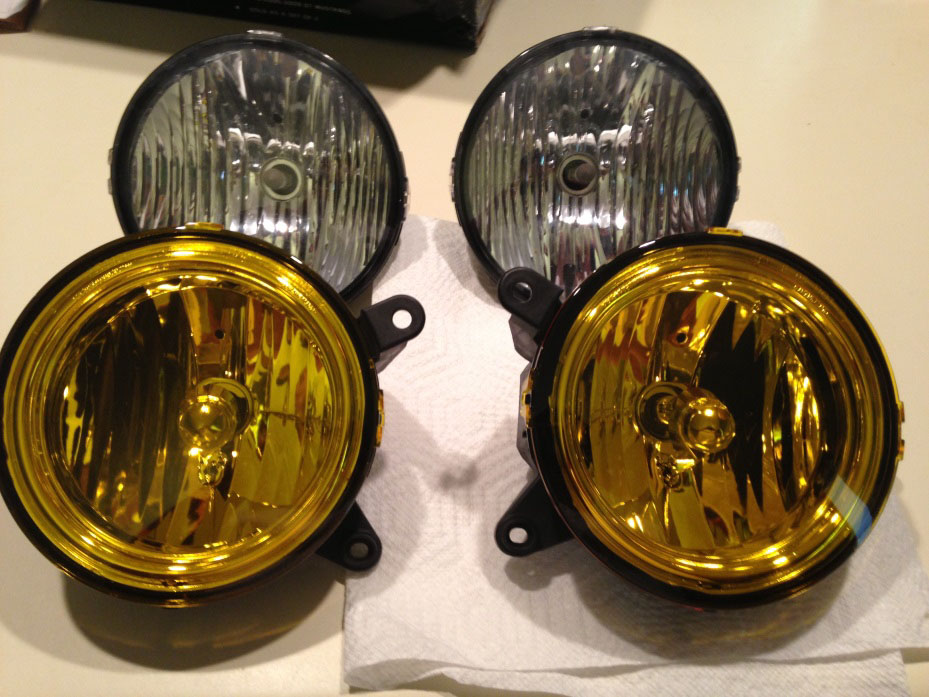
7. Transfer the original fog light brackets to the new lights. The brackets are made of plastic, so they are slightly flexible.
Axiom Fog Light Install:
1. Install the new Axiom fog light and bracket assemblies on the grille and secure with screws from removal. Do not over-tighten!
2. To test fog light function, set grille in place on vehicle, but do not fully install.
3. Install electrical connectors on new Axiom lights and function test.
4. If both lights work, re-install grille.
5. If one or both lights do not work, troubleshoot as required.
6. Adjust fog lights as required using adjustment screw (visible from top) before installing plastic radiator shroud.
7. You’re done! Take a picture and submit to American Muscle!

Daytime look
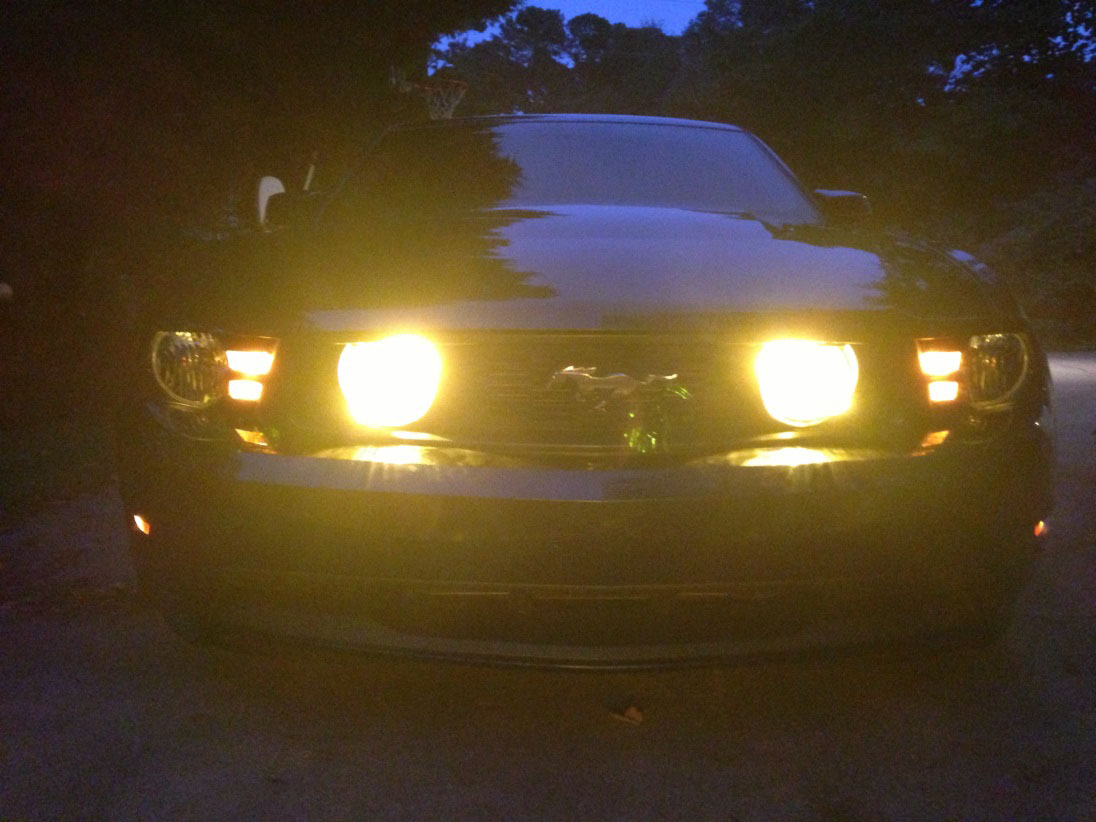
Parking lights with fog lights on
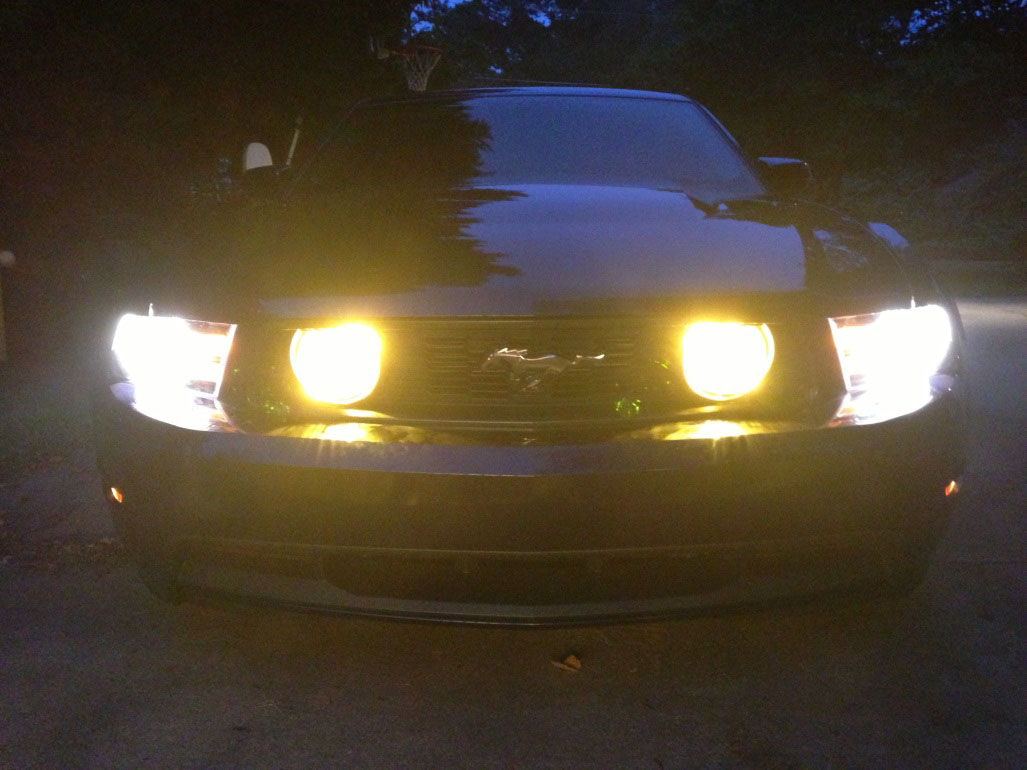
Headlights with fog lights on
Installation Instructions Written By AmericanMuscle Customer Joseph Herrera 9.2.2013

