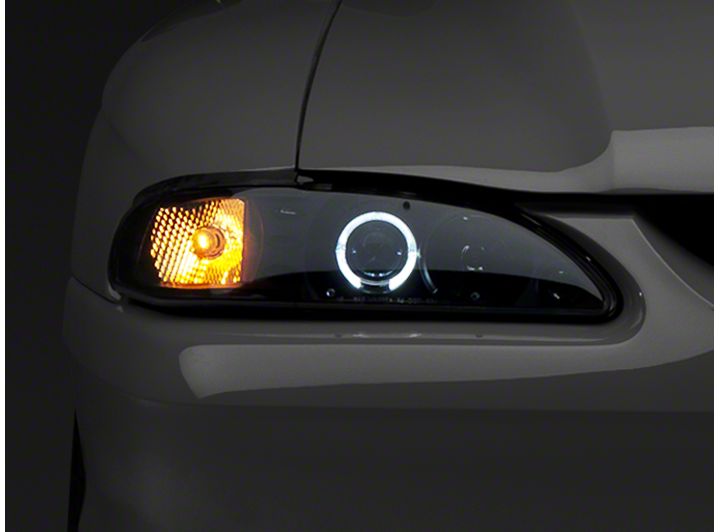
How to Install Headlights for 1994-1998 Mustang
Installation Time
2 hours
Tools Required
- Pliers
- Wire Stripper / Cutter
- 10mm Socket or Wrench
- 4mm Socket or Wrench

Shop Parts in this Guide
Installation
1. Remove the plastic radiator cover by prying out the 8 plastic retaining clips.
2. Remove the metal retaining clip holding the adjustment tab on the inner headlight (shown in photo below).
3. Remove the inner headlight by pushing in on the plastic adjustment tabs and pulling it out of the headlight housing. Be sure to unplug the main headlight harness before pulling the headlight completely away from the vehicle.
4. Remove the 10mm bolt holding the parking lamp in place and remove it from the vehicle. Be sure to unplug the parking light harness before pulling the light completely away from the vehicle.
5. Test-fit the new headlight in the factory headlight housing. You may have to trim some of the factory housing to make room for the projector housing on the new headlight. If you need to trim the housing, see the photo below for where to do so.
6. Use the supplied scotch-lock connectors to wire your new headlight. The black wire from the accessory light on the new headlight and one red wire from the projector (does not matter which one) go to the black wire on the parking light harness. The red wire from the accessory light on the new headlight and the other red wire from the projector go to the brown wire on the parking light harness.
7. Be sure to test the new headlight before beginning re-installation. They should look as follows:
Parking Lights ON:
Headlights ON:
High Beams ON:
If all lights function properly, install new headlight into factory housing and repeat Steps 1-6 for opposite side headlight to complete the installation.
Related Guides
-
Installation
-
Installation
-
Installation

