
How to Install rton Industries Two-Post Shifter Bracket - MT-82 on a Mustang 11-14 GT V6
Installation Time
30 minutes
Tools Required
- Car Jack
- Jack Stands
- 10mm deep socket, 5/15 or ½ in socket or wrench
- Long ratchet extension (12”)
- Ratchet
- Thread locker
- Safety goggles and gloves.
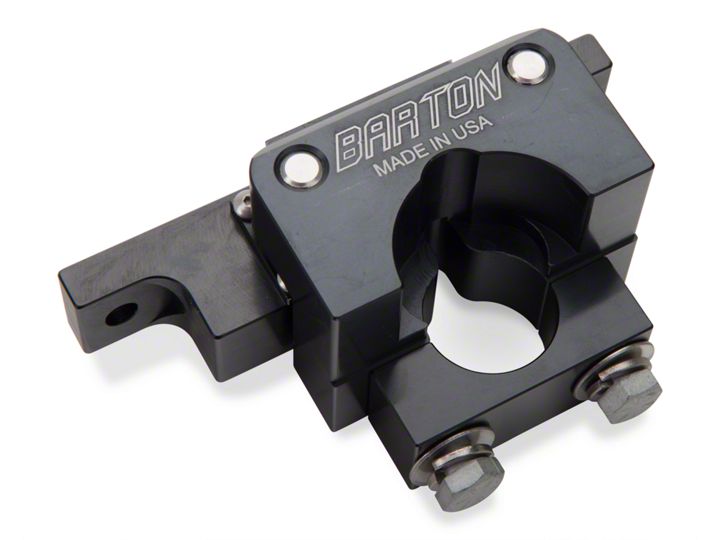
Shop Parts in this Guide
Pre Installation Instructions: BEFORE BEGINNING ANY WORK, MAKE SURE THE CAR IS SAFETY LIFTED AND HANDBEAKE IS SET
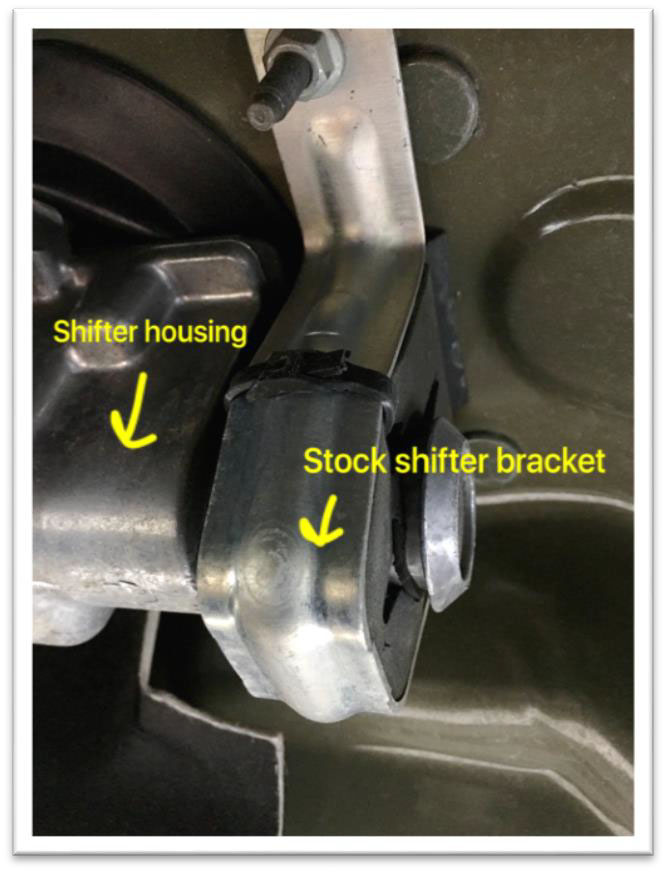
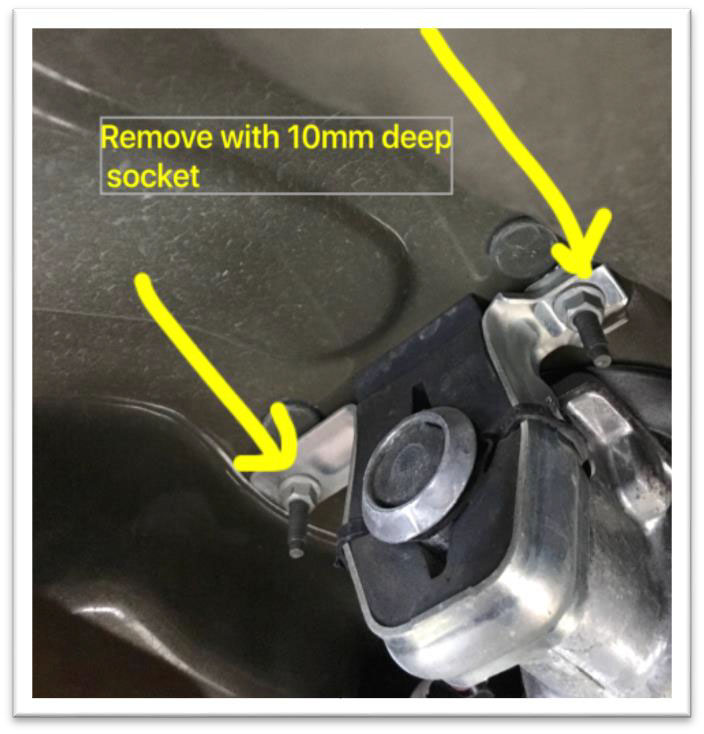
1. Remove two 10mm nuts with the 10mm deep socket and 12in extension. (Nuts going to be reused)
2. Use a pry-bar or flat screw driver to lower the retainer clip. And finish removing stock bracket. (If installing Barton shifter, is a good time to work on it)
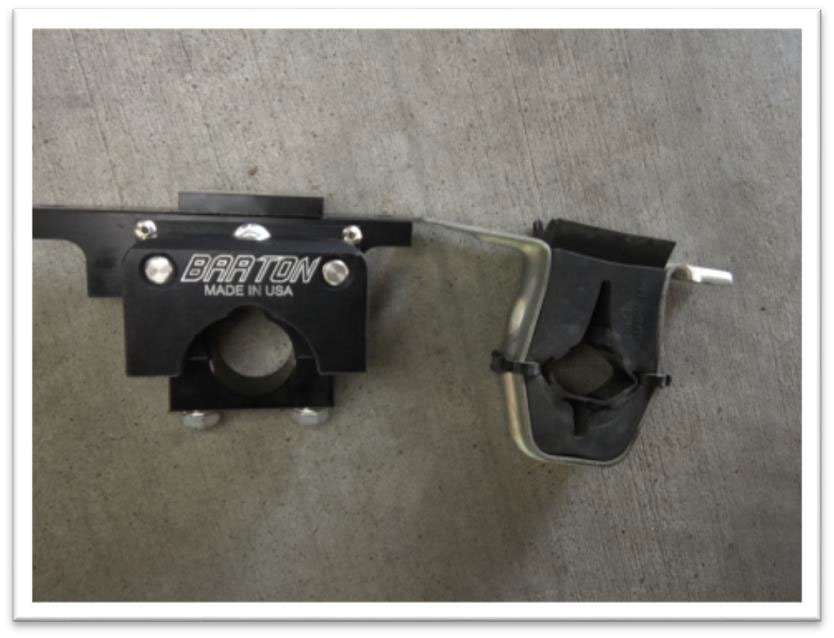
This is a comparison of the Barton vs. the Stock
3. Remove the cap by removing the two 5/16 bolts and washers.
4. Install the top part with the two nuts removed in step 1 finger tight, then slide the bottom half into the posts and align the grove with the shifter housing protrusion.
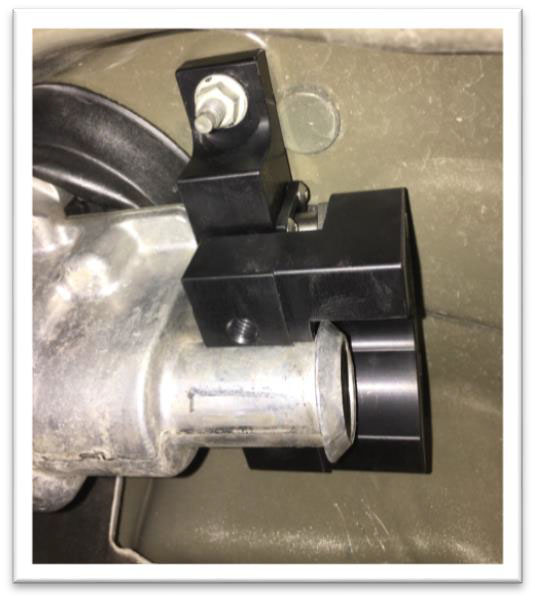
5. Lift the shifter housing and install the clam with the two 5/16 bolts and washers previously removed in step 3. Apply tread locker to the bolts and finger tight the bolts. Slide the bracket all the way to the rear of the vehicle until it stops on the housing lip.
6. Finish tightening the 5/16 bolts with a 5/16 or ½ in socket or wrench ¼ turn at a time on each bolt until fully tight.
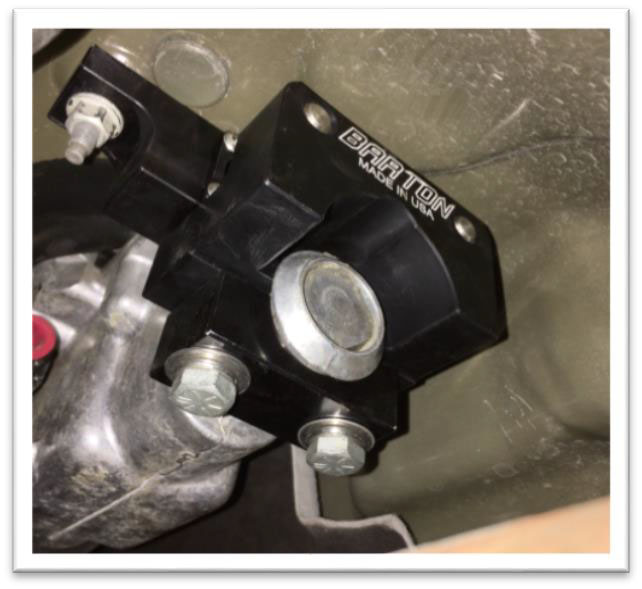
7. Remove Jack stands, and enjoy firmer shifts!!! Installation Instructions Created and Submitted by Leandro Torres on 5/12/15
