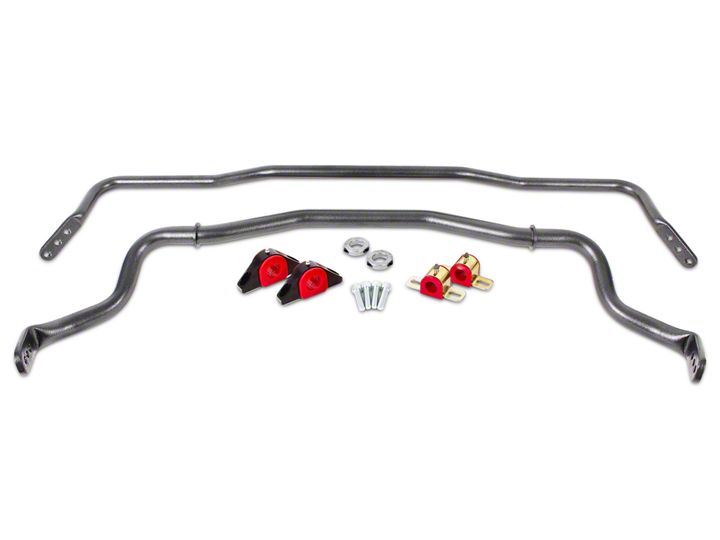
How to Install BMR Adjustable Front & Rear Sway Bars - Hammertone (15-18 All) on your Ford Mustang
Installation Time
3 hours
Tools Required
- Jack & Jack Stands
- (2) 12" Extensions
- Wobble Head Attachment
- 10mm Socket
- 13mm Short and Deep Sockets
- 13mm Wrench
- 18mm Socket
- 18mm Wrench
- Torque Wrench
- Allen Keys
- Dremel Tool

Shop Parts in this Guide
1. Jack car up
2. Remove front wheels
3. Remove intake to gain access to the stock sway bar bushing mounts
4. Remove 18mm bolt on the end links for the stock sway bar
5. Remove stock bushing 18mm bolts (get 2 long extensions and reach the bolts through the top of the engine bay)
6. To get the rear bolt off the driver side bushing mount you’ll need to use a 18mm wrench and wedge it into place and get that bolt out (it’s a very tight fit)
7. Once all 6 of the bolts are out you can slide the sway bar out of the car (BE PATIENT IT WILL COME OUT)
8. Put the provided bushings and mounts on BMR front sway bar (outside of the notch)
9. Slide BMR bar into place just like how you removed the stock one
10. Align bushing mounts back where you removed the stock ones and bolt down with the supplied allen bolts and washers
11. Tighten down the 18mm end link bolts
12. You may now put your front wheels back on
13. Remove rear wheels
14. Remove 10mm bolt that holds the brake line to the rear sway bar
15. Seperate end link using allen wrench and 18mm wrench
16. Remove (4) 13mm rear bushing mount bolts
17. Remove stock sway bar
18. Put supplied rear bushing brackets on BMR sway bar
19. Get BMR bar into place then use supplied washers and reuse the stock 13mm bolts and loosely tighten
20. There's no supplied brackets for the end links so you’ll need to modify the stock one in order for it to work by cutting the edge off with a dremel
21. Loosely get the 18mm end link bolts and 10mm brake line bolt
22. Tighten down bushing mounts
23. Apply supplied notch locks on the inside of the bushing mount
24. Tighten down end link bolt and brake line bolt
25. Put wheels back on and hit the road!
Installation Instructions Submitted by American Muscle Customer 12/28/2017
