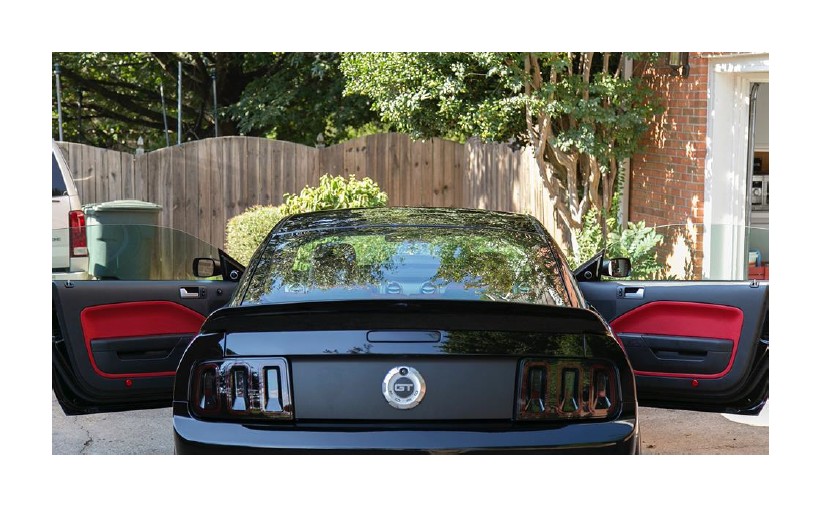
How to Install Door Insert Covers - Red on your Mustang
Installation Time
4 hours
Tools Required
- 1 Can - 3M 90 HI-Strength Spray Adhesive
- 3M Blue Painter’s Tape
- 7mm Socket & Ratchet or Nut Driver
- T30 Torx Driver or Bit
- Flathead Screwdriver
- Needle-Nose Pliers
- Power Drill
- Wire Wheel Drill Attachment
- Trim Panel Tools (Recommended)
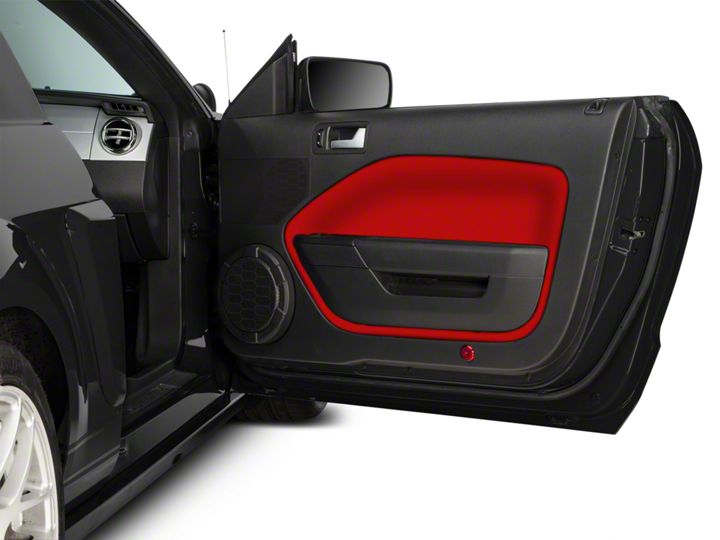
Shop Parts in this Guide
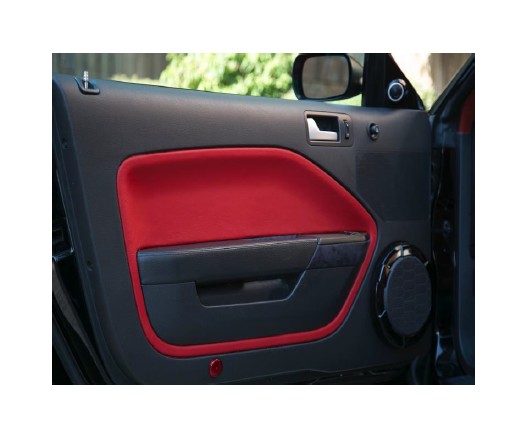
Door Panel Removal
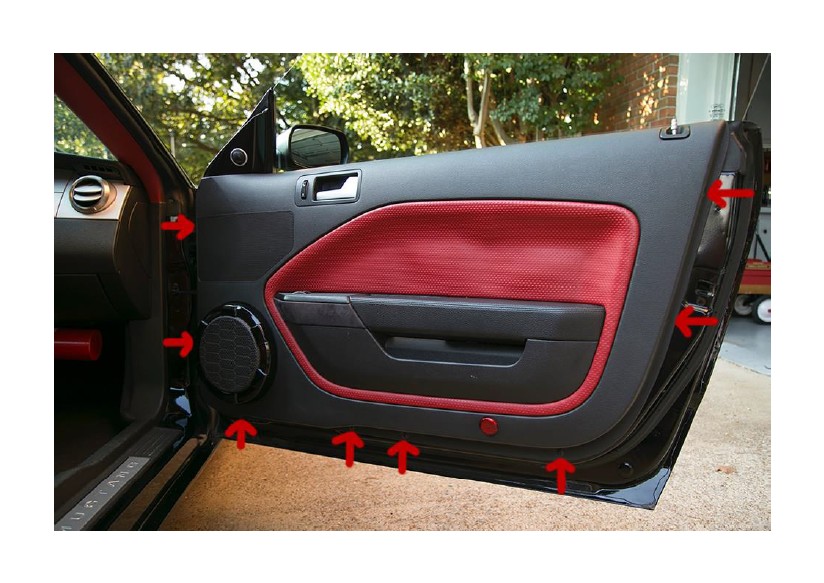
1. Use a 7mm socket or nut driver to remove the 8 screws around the edges of the door panel
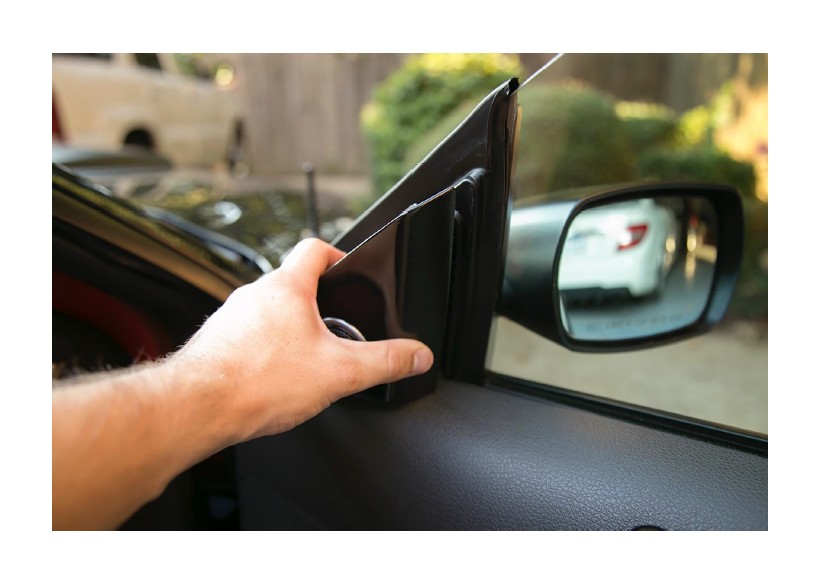
2. Grasp the interior Mirror covers and pull outward to remove.
(Disconnect plug for power mirror adjustment on Driver’s Side)
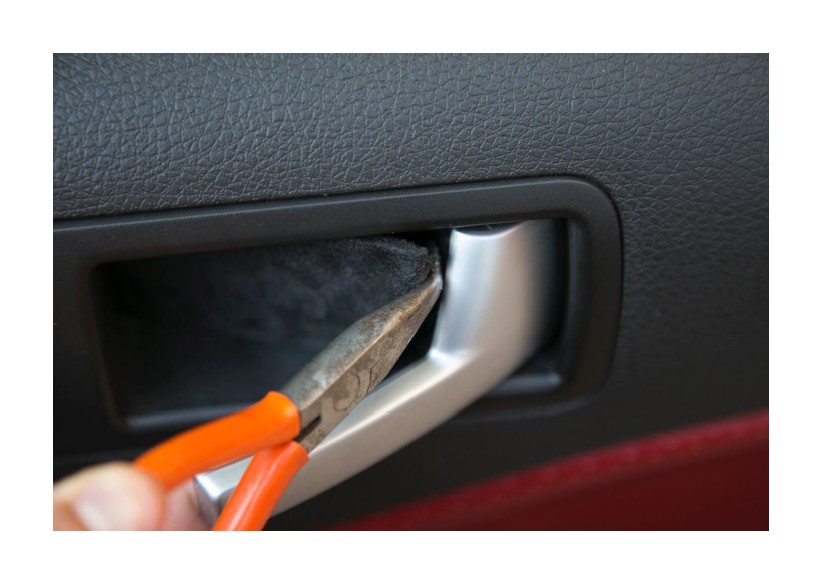
3. Use a small flat-head screw driver or trim removal tool to remove the plastic cover behind the door handle. I used a pair of curved needle nose pliers to easily get behind the cover.
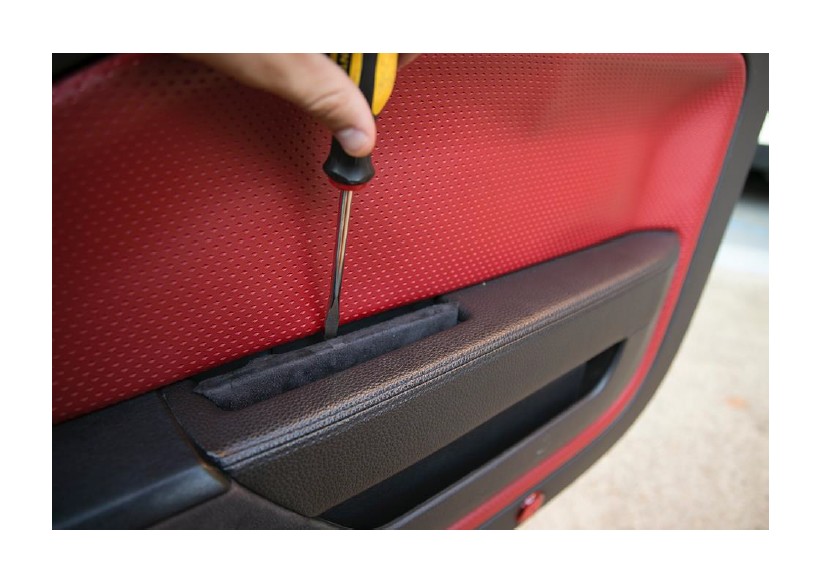
4. Use a flat-head screwdriver or trim panel removal tool to remove the plastic cover behind the armrest.
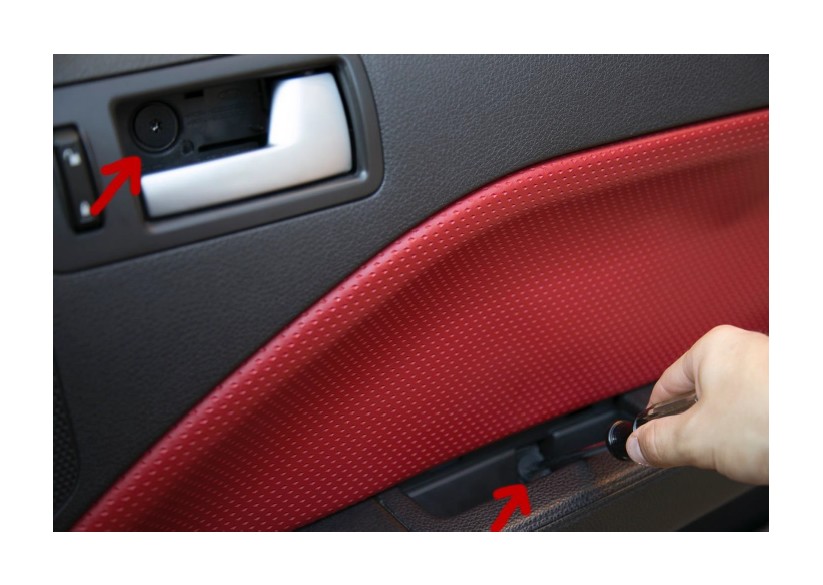
5. Use a T30 torx driver to remove the two screws that were behind the previously removed covers.
6. Pull the window switch assembly away from the door panel to remove. Unplug the wiring harness from the window switch. Remove the 7mm nut behind it.
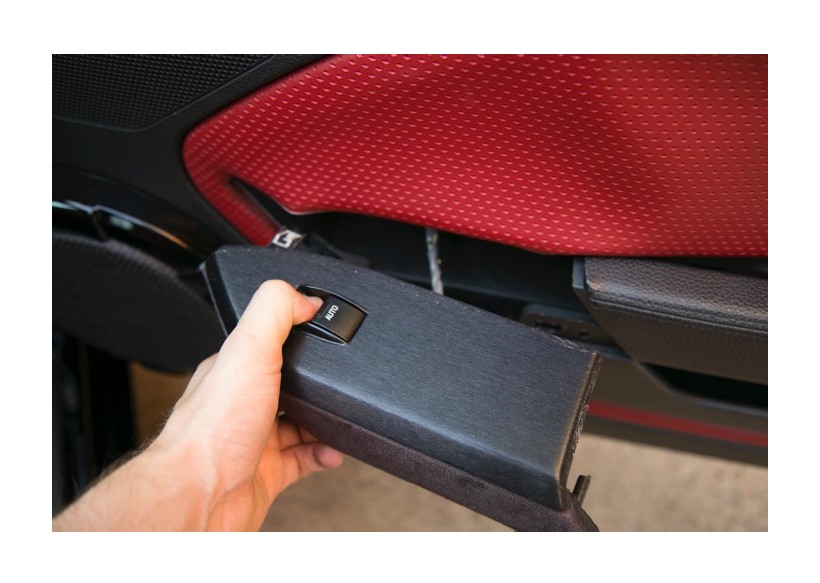
7. You can now lift up and separate the door panel from the door.
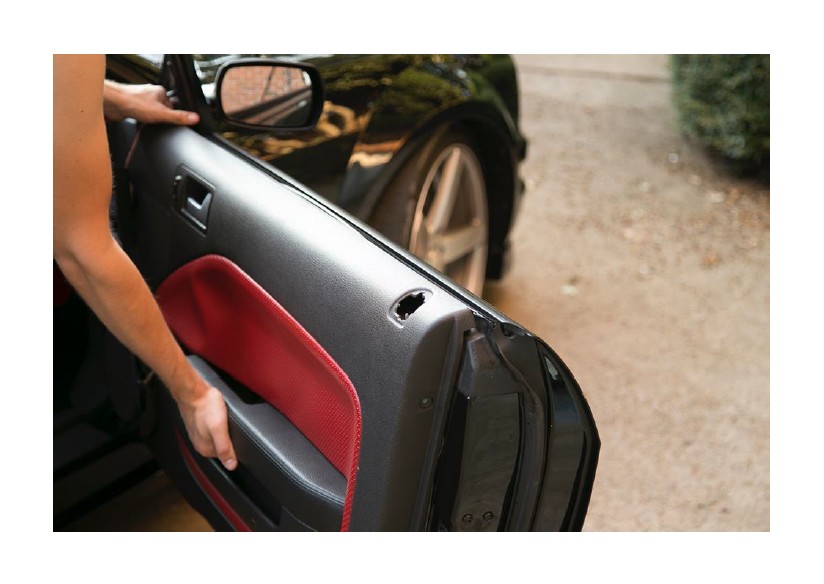
8. Disconnect the wiring harnesses for the Lock Switch and Speakers.
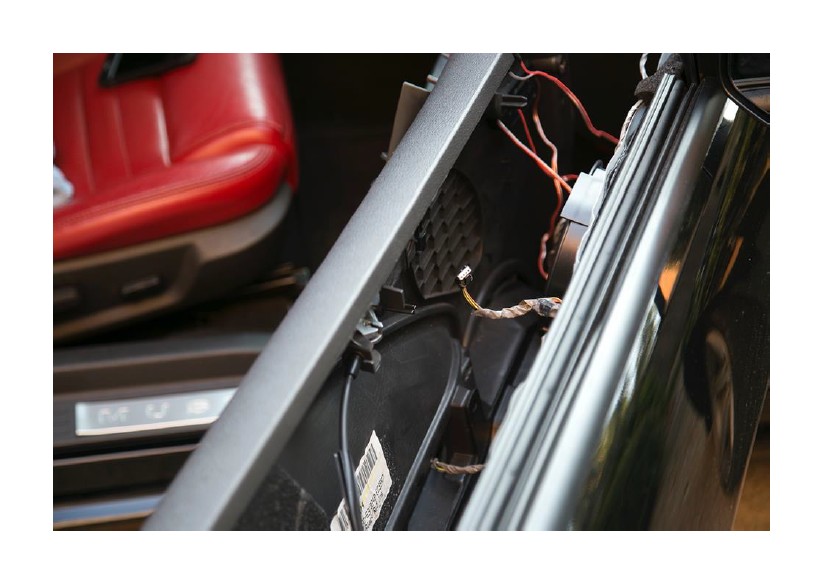
9. Remove the door handle cable from the door with a pair of needle-nose pliers. Compress the tabs of the cable and pull it through the hole.
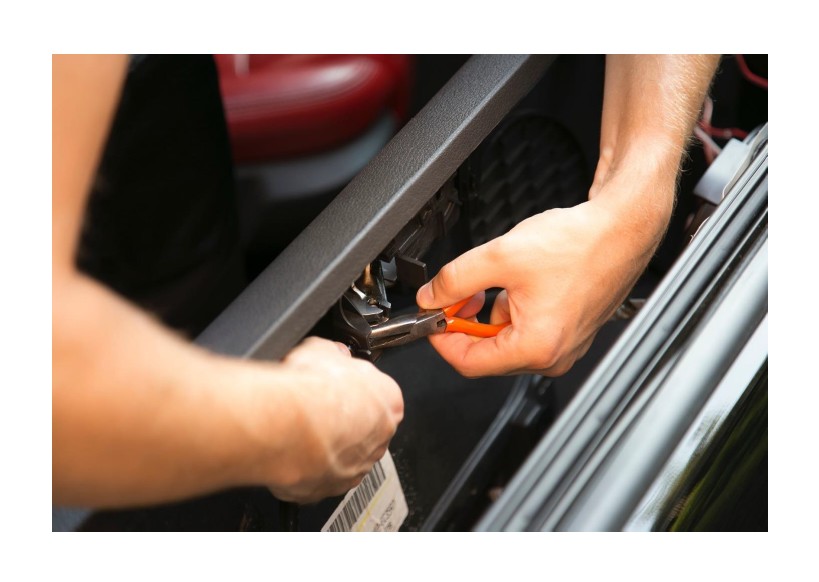
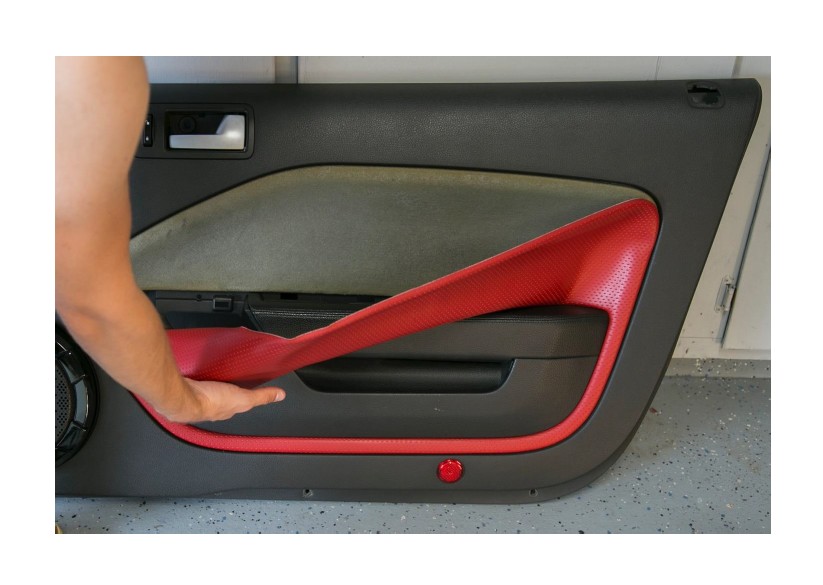
10. Sit your door panel aside and pull on the factory insert to remove it.
Removing the Backing Pad and Prepping your Door Panel
Your door panel should now look something like this:
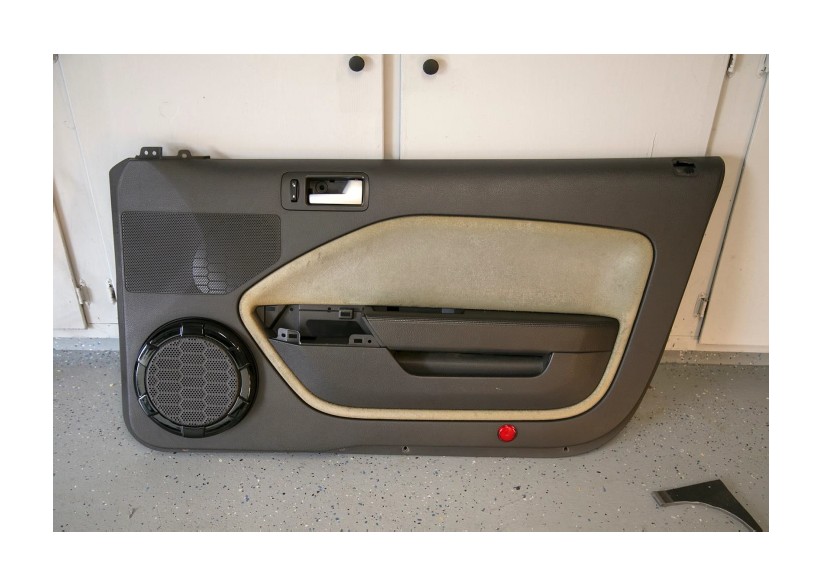
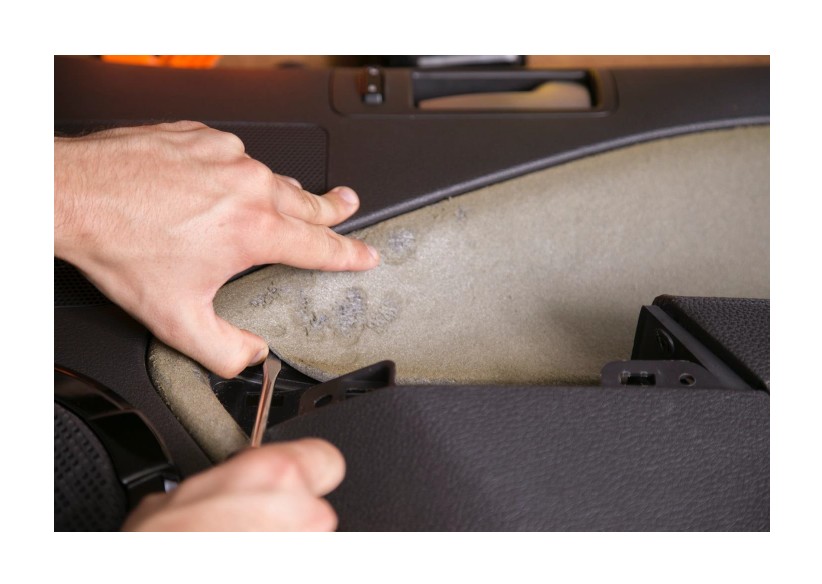
1. Lay your door panel on flat ground. Use a flathead screwdriver to lift up the pad. Begin to work up a flap that will allow you to pull the pad off in one piece.
2. You may need to use scissors or a sharp blade to cut across the thick pad
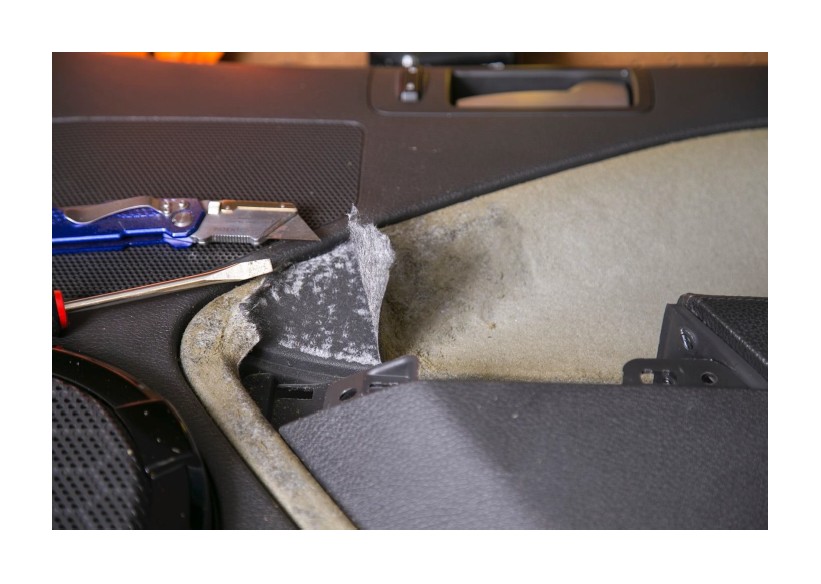
3. Slowly pull the material pad up and around the door panel to remove. Be careful to keep the pad in one piece as you are pulling it. This will help remove the material from the cracks. Be especially careful by the top of the armrest.
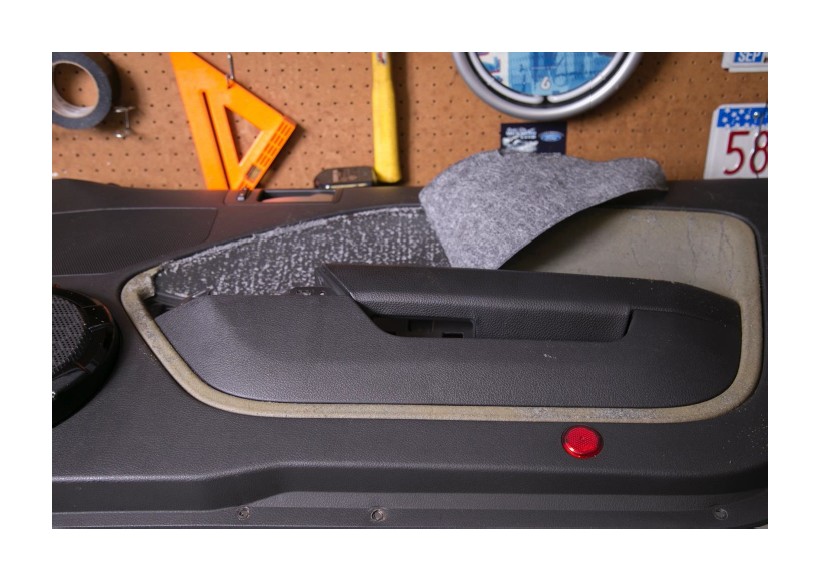
4. With the old pad removed, clean out as much excess material from the cracks as you can.
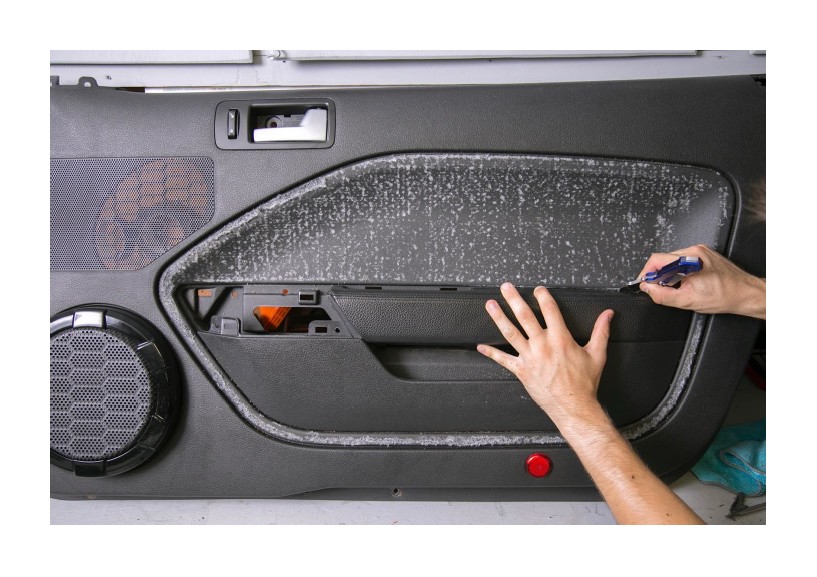
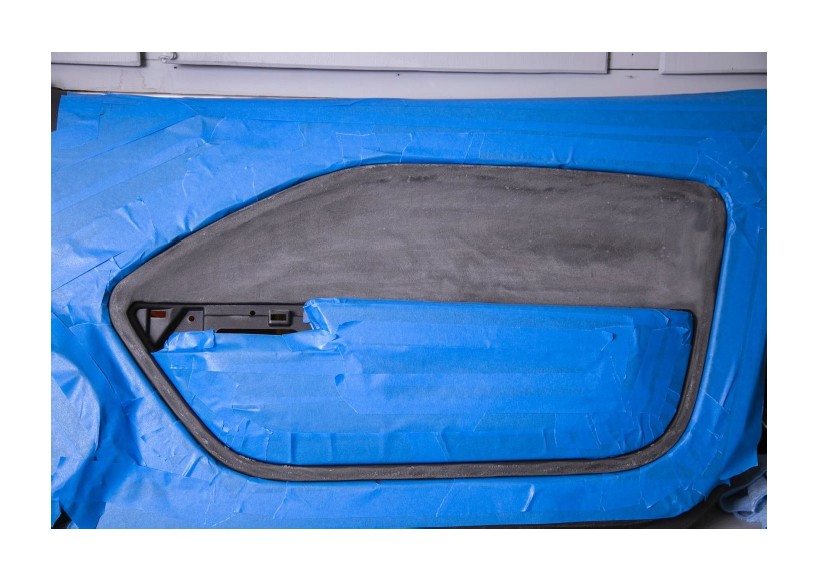
5. Tape around your door panel insert. Double or triple layer the tape nearest the insert area.
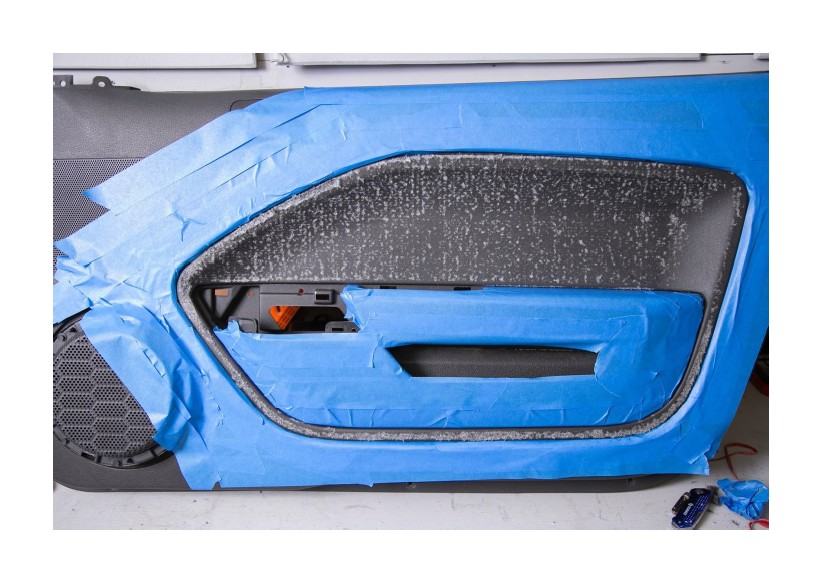
6. Take a wire wheel brush and attach it to your drill. Place your door panel on flat ground and carefully clean off the remaining glue & material with your drill. Wear safety goggles & gloves.
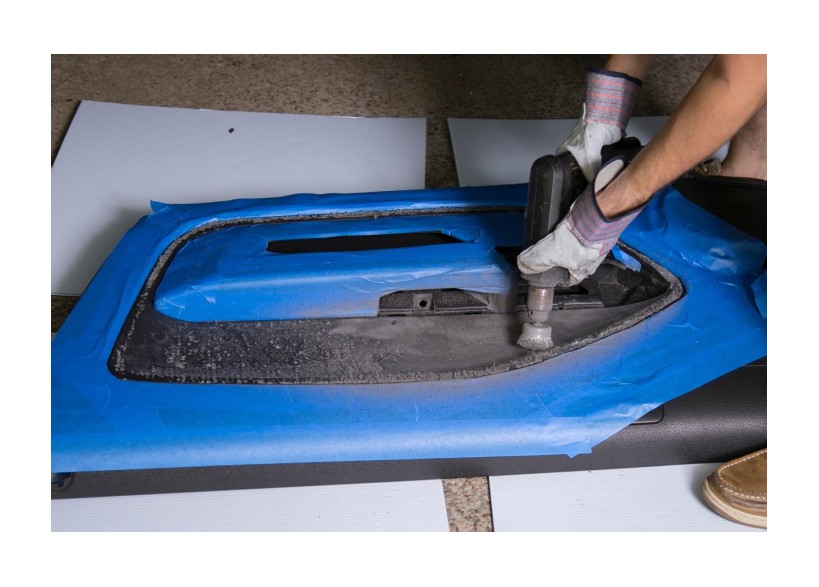
7. Vacuum any debris. Your door panel should look like this when complete. I prefer to re-tape around the insert to ensure clean lines before the next step.
8. Place your door panel and new insert on a flat surface. Adhesive overspray will happen, so protect your floor with cardboard or something similar. Double check and make sure you have the correctly sided insert for your door panel.
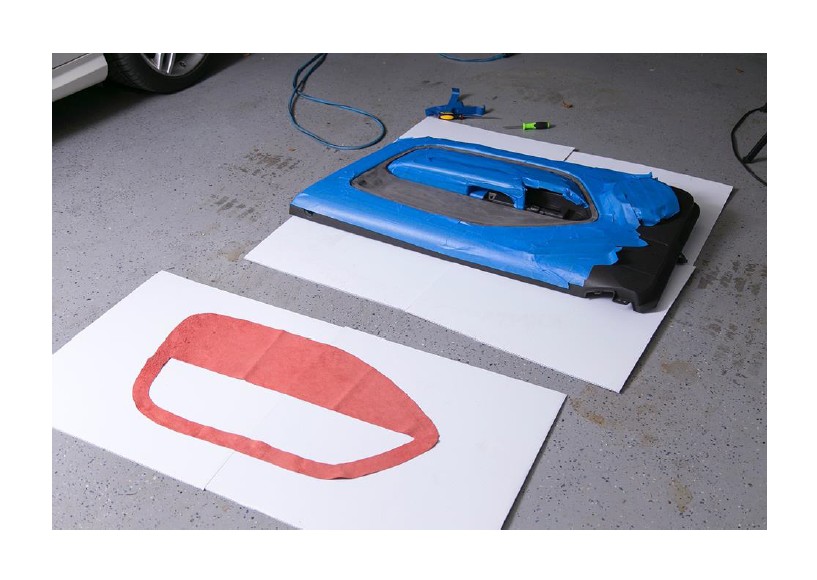
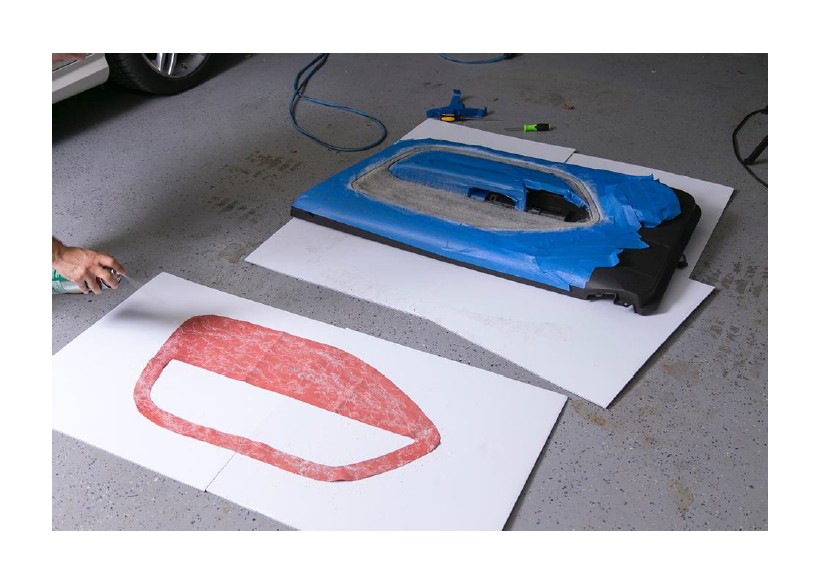
9. Vigorously shake your can of 3M 90 spray adhesive. Spray to apply ~3 coats to the door panel. Make sure the door panel is completely covered with adhesive. Quickly spray 1 coat of adhesive onto the back of the new insert.
10. If you are in a cold environment, wait until the adhesive is tacky to the touch before applying the new insert. It should be ready to apply immediately in a hot environment. With the help of a friend, quickly rip up the tape from around the insert and place the new insert onto the door panel.**If you do not have a helper, I suggest completing one half of the door panel insert first, then spray and apply the other half**
11. Begin working the leather in from the armrest upward and outward. Make sure all sections of the insert are stuck to the door panel.
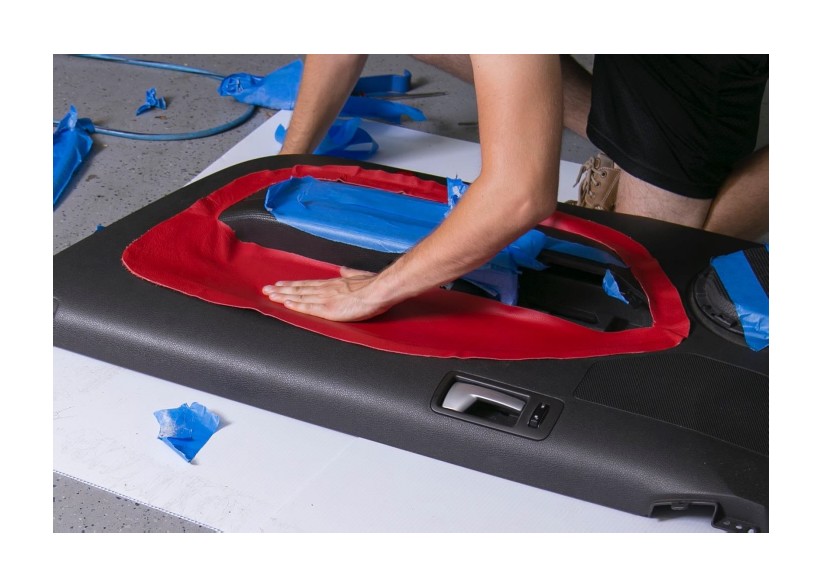
12. Grab a trim panel tool or flathead screwdriver and begin pushing the leather into the cracks of the door panel.
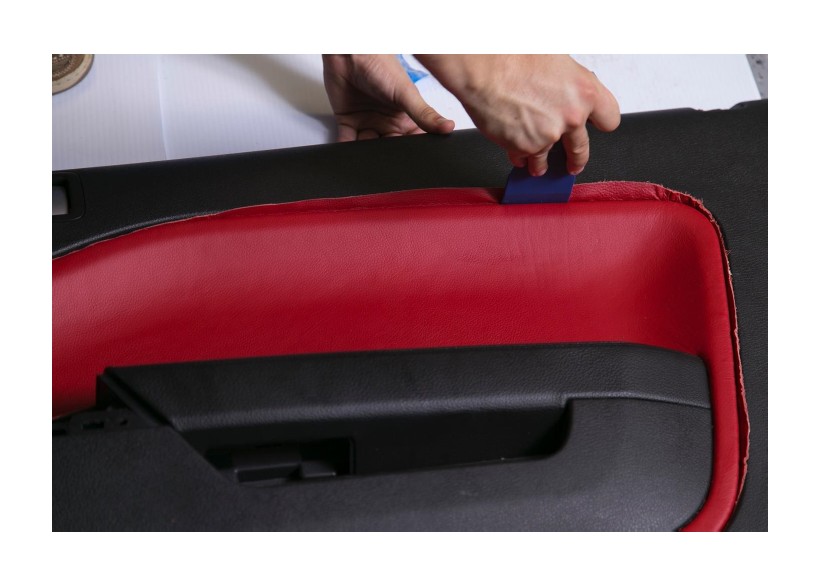
13. The inner armrest and map pocket section of the door panel will allow you to tuck the leather underneath it. Use a smaller tool or screwdriver to accomplish this.
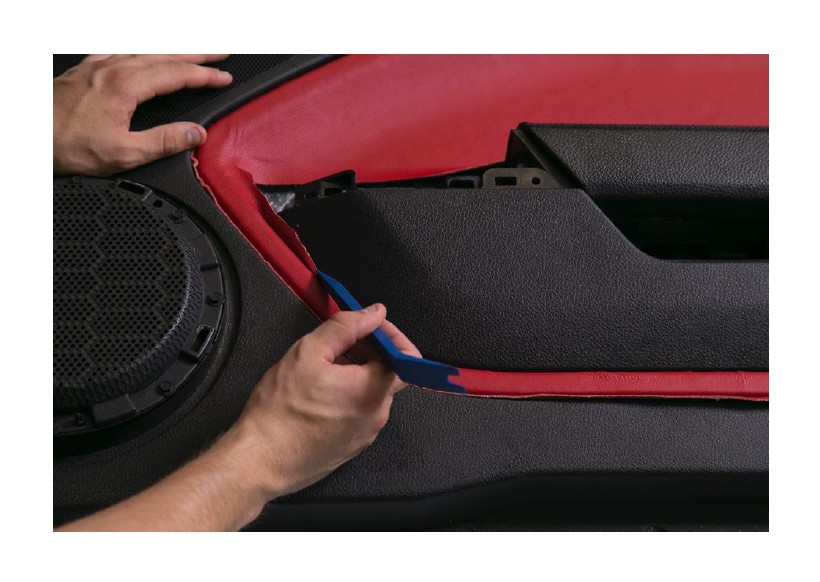
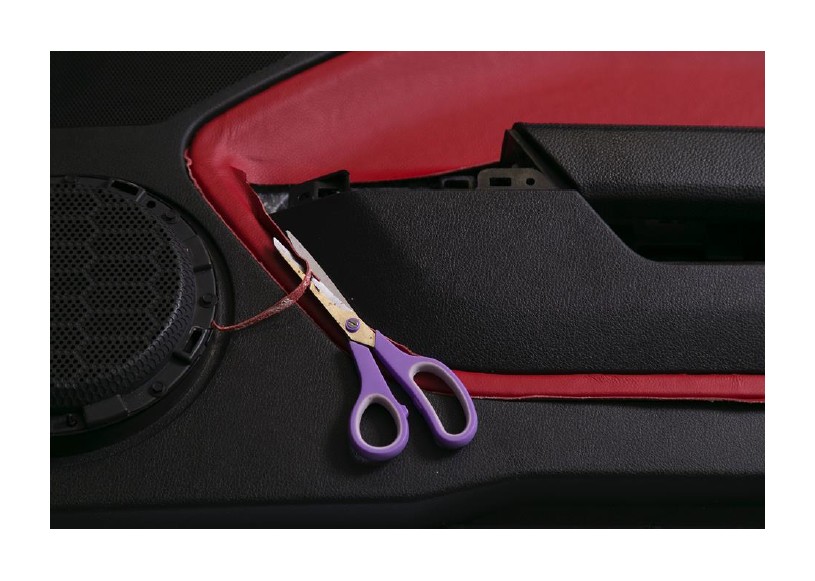
Trim as much material as you can with scissors!
14. If you still have too much material to tuck in some areas, push the material as deep as you can into the crack. Take a small blade that is SHARP and cut the excess material. Push down firmly to ensure a clean cut. This is crucial, as you may end up peeling the color skin off the leather if it is not a clean cut. Be very careful and work slowly on this step.(A smaller blade is best for the corners.)
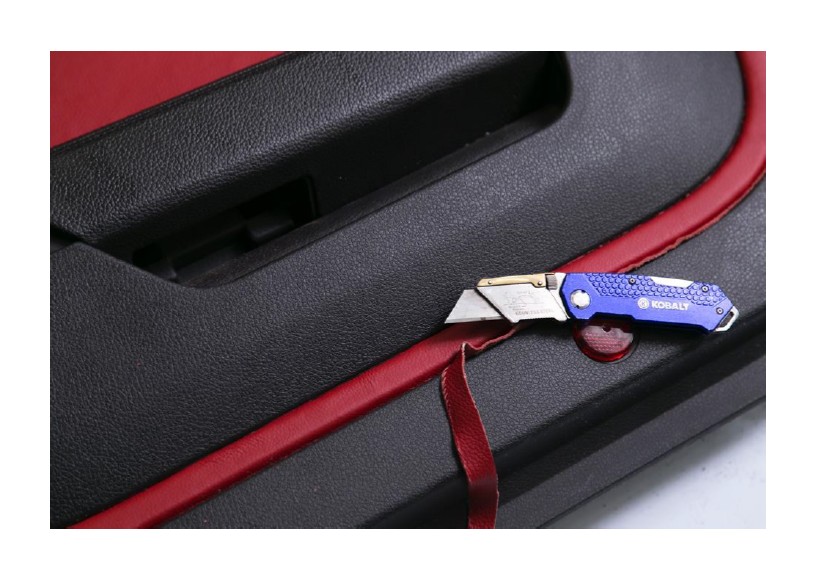
The hard part is finished!
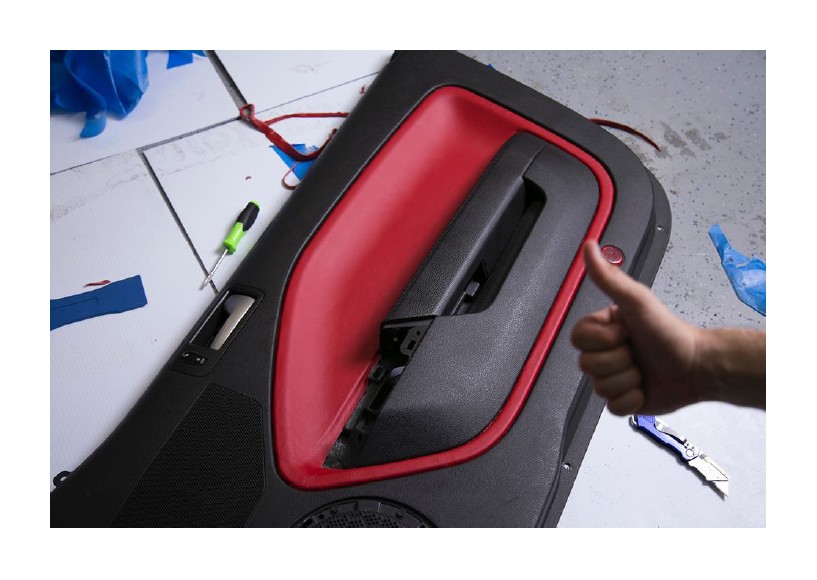
15. Reassemble your door panel. There are two tabs you need to insert at the bottom of the door to have proper fitment.
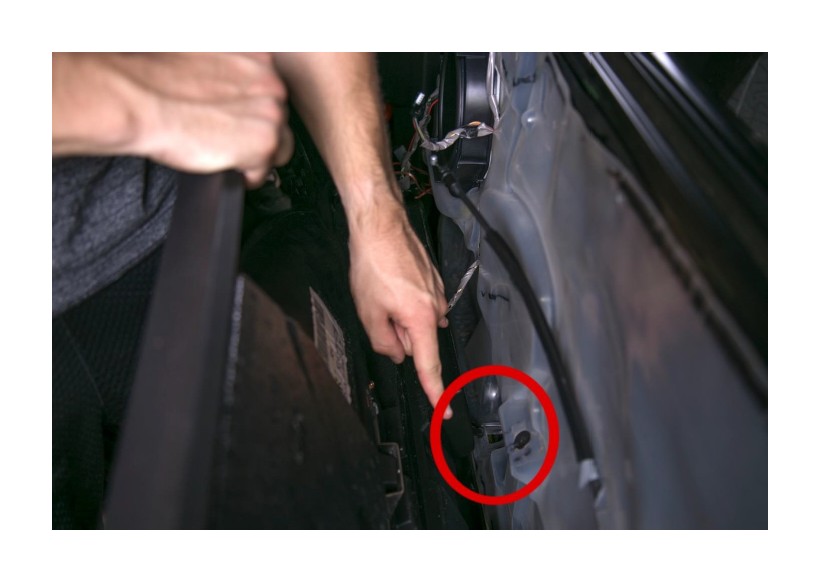
16. From here, reconnect the wiring harnesses and door handle cable. Perform the door panel removal steps in reverse. Repeat for the other door and you are finished!
