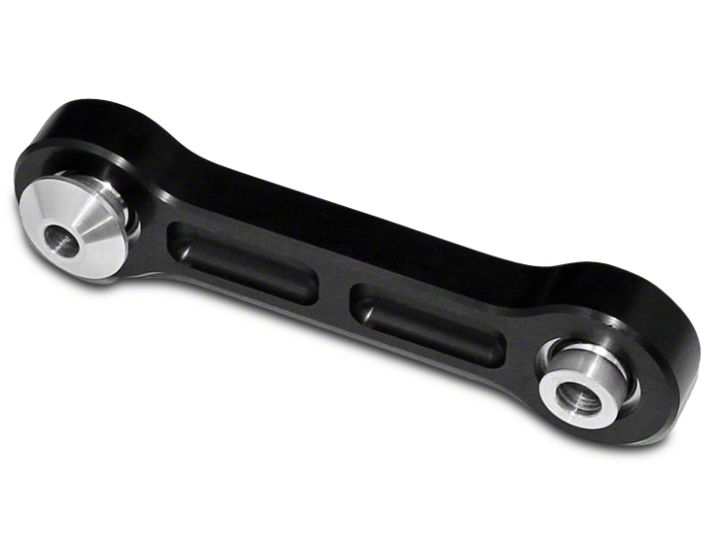
How to Install J&M Rear Vertical Links w/ Spherical Bearings - Black (15-18 All) on your Ford Mustang
Installation Time
2 hours
Tools Required
- Ratchet
- 15mm Socket
- 18mm Socket
- Torque Wrench
- Jack and Jack Stands
- Bottle Jack or Support Blocks
- Wheel Chocks

Shop Parts in this Guide
Step 1: Engage emergency brake, chock the front wheels and Raise the car with appropriate Jack or lift, at the pinch point in front of the rear tire. Once car is at working height, place jack stand in safe working area of car to support car weight.
Step 2: Remove rear tire for access to stock factory vertical link.
Note- Be sure to mark what bolt you removed from their original
Location, they are different sizes.
Note- Use bottle jack or blocks to support lower control arm for easy
Re installation.
Step 3- Remove stock vertical link.
Step 4: Insert the reducer spacers, the taper and small bore
on one end of the vertical link. This is the top side that attaches
to the knuckle.
Step 5: Insert the large bore spacers on the other end of the link. This is the bottom of the link and mounts to the lower control arm.
Step 6: Insert the large bore end into lower control arm, insert bolt and start by hand.
Step 7: Insert taper end of vertical link into the recess and tighten stock bolt with large safety washer in the knuckle and start by hand.
Note: if bearing hole does not line up for taper end use a screwdriver to align hole.
Step 8: Using Torque wrench, torque top bolt to 76 FT LBS.
and Lower bolt to 129 FT LBS.
Step 9: Reinstall tires and torque to factory specs.
Repeat process for other side.
Installation Instructions Written by AmericanMuscle Customer on 4/16/18
