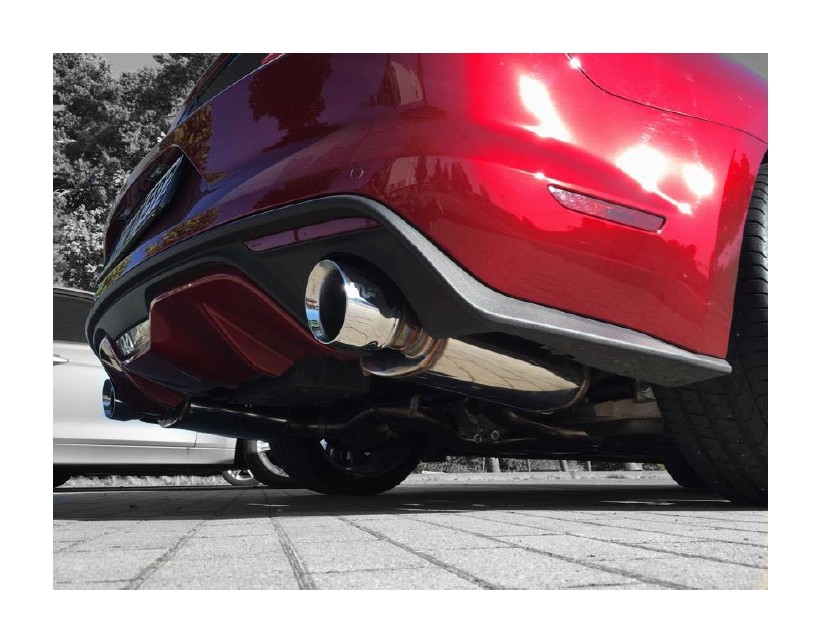
How to Install Magnaflow Street Cat-Back Exhaust on your Mustang
Installation Time
2 hours
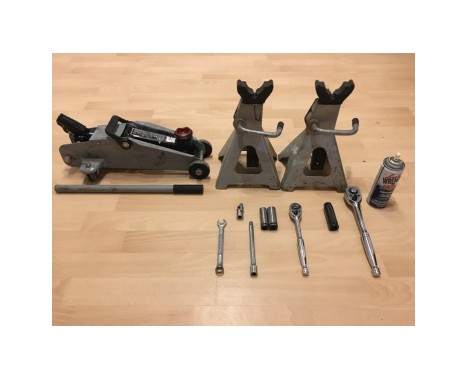
Tools Required
- Lift or Jack and Jack Stands
- 3/8 Ratchet
- 15mm Deep Socket
- 13mm Deep Socket
- 6” Extension
- Penetrating Lube (PB Blaster, Liquid Wrench, ect.)
- 1/2 Ratchet
- 15mm Deep Socket for 1/2 Ratchet
- Swivel Attachment for 3/8 Ratchet
- 13mm Wrench
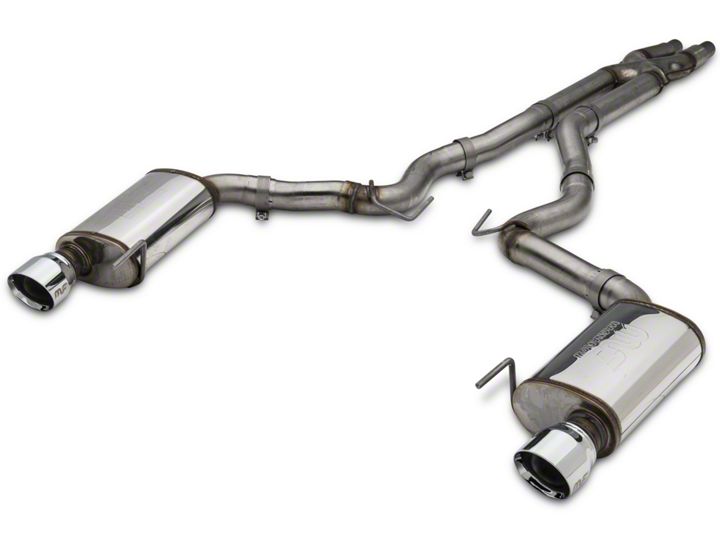
Shop Parts in this Guide
Installation Instructions:
1. Jack up the rear of the car and make sure it is securely placed on jack stands.
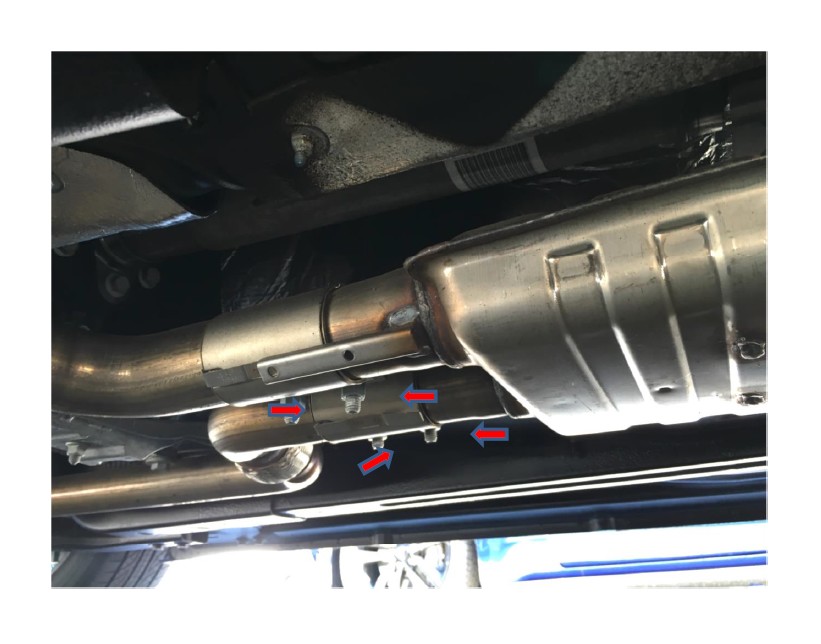
2. Start by loosening the 4 15mm bolts that connect the “suitcase” to the exhaust that runs towards the front of the car. This is where you may need to use the optional tools depending on your cars rust/age.
3. Using your 13mm socket and extension remove the 2 13mm bolts that are holding the middle exhaust hangers. The optional 3/8 swivel does come in handy here but is not needed.
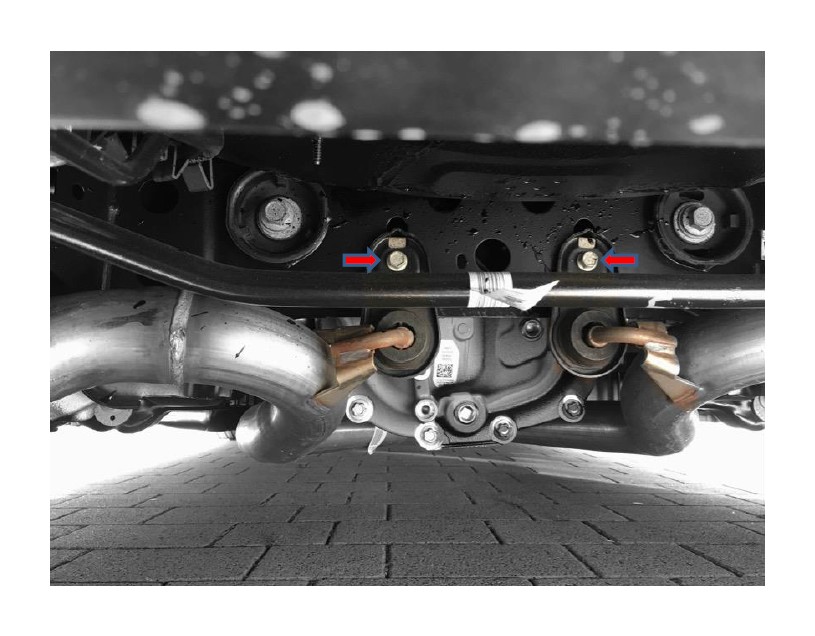
4. Once the bolts are removed you will simply lift up on the hangers and they will unclip from the frame.
Optional but Recommended Steps (Steps 5 & 6):
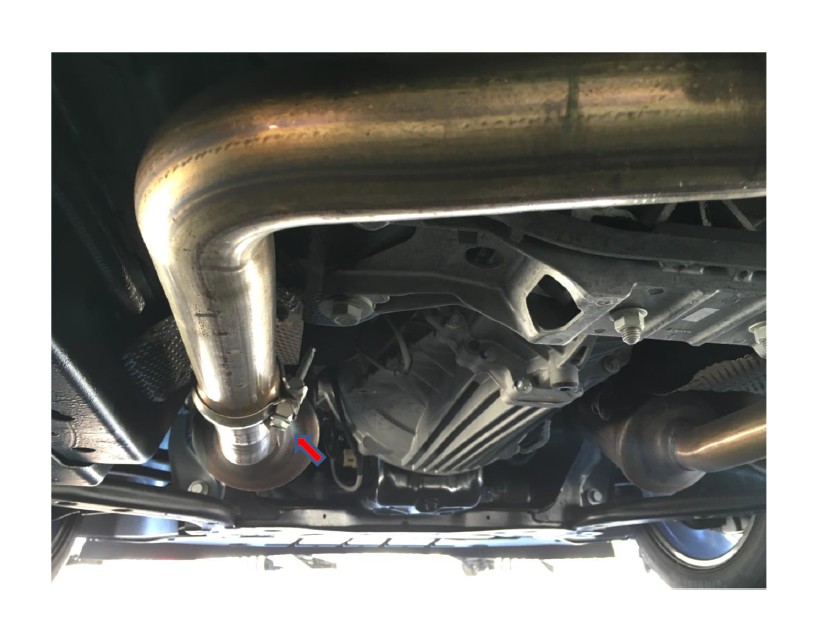
5. Loosening the driver side Mid-Pipe bolt will allow the exhaust to sag lower towards the ground. This will help you slide the complete exhaust towards the rear of the car. Allowing you to slide the “suitcase” out of the clamps. The passenger side is already able to sag due to the flex pipe.
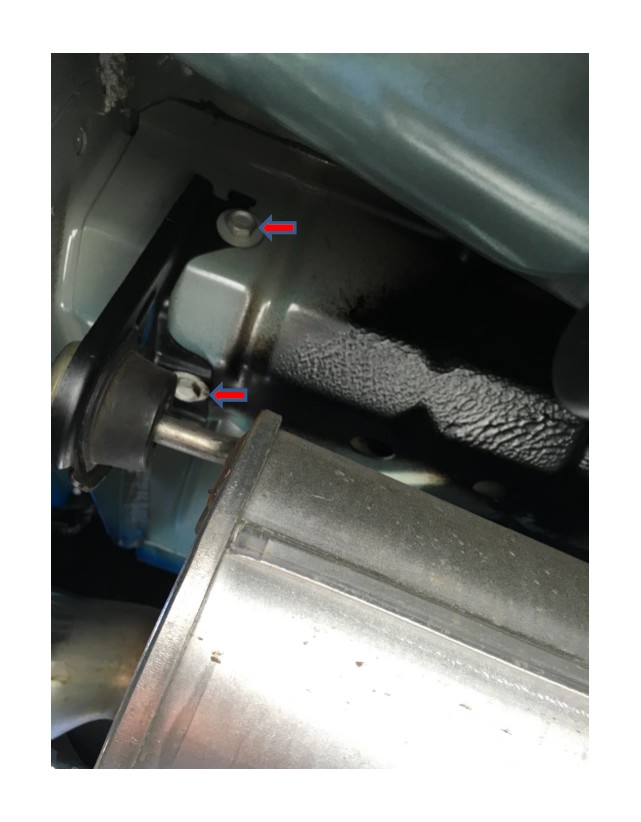
6. Remove the 2 13mm bolts (4 total) that hold the muffler hanger to the frame. This step is needed if you are performing this install on jack stands or without a second set of hands due to how heavy the complete exhaust is. About 75lbs
Once the 2 hangers are removed you can now drag the exhaust out from underneath the car.
7. If you have skipped step 5 and 6 it is now time to remove the complete exhaust. You will have to grab ahold of the exhaust and push it towards the rear of the car freeing it from the 2 center clamps by the “suitcase” then you will pull the exhaust towards the front of the car freeing the exhaust of the 2 rubber hangers by the muffler. (This is not recommended if you are completing this install by yourself due to the weight of the stock exhaust) about 75lbs.
8. Remove the 2 middle exhaust hanger from the stock exhaust and place them on your new Magnaflow piping.
9. Reinstall the 2 muffler hangers if they were removed during step 6.
10. Tighten the bolt from step 5 just so it is snug .You will fully tighten all the bolts at the end. This will help when installing your new X-pipe.
11. Install the X-pipe where the “suitcase” was previously. The X-pipe will have a slightly longer side; the longer pipe will run down the passenger side. Do not fully tighten the 4 15mm bolts. Only tighten them until they are snug. This will help installing the rest of the exhaust and when making the final adjustments.
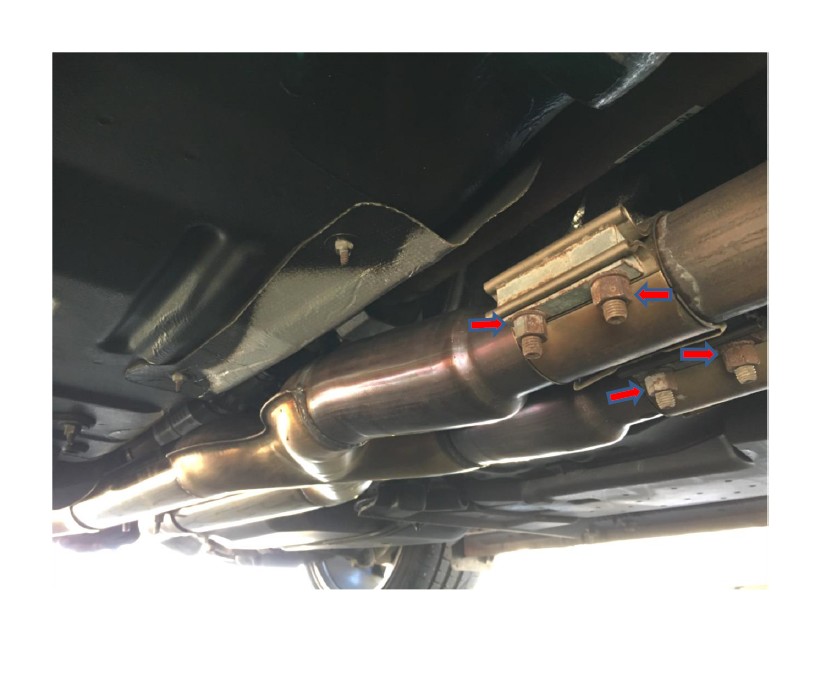
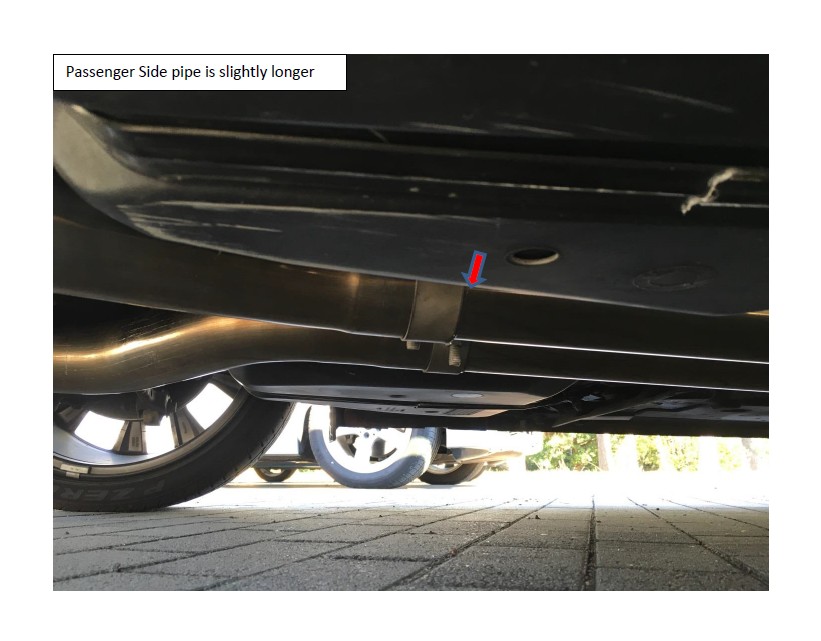
12. Install both passenger and driver side pipes that have the hangers attached to them. Remember to transfer your old metal hangers from the stock exhaust and tighten down fully the 2 13mm on the hangers. You will then need to tighten till they are snug the 2 15mm bolts on the clamps. Once again do not fully tighten down.
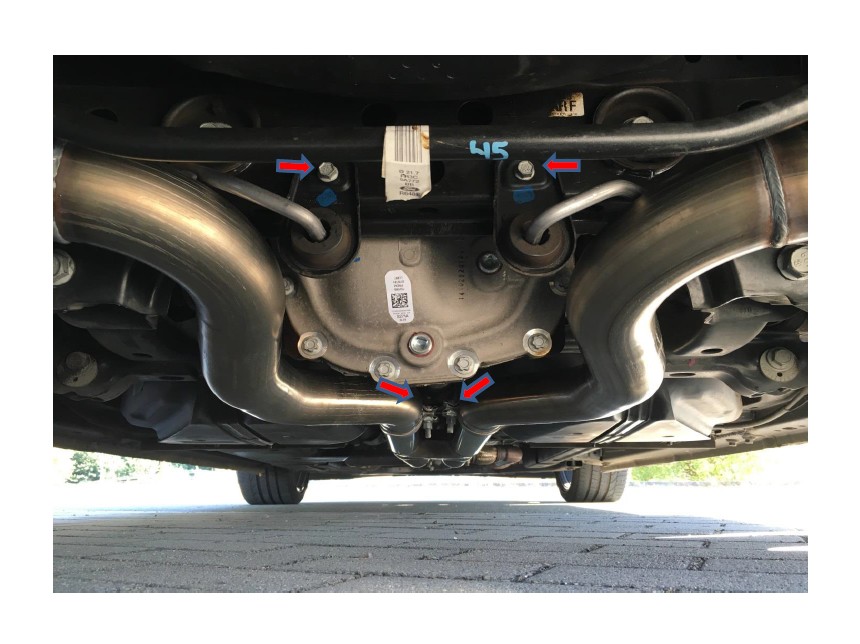
13. Now install both the driver and passenger side mufflers by first sliding them into the rubber hangers and then into the pipe you just installed. (do not forget to put the clamp on before sliding the pipes together). You can now tighten till they are snug the 2 15mm bolts on the clamps.
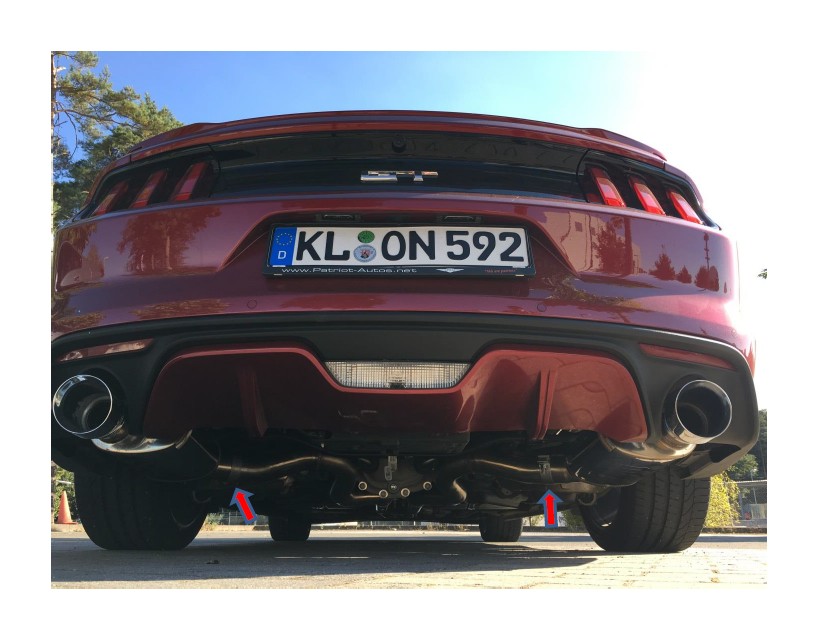
14. This is where you will have to play with each section of pipe, sliding it in and out and also rotating it. To get your tips to be centered and to be sure that none of the piping is coming in contact with anything. Overall this process took about 30mins till I had the exhaust perfect.
15. Now go back through and double check that all your clamps are fully tightened to prevent any exhaust leaks.
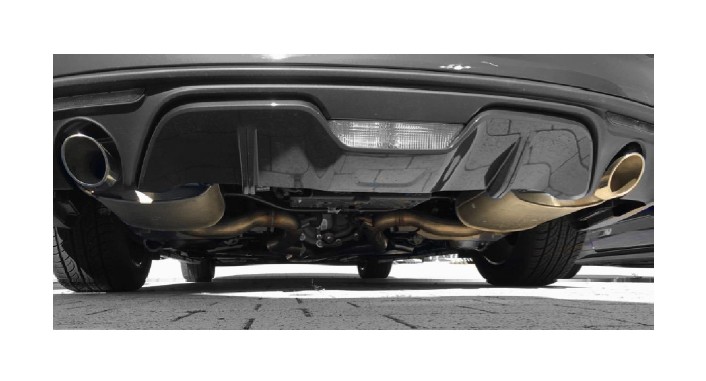
16. For the final step, start the car up and enjoy the sound!
