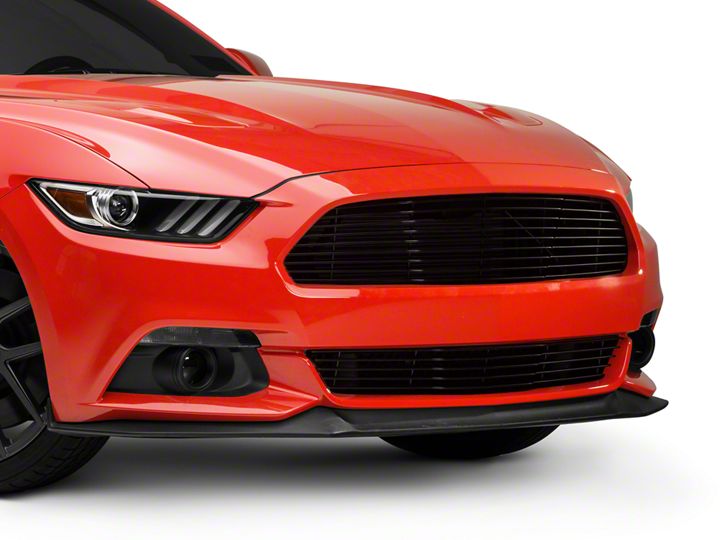
How to Install T-REX Billet-Series Black Horizontal Grille (15-17 GT, EcoBoost, V6) on your Ford Mustang
Installation Time
1 hours
Tools Required
- 7mm Socket
- 8mm Socket
- Flathead and Phillips Screwdrivers
- 90 Degree Drill Attachment

Shop Parts in this Guide
1. Begin by popping open the hood and removing the panel covering the radiator by prying the push pins securing it in place out with a trim tool or flathead screw driver.
2. Remove the six 8mm bolts securing the bumper to its support, making note of the two 7/32” bolts on either end.
3. Remove the two 7/32” bolts hidden beneath the bumper-hood seal on either side of the bumper.
4. Using your flat-head screwdriver or a trim tool, remove the lower three push pins on the front side of the wheel well on both sides of the car that secure the splash guard to your bumper.
5. Whatever you do, do not forget about the 7mm bolt securing the fender to the bumper. It is located where the two meet, just behind the splash shield. You will most likely need a 90º drill attachment to remove it.
6. Begin removing the 7mm bolts securing the bumper to the close out panel.
7. There are some located within the recesses on the bottom of the bumper. In total, you will have to remove twelve screws.
8. Once all the push pins and bolts are unsecured, you can lift the top of the bumper off of the car, unsecuring it.
9. While removing the bumper, make sure to disconnect your turn signals, parking lights, and fog lights.
10. Once removed, set the bumper down on a soft surface (such as the box that the grilles arrived within). Identify the tabs that secure the upper grille in place. You may also wish to remove the center bumper support to gain better access to those tabs.
11. Begin removing the upper grille; your flat head screwdriver may help coerce the tabs out of their slots.
12. Once the existing grille is removed, you can replace it with your T-REX grille. The clips that held the old grille in place should secure it in place.
13. Flip the bumper over and position the lower grille ontop of your existing lower grille.
14. Insert the metal retainer over the L part of the included hardware.
15. Slide the hardware in from the back of the bumper until the L part’s hole lines up with the screw hole in the bumper. Ensure that the J part of the hardware hooks onto your lower grille. At that point, you can screw it in, making sure to screw it only tight enough to secure the grille in place and not damage your existing lower grille. Repeat for the other side.
16. At this point, you can replace the bumper, reconnect the turn signals, parking lights, and fog lights, begin re-securing the bolts by reversing the steps taken to remove the bumper, reinstall the radiator cover, and wiggle\pull\push on the new upper grille a little to make sure it is secure.
17. Finally, you can take a step back and admire your work. Installation is now complete.
This Installation Guide was written by an AmericanMuscle Customer on 10/10/17
